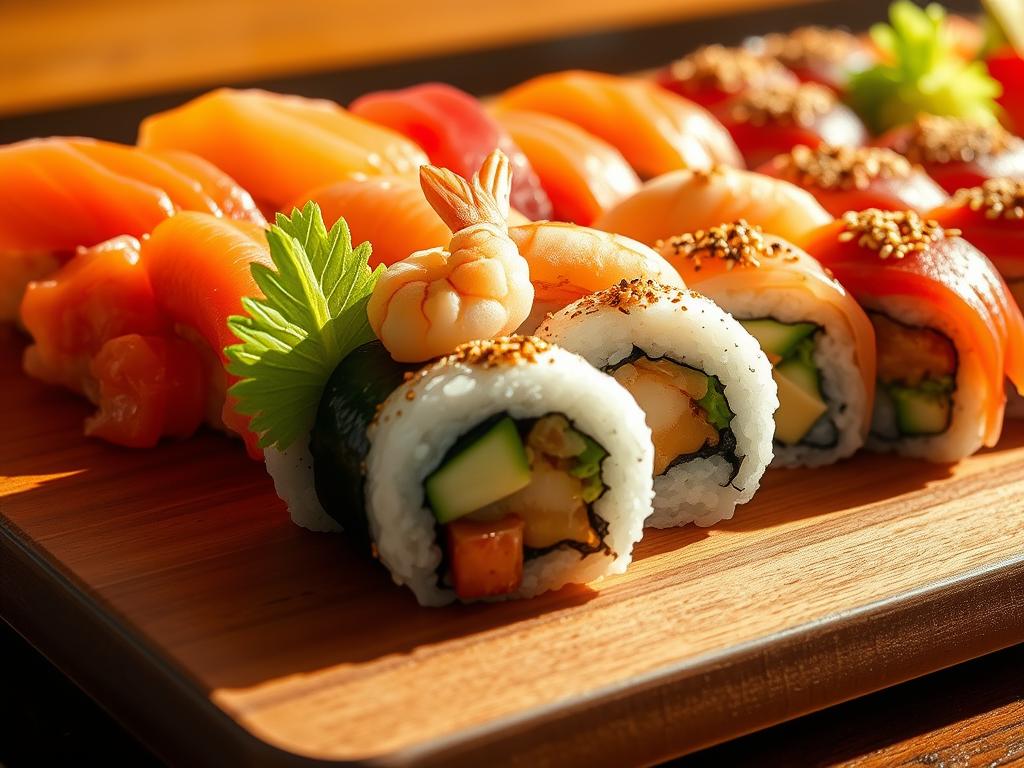
Ever wanted to recreate that restaurant-quality sushi experience at home? We’ve been there—craving that perfect mix of crisp texture and creamy flavor, but not sure where to begin. That’s why we’re excited to share our take on Crunchy Roll Sushi—a crowd-pleasing favorite that blends classic Japanese roots with a modern American twist.
Picture this: golden shrimp tempura nestled alongside buttery avocado, all wrapped in seasoned rice and seaweed. A drizzle of spicy mayo adds a kick, while toasted panko crumbs deliver that irresistible crunch you’ve been dreaming of. What makes this dish special? It’s designed for real kitchens and real people—no professional training required.
We crafted this recipe specifically for home cooks who love bold flavors but need approachable techniques. Whether you’re hosting friends or treating yourself, you’ll appreciate how simple ingredients transform into something extraordinary. The best part? You can customize fillings to match your cravings or pantry staples.
Key Takeaways
- Discover an American-inspired twist on classic Japanese flavors
- Learn to assemble crispy shrimp tempura rolls with avocado and spicy mayo
- Master beginner-friendly techniques for perfect homemade results
- Adapt the recipe easily based on dietary preferences or ingredient availability
- Enjoy restaurant-quality texture with toasted panko for added crunch
Introduction to Crunchy Roll Sushi
What if you could master a dish that’s both familiar and exciting in just a few steps? Let’s explore this American-born favorite that reimagines Japanese tradition. Born in U.S. kitchens, this creation swaps raw fish for cooked shrimp tempura—a genius twist that won over cautious eaters.
At its core, you’ll find four key components. Seasoned short-grain rice forms the base, clinging perfectly to nori seaweed sheets. Golden shrimp tempura brings warmth and crispness, while avocado adds creamy contrast. A sprinkle of toasted panko gives that signature texture everyone craves.
Our version skips raw fish entirely, making it ideal for newcomers to Japanese cuisine. You’ll love how the warm, crispy shrimp pairs with cool, smooth avocado—a match made in flavor heaven! We’ve broken down the process into clear step-by-step instructions, so even first-timers can nail the technique.
Ready to make it your own? Swap veggies, try different sauces, or adjust spice levels. We’re excited to show you how flexible this recipe can be. Let’s get rolling!
Essential Ingredients for a Perfect Crunchy Roll Sushi

Let’s start with the foundation—your ingredient lineup makes or breaks the dish. We’ve tested countless combinations to identify what truly elevates this recipe from good to “can’t-stop-eating” status.
Sushi Rice, Nori, and Fresh Fillings
Authentic sushi rice is non-negotiable. Its sticky texture comes from proper rinsing and seasoning with rice vinegar, sugar, and salt. Skip regular grains—they won’t hold your fillings together.
Fresh nori sheets should snap when bent, not crumble. Look for deep green color and smooth edges. Store them in airtight containers to prevent sogginess.
Creamy avocado balances textures beautifully. Choose fruits that yield slightly to pressure—rock-hard ones lack flavor, while mushy ones turn your creation messy.
Crispy Toppings and Flavorful Sauces
Golden shrimp tempura delivers that iconic crispness. Use cold batter and hot oil (350°F) for light, airy coating. Pre-made options work if you’re short on time.
Toasted panko adds extra crunch without heaviness. We toss ours in sesame oil for nutty depth. Spicy mayo—a mix of sriracha and Kewpie mayo—ties everything together with tangy heat.
Remember: quality ingredients mean fewer steps. Splurge on fresh seafood and organic produce when possible. Your taste buds will thank you!
Step-by-Step Preparation Process

Ready to transform simple ingredients into a culinary masterpiece? We’ll guide you through each stage with foolproof methods that build confidence. Let’s begin with the heart of your creation—the seasoned rice.
Rinsing and Cooking the Sushi Rice
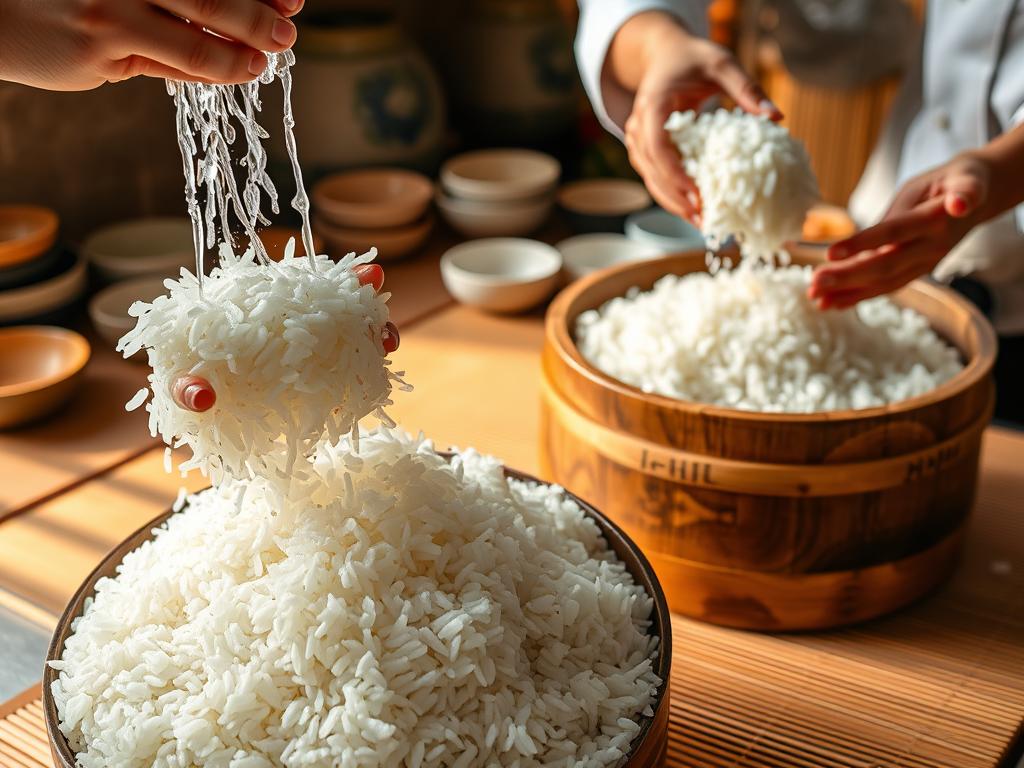
Rinse like a pro: Place grains in a bowl and cover with cold water. Swirl gently until the liquid turns cloudy—repeat 3-4 times until it runs clear. This removes excess starch for perfectly separated, fluffy results.
Use a 1:1.25 ratio of rice to water for ideal texture. Bring to a boil, then simmer covered for 18 minutes. Let it rest off heat for 10 minutes—no peeking! Fold in a mix of rice vinegar, sugar, and salt while still warm.
Layering the Nori and Fillings
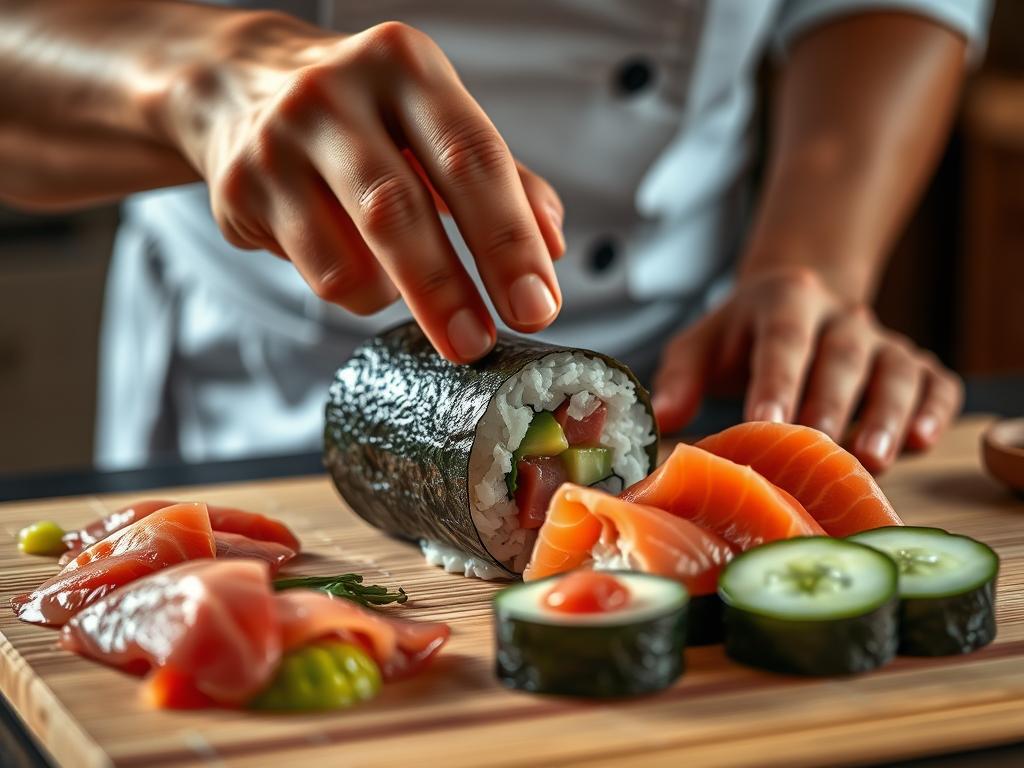
Lay a nori sheet shiny-side down on your bamboo mat. Moisten hands to prevent sticking, then spread rice evenly, leaving a 1-inch border at the top. Press gently—you want a thin, cohesive layer.
Arrange fillings horizontally 2 inches from the bottom. Top with toasted panko for that signature texture. Roll firmly using the mat, applying even pressure as you go. Let it rest seam-side down for 2 minutes before slicing into 8 even pieces with a wet knife.
Pro tip: Wipe the blade between cuts for clean edges. Serve immediately with spicy mayo or soy sauce for dipping!
Techniques for Rolling Sushi Like a Pro

Ever wonder how chefs create those uniform, Instagram-worthy pieces? The secret lies in two game-changing tools and a few smart moves. Let’s break down the process so you can nail both the assembly and presentation.
Using a Bamboo Mat and Plastic Wrap
Cover your bamboo mat with plastic wrap before starting—this prevents rice from sticking to the slats. Position the nori sheet rough-side up, then spread rice using damp fingers. Leave a 1-inch border at the top for sealing.
When adding fillings, keep them centered and compact. Fold the mat’s edge over the ingredients, tucking tightly as you roll forward. Apply gentle, even pressure to maintain shape without squishing the contents. Pro tip: Rotate the roll 90 degrees after each full turn for perfect symmetry.
Achieving Even Cuts and Consistent Shape
A sharp knife dipped in vinegar water works wonders. Slice through the center first, then halve each portion. Wipe the blade between cuts to prevent dragging.
- Chill rolls for 5 minutes before slicing—they hold shape better
- Press loose grains back into place with damp fingers
- If ends unravel, dab a rice grain on the nori edge as “glue”
Don’t stress over early attempts! We’ve all made lopsided creations. With these techniques, you’ll see improvement by your third try. Remember: practice makes progress, not perfection.
Mastering Crunchy Roll Sushi: Expert Tips

Elevate your kitchen skills with these professional secrets that transform good dishes into unforgettable creations. We’ve gathered insights from seasoned chefs to help you nail both texture and presentation every time.
Tips for Maintaining Rice Texture
Perfect rice starts with proper cooling. Spread cooked grains in a thin layer on a baking sheet—this stops overcooking and preserves ideal moisture. Never refrigerate hot rice, as it turns gummy. Let it reach room temperature before assembling.
When mixing vinegar seasoning, use 1 tablespoon per cup of dry rice. Fold gently to avoid crushing grains. If your hands stick while spreading, dip fingers in water mixed with lemon juice—it prevents clumping without altering flavor.
Ensuring the Perfect Crunch
Tempura stays crispy when fried at 350°F. Use a thermometer to monitor heat fluctuations. Double-fry shrimp for extra crispness: 90 seconds first, then 30 seconds after cooling. Toasted panko adds another layer of texture—toss it with sesame seeds for nutty depth.
For spicy mayo, blend 3 parts Kewpie mayo with 1 part sriracha. Add a teaspoon of lime juice per ¼ cup to brighten the sauce. Drizzle sparingly over assembled pieces to maintain structural integrity.
When slicing, aim for 8 uniform pieces per roll. Chill the knife blade first—cold steel glides cleaner through fillings. Arrange avocado slices neatly along the edge for visual appeal. Remember: precision in preparation leads to restaurant-worthy results!
Variations and Customizations for Your Sushi Roll
Your kitchen, your rules! This recipe thrives on personal touches. We love how simple swaps can create entirely new flavor adventures while keeping the process stress-free.
Alternative Fillings and Substitutions
Don’t limit yourself to traditional ingredients. Try these crowd-pleasing twists:
| Fillings | Why It Works | Sauce Pairing |
|---|---|---|
| Imitation crab + mango | Sweet-savory balance | Eel sauce |
| Spicy tuna + cucumber | Cool heat contrast | Sriracha mayo |
| Teriyaki chicken + scallions | Bold umami kick | Spicy soy glaze |
Creative Presentation Ideas
Make your dish Instagram-ready with these pro tricks:
| Presentation Method | Effect |
|---|---|
| Zigzag soy sauce drizzle | Adds visual rhythm |
| Edamame side garnish | Bright color pop |
| Wasabi dot border | Modern minimalist touch |
Pair your creation with steamed edamame or a light seaweed salad. For extra texture, mix crushed wasabi peas into toasted panko. Remember—there’s no wrong way to make it yours!
Health Considerations and Nutritional Insights
Enjoying your favorite dish while staying mindful of nutrition is easier than you think. Let’s explore how small tweaks can align this recipe with your wellness goals without sacrificing flavor.
Caloric Overview and Serving Sizes
A typical serving (8 pieces) contains about 450-550 calories. The main contributors are tempura shrimp and sauces, but smart swaps make a difference. Here’s how components stack up:
| Ingredient | Calories per Serving | Healthier Alternative |
|---|---|---|
| Tempura shrimp | 180 | Air-fried shrimp (90) |
| Panko bread crumbs | 40 | Whole-grain panko (35) |
| Spicy mayo | 70 | Greek yogurt mix (25) |
Using panko bread crumbs adds texture with fewer calories than heavier coatings. For lighter options, try almond flour or crushed rice crackers. Swap avocado for cucumber slices to save 50 calories per serving while keeping freshness.
Portion control matters too! Pair 4-6 pieces with steamed edamame or miso soup for balanced meals. Remember: quality over quantity lets you savor each bite without overindulging.
We love using nori sheets as natural wrappers—they’re rich in iodine and low in calories. For print-friendly recipe tips, check our website’s nutrition guides. With these adjustments, you can enjoy your creation guilt-free!
Serving Suggestions and Pairing Options
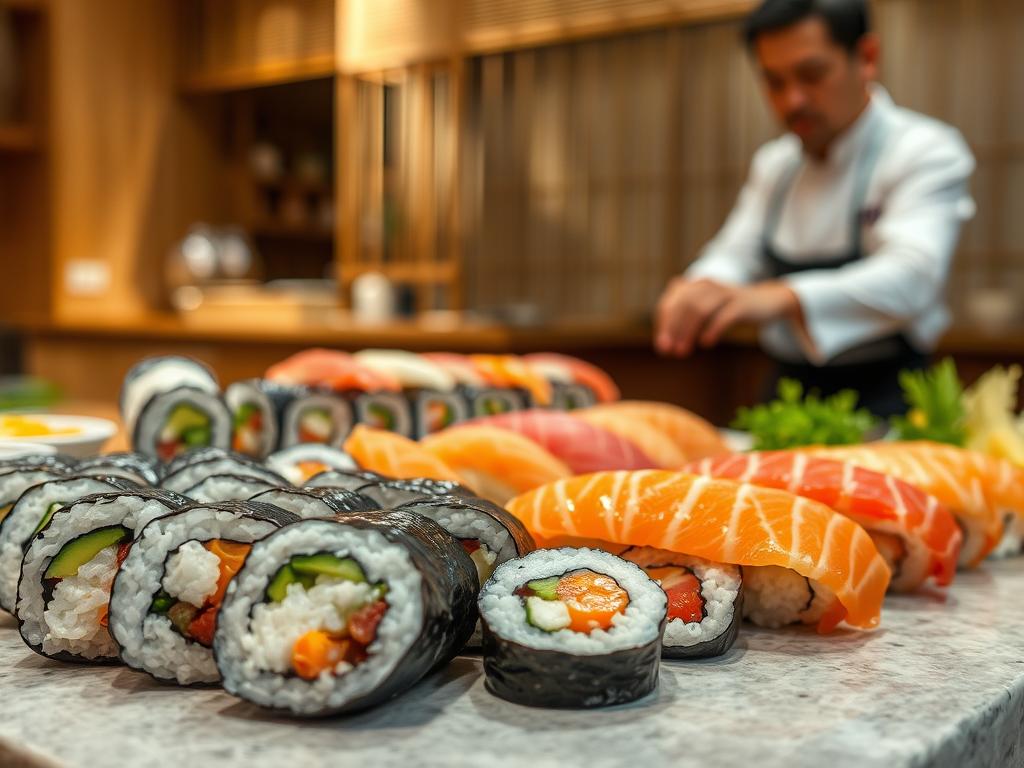
Transform your homemade creation into a restaurant-worthy spread with thoughtful pairings. The right combinations enhance flavors and textures while letting your main dish shine. Let’s explore ways to build a balanced meal that delights all senses.
Dipping Sauces That Elevate Every Bite
Pair your masterpiece with sauces that complement its textures. Classic soy sauce remains a crowd-pleaser, but don’t stop there. Try these options:
| Sauce | Best With | Flavor Profile |
|---|---|---|
| Eel sauce | Imitation crab | Sweet umami |
| Wasabi mayo | Shrimp tempura | Spicy creaminess |
| Ponzu citrus | Crunchy tempura flakes | Tangy brightness |
For a showstopping twist, mix sriracha with honey and lime. Serve sauces in small ramekins to control intensity.
Complete Your Japanese-Inspired Spread
Balance richness with light, flavorful sides. Miso soup warms the palate, while pickled ginger cleanses it between bites. Consider these additions:
- Edamame: Sprinkle with sea salt for salty satisfaction
- Seaweed salad: Adds vibrant color and mineral-rich flavors
- Kani salad: Combines imitation crab with crisp veggies
Crunchy tempura flakes make excellent garnishes—sprinkle them over sides for extra texture. For gatherings, arrange everything on shareable platters with decorative chopsticks. Your guests will feel like they’re dining at a top-rated izakaya!
Conclusion
You’ve just unlocked the secrets to creating restaurant-worthy dishes that honor tradition while celebrating creativity. From mastering tempura flakes to balancing textures, every technique we’ve shared helps you build confidence in your kitchen.
This approachable recipe proves delicious meals don’t require professional skills. Swap ingredients like avocado for mango, or try a California roll variation with crab—the joy lies in making it uniquely yours. Those golden tempura flakes? They’re your ticket to that signature crunch without fuss.
We’d love to see your creations! Share photos of your roll sushi masterpieces and tag us. Whether you’re hosting friends or enjoying a solo treat, remember: great food becomes legendary when shared. Let’s keep building this community—one perfect bite at a time.
🌟 Transform Your Dinner Tonight with Our Irresistible Spinach Artichoke Stuffed Chicken Recipe! 🌟
Are you ready to impress your family and friends with a dish that’s not only delicious but also incredibly easy to make? This mouthwatering recipe combines the rich flavors of spinach and artichokes, all wrapped up in tender chicken that’s sure to be a hit at your dinner table. Perfect for busy weeknights or special occasions, this dish will elevate your culinary game!
Don’t miss out on the chance to create a meal that everyone will rave about. 👉 Click here to read the full article on my blog and discover the secrets to making this delectable Spinach Artichoke Stuffed Chicken today! Your taste buds will thank you!


1 thought on “Crunchy Roll Sushi: Savor the Taste of Japan”
Comments are closed.