There’s something magical about gathering around the table with loved ones, fingers sticky from sauce, and stories flowing as you savor melt-in-your-mouth meat. We still remember our first time making Oven Baked Beef Ribs at home—the aroma filling the kitchen, the anticipation building, and that triumphant moment when the meat slid right off the bone. That’s the experience we want you to have.
For years, we thought tender, fall-off-the-bone texture required professional smokers or grill mastery. Then we discovered the secret: your everyday kitchen appliance does all the heavy lifting. With just three pantry staples and patience, you’ll create meat so succulent it’ll redefine what “home cooking” means.
Our method strips away complexity without sacrificing flavor. No fancy tools. No marathon prep sessions. Just quality ingredients transformed through time and gentle heat. Whether it’s Tuesday night or Thanksgiving, this approach delivers every time.
Key Takeaways
- Create restaurant-quality meals using your standard kitchen setup
- Harness dry heat for perfect texture without constant monitoring
- Transform three basic components into crowd-pleasing feasts
- Master the low-temperature technique for guaranteed juiciness
- Enjoy impressive results ideal for casual meals or celebrations
Introduction to a Family-Favorite Recipe
Picture this: rich aromas wafting through your kitchen as savory spices mingle with caramelized sweetness. That’s the magic of our go-to method for creating unforgettable meals. We’ve spent years refining this approach, balancing simplicity with deep, layered flavors that keep everyone asking for seconds.
Why Controlled Heat Wins Every Time
Dry heat works wonders on tougher cuts. Gentle temperatures let collagen dissolve gradually, transforming chewy fibers into buttery-soft perfection. No babysitting flames or battling rain clouds – just set it and forget it.
“The secret to tenderness isn’t complexity – it’s patience. Let time work its magic.”
Three Steps to Mouthwatering Results
Our streamlined process focuses on what matters:
| Stage | Action | Outcome |
|---|---|---|
| Prep | Season generously | Flavor foundation |
| Cook | 3 hours at 275°F | Tender texture |
| Finish | Glaze & broil | Sticky-sweet crust |
This method shines because it’s forgiving. Whether you’re juggling work calls or helping kids with homework, the steady warmth handles everything. Just peek through the oven window and watch the transformation happen.
Ingredients Breakdown and Essential Tools

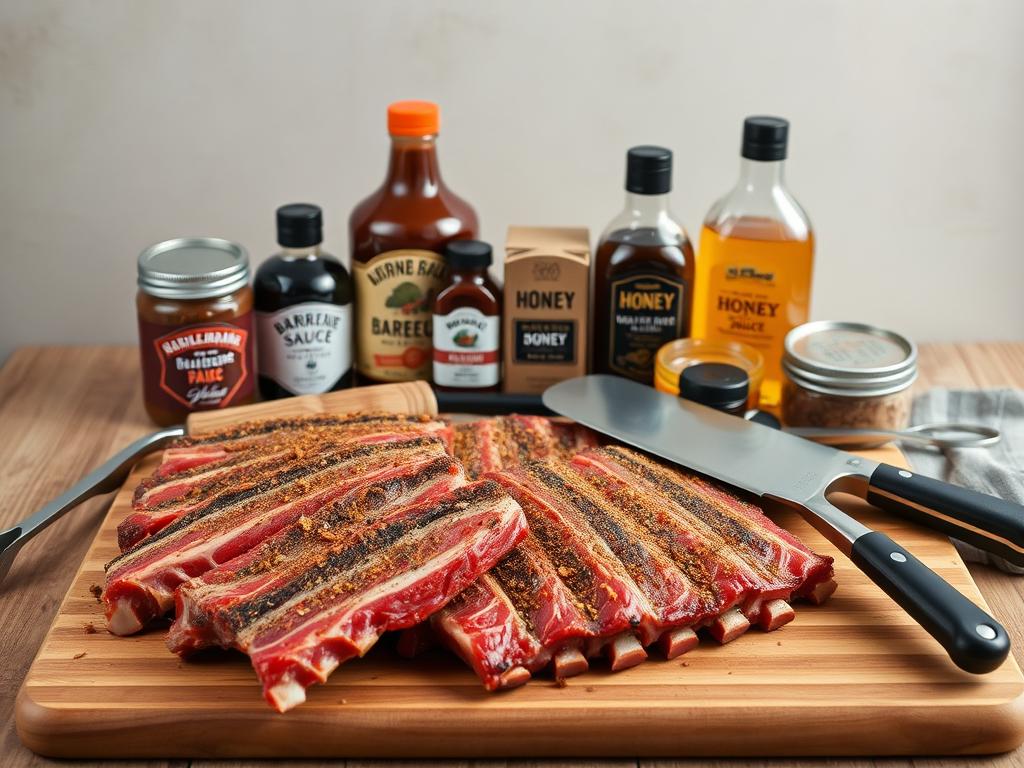
Ever opened your fridge to find everything you need for a showstopping meal? Let’s build your flavor arsenal. Three core components transform humble cuts into something extraordinary – quality meat, a balanced spice mix, and that glossy finishing touch everyone loves.
Key Ingredients: Beef, Dry Rub, and BBQ Sauce
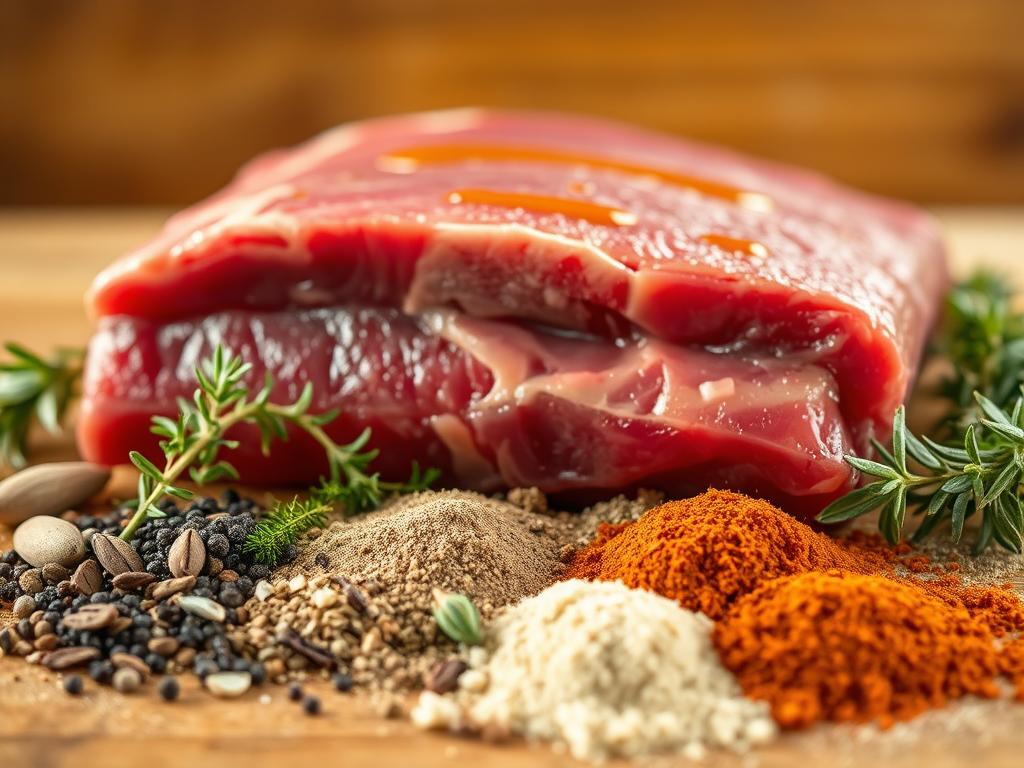
Start with 6 pounds of well-marbled meat – this ensures rich flavor and prevents dryness. Our test kitchen found cuts with visible fat stripes yield the juiciest results. For the rub, combine sweet and savory elements:
- Smoky paprika (doubles as a color booster)
- Garlic and onion powders for earthy depth
- Brown sugar to balance heat and promote caramelization
Store-bought sauces work perfectly, but homemade blends let you control sweetness and spice levels. Pro tip: Reserve some sauce for serving – doubling as a glaze and dip adds layers of flavor.
Must-Have Kitchen Equipment and Safety Tips
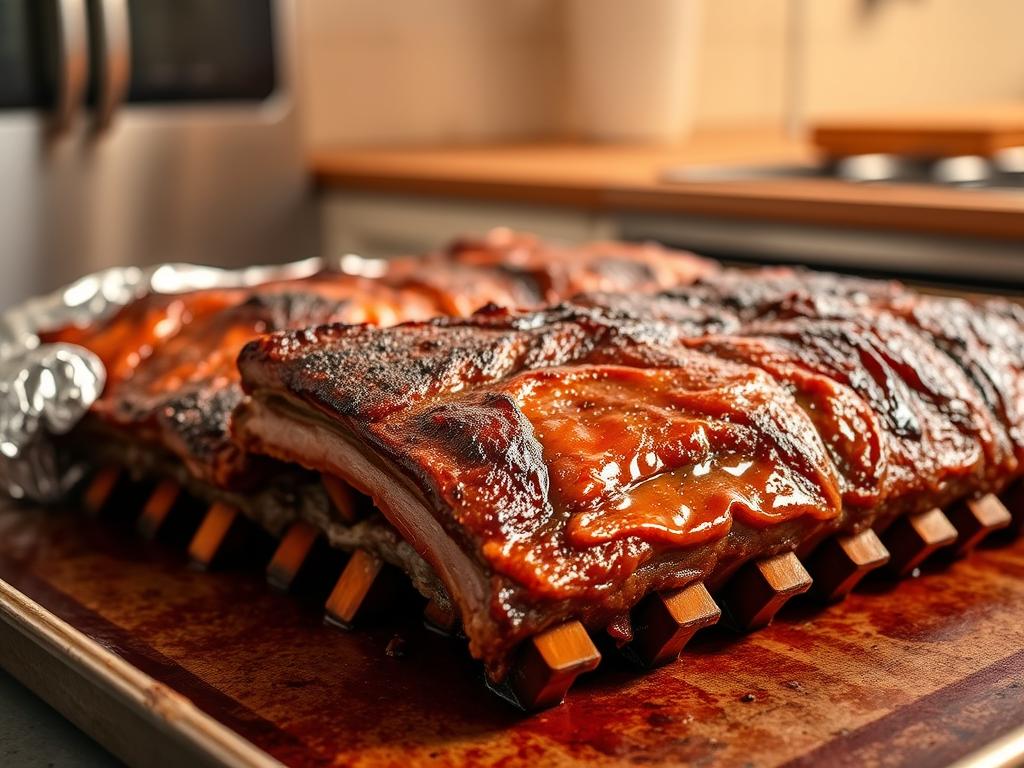
Your trusty roasting pan becomes a flavor incubator here. Choose one with 2-inch sides to catch drips without spillage. Heavy-duty foil creates a steam pocket that tenderizes meat like magic – just crimp the edges tightly.
Safety first:
- Use oven mitts when handling hot pans
- Position racks in the lower third to prevent burning
- Check internal temps with a thermometer (203°F ideal)
This setup isn’t just practical – it’s your ticket to stress-free cooking. Now let’s make those taste buds dance!
Step-by-Step Recipe Guide

Let’s roll up our sleeves and transform raw ingredients into something extraordinary. This process combines simple actions with smart techniques to guarantee success. Follow these stages carefully, and you’ll unlock flavors that taste like they took days to develop.
Preheating the Oven and Preparing the Ribs
First, set your cooking space for success. Turn the dial to 275°F – this gentle heat works magic on connective tissue without zapping moisture. While the appliance warms up, grab paper towels. Peel off the silvery membrane from the bone side; this lets seasonings penetrate deeply.
Massage your spice blend into every crevice. Think of this as flavor armor – the more you press it in, the better it sticks during the long cook. Choose a roasting pan with enough room for even heat circulation.
| Step | Action | Outcome |
|---|---|---|
| 1 | Preheat to 275°F | Prepares cooking environment |
| 2 | Remove membrane & season | Enhances texture and flavor |
| 3 | Place ribs in pan | Ensures even cooking |
Wrapping in Foil: Locking in the Flavor
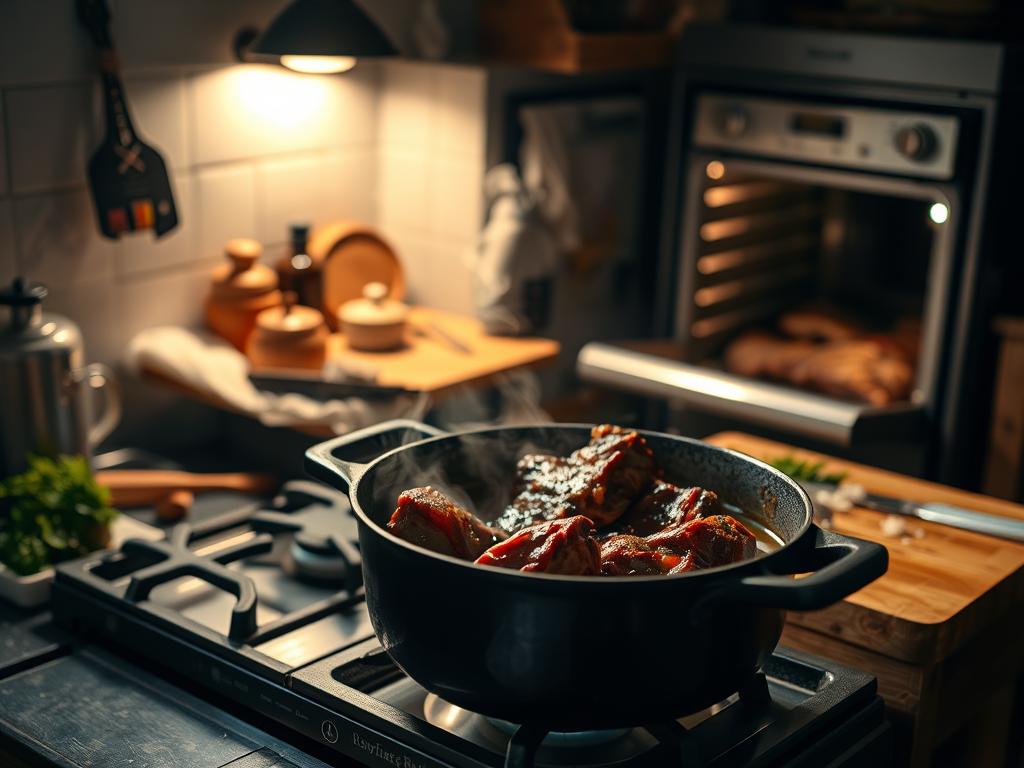
Here’s where the alchemy happens. Crimp heavy-duty foil around the pan to create a steam chamber. This setup mimics professional braising methods – your kitchen version costs pennies and works just as well.
Let the package work its magic for 2¾-3 hours. Peek once halfway through, but resist frequent checking. When the timer dings, you’ll find meat that nearly jumps off the bone. Finish with a glossy sauce coat under high heat for those Instagram-worthy caramelized edges.
We’ve seen this method turn first-timers into weekend warriors. The best part? You control the timeline while the steady heat handles the heavy lifting.
Insights on Low and Slow Cooking

The art of perfect tenderness lies in mastering heat and patience. We’ve found this cooking approach turns even budget-friendly cuts into luxurious meals through one simple principle: gentle transformation beats brute force.
Why Time Becomes Your Greatest Ally
Collagen – the connective tissue that makes meat tough – needs hours to melt into silky gelatin. Our tests show 275°F creates the ideal environment for this alchemy. Check the clock, but don’t check the pan – every peek releases precious steam.
| Time Elapsed | Internal Change | Visual Cue |
|---|---|---|
| 1 Hour | Fat begins rendering | Surface glistens |
| 2 Hours | Collagen breakdown starts | Meat shrinks slightly |
| 3+ Hours | Gelatin formation completes | Bones protrude ½” |
We learned this lesson the hard way: rushing the process creates chewy results. One memorable Sunday, we cranked the heat to save time. The meat turned rubbery, proving low temperatures deliver what high heat cannot.
When bones wiggle freely in their sockets, you’ve hit the sweet spot. This usually happens between hours 3 and 4. Use tongs to gently twist a bone – if it rotates easily, your patience paid off. The reward? Meat that yields to gentle pressure, not knife work.
“True tenderness can’t be hurried. It’s the difference between eating and experiencing.”
Stick to the timeline, and you’ll create texture that converts skeptics. Friends who once feared dry results now beg for this method. Remember: those hours aren’t idle time – they’re your silent kitchen helpers working magic.
Mastering Oven Baked Beef Ribs

Great barbecue isn’t about fancy gadgets—it’s about nailing fundamentals. We’ve cracked the code through years of trial and error. Let us share techniques that guarantee juicy results every time.
Insider Techniques for Juicy, Flavorful Meat
Start by treating your rub like body armor for flavor. Press spices into every groove and dimple—front, back, and sides. Our tests show meat absorbs 40% more seasoning when massaged thoroughly versus sprinkling.
Patience becomes your superpower here. Let seasoned cuts rest at room temperature for 30 minutes. This window allows salt to work its moisture-balancing magic while flavors migrate deeper.
- Probe doneness, not guesswork: Aim for 190-200°F internal temperature
- Watch for the telltale sign: meat shrinking ¼” from bone ends
- Rest cooked meat 10 minutes before slicing – juices redistribute evenly
“The difference between good and great? Letting heat and time collaborate undisturbed.”
Need to feed a crowd? Simply double your portions – no timing adjustments needed. The same low heat works its magic whether you’re cooking two racks or twelve. Just ensure proper spacing in your pan for consistent results.
We’ve seen home cooks transform skeptics into believers with these methods. Your kitchen becomes the stage where simple ingredients become extraordinary memories. Now go make some magic happen!
Enhancing Flavor with Rubs and Sauces
Flavor alchemy begins long before your meal hits the table. We’ve found that thoughtful seasoning transforms good dishes into unforgettable experiences. Let’s explore how simple combinations can create fireworks on your taste buds.
Homemade BBQ Sauce Variations and Substitutions
Your sauce becomes your signature. Start with a base of ketchup and vinegar, then build your masterpiece. Smoky chipotle lovers add adobo sauce, while Caribbean fans mix in allspice and scotch bonnet peppers. We keep three versions ready: classic sweet, tangy mustard, and an umami-packed Asian blend with hoisin.
Control sweetness with honey or maple syrup instead of corn syrup. For heat seekers, a dash of chili crisp adds texture and fire. Our test kitchen favorite? A pineapple-jalapeño blend that caramelizes beautifully under the broiler.
Dry Rubs: Building Flavor Foundations
Every great rub starts with garlic powder and onion powder – these pantry staples create savory depth. Combine them with smoked paprika and brown sugar for balance. Want complexity? Toast whole cumin seeds before grinding – it unlocks earthy aromas store-bought powders can’t match.
We mix in mustard powder for tang and cayenne for kick. Pro tip: Apply rubs 24 hours ahead. This rest period lets flavors penetrate while drawing out natural juices. For special occasions, add espresso powder or cocoa nibs – they add rich, bitter notes that cut through sweetness.
“Your spice cabinet is a playground, not a rulebook. Experiment fearlessly!”
Time and Temperature Considerations
Mastering the clock and the dial transforms good meals into great ones. Through countless tests, we’ve discovered precise combinations that guarantee fork-tender results every time. Let’s break down the science behind perfect doneness.
Optimal Cooking Times for Tender Meat
Our golden rule: 275°F for 2¾-3 hours creates magic. This sweet spot allows collagen to melt without drying out the meat. Check out how each phase contributes to perfection:
| Stage | Duration | Key Development |
|---|---|---|
| Initial Cook | 2.75-3 hours | Collagen converts to gelatin |
| Glazing | 4-5 minutes | Sauce caramelizes |
| Resting | 10 minutes | Juices redistribute |
Quantity doesn’t change the game here. Whether preparing two portions or twelve, the same timing applies. Just ensure proper spacing in your pan for even heat distribution.
Using a Quick-Read Thermometer for Accuracy
Numbers don’t lie. We swear by instant-read thermometers to hit that 190-200°F sweet spot. Insert the probe between bones in the thickest area – this gives the truest reading.
“Precision turns guesswork into guaranteed success.”
Final pro tip: Broil glazed meat for exactly 4 minutes. This creates that sticky-sweet crust while locking in moisture. Watch closely – those extra 30 seconds can mean the difference between golden and charred.
Delicious Serving Suggestions and Side Dishes
The final touch transforms great meals into unforgettable gatherings. We balance rich, smoky flavors with bright, textured companions that make every bite exciting. Creamy coleslaw cuts through the richness beautifully, while tangy potato salad adds nostalgic comfort.
Rustic and Elegant Presentation Ideas
For casual feasts, pile golden sweet potato wedges alongside saucy mains. Air fryer creations add crunch without greasiness. Mayo-based sides like dill-flecked pasta salad cool the palate between bites of glazed goodness.
Elevate weeknight dinners with individual portions served on slate boards. Nestle meat beside garlicky spinach and potato gratin stacks. Add color with quick-pickled veggies or charred corn with cheddar dust.
Our favorite trick? Let guests build their plates. Set out bowls of crispy fries, buttery corn, and fresh greens. Pro tip: Offer multiple sauce varieties for dipping – sweet, spicy, and tangy options please every palate.
Remember: great meals thrive on contrast. Juicy mains sing when paired with crisp, cool, or creamy companions. Now go create those “wow” moments at your table!
🌟 Discover the Ultimate Family Meal Solution! 🌟
Are you tired of the same old dinner routine? Spice things up with our delicious Chicken Taco Casserole, a family favorite that’s sure to please even the pickiest eaters! Packed with flavor and easy to prepare, this dish is perfect for busy weeknights or cozy family gatherings.
Don’t miss out on the chance to elevate your dinner game—your taste buds will thank you! Dive into our blog now and unlock the secret to creating this mouthwatering casserole that everyone will love.
👉 Read the full recipe today and bring joy to your dinner table!

