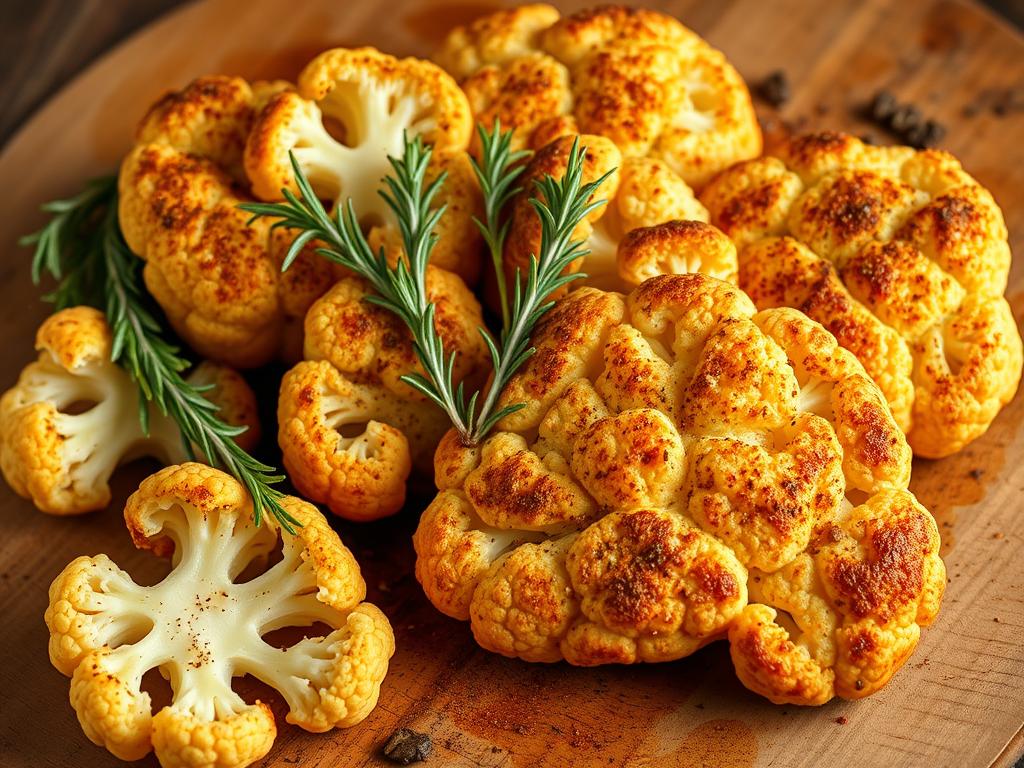
Ever stare at your cutting board, wishing vegetables could excite you as much as a juicy burger? We’ve been there too. That’s why our Cauliflower Steaks Recipe transforms a humble veggie into a dish worth celebrating—golden-brown slabs with crisp, crackling edges and melt-in-your-mouth centers. It’s not magic—it’s just smarter, tastier cooking.
This dish changed how we view weeknight dinners. In 40 minutes flat, you’ll have something that looks fancy but cooks like a breeze. The best part? It adapts to whatever’s in your fridge. Serve it as the star of your plate or let it shine alongside grilled chicken. Even picky eaters ask for seconds.
We’ve cracked the code for that perfect texture contrast. Our method ensures caramelized crispiness without sacrificing tenderness inside. You’ll taste rosemary-kissed warmth and garlic’s cozy punch in every bite. And yes—it reheats beautifully for tomorrow’s lunch.
Key Takeaways
- Ready in under 40 minutes, ideal for busy schedules
- Works as both plant-based main or elegant side dish
- Crispy exterior meets fork-tender center every time
- Packed with nutrients your body will love
- Simple techniques with restaurant-worthy results
Introduction & Recipe Overview
Craving something hearty but want to skip the meat? We’ve got you covered. These golden slabs prove vegetables can be both satisfying and exciting. Their magic lies in transformation – simple prep unlocks rich flavors and textures that surprise even skeptics.
What Makes These Veggie Cutlets Special
Thick slices hold their shape like champions thanks to a clever trick: leaving the core intact. This creates sturdy “steaks” that caramelize beautifully while staying tender inside. As heat works its magic, earthy notes evolve into sweet, nutty flavors crowned with crackling edges.
Why Our Method Never Fails
We’ve tested every variable so you don’t have to. Four pantry staples + smart technique = guaranteed crispy perfection. Whether serving as a meatless main or elegant side dish, it adapts effortlessly. No special skills required – just good ingredients and our foolproof timing.
“The first bite changed how I view weeknight dinners – elegant enough for guests, easy enough for tired Tuesdays.”
What truly sets this approach apart? Consistency. Our roasting method ensures golden results every time, while the short ingredient list means less prep and more flavor focus. It’s the kind of time-saving genius that makes healthy eating feel indulgent.
Essential Ingredients and Tools

What transforms simple veggies into something spectacular? It starts with quality components and smart swaps. Let’s break down exactly what you need – and why each element matters.
Key Ingredients: Cauliflower, Olive Oil, and Spices
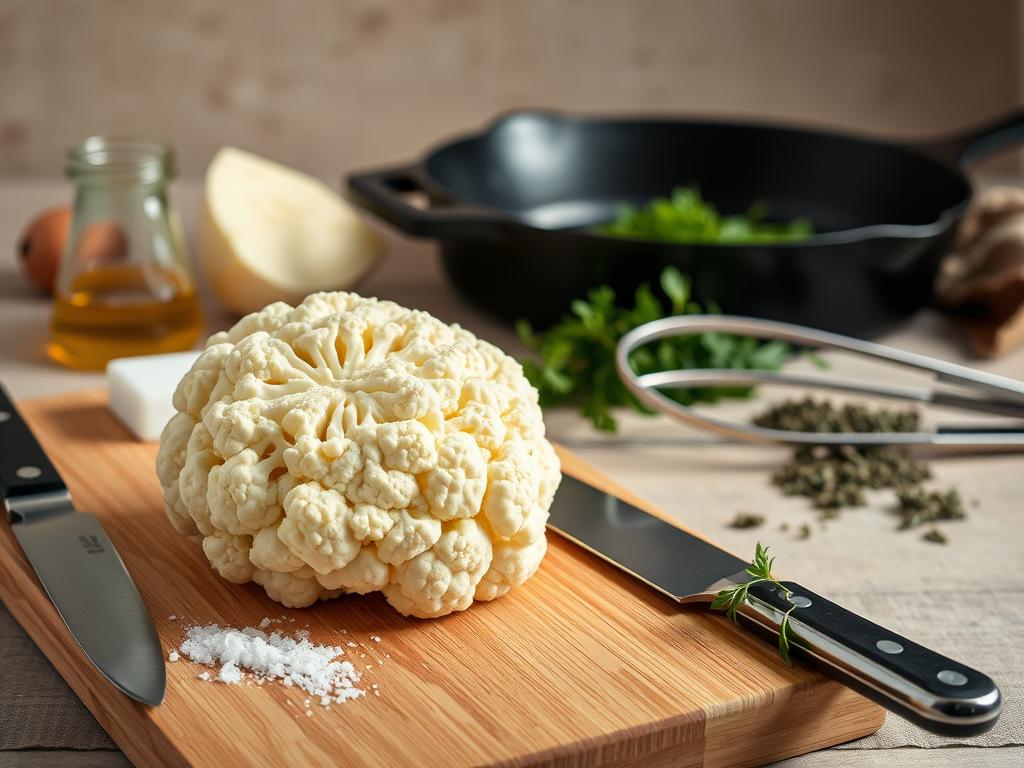
Two fresh cauliflower heads form the foundation. Look for tight florets without brown spots – they caramelize better. Our secret? Keep the core intact when slicing for sturdier cuts.
Rich olive oil creates that golden crust we all crave. Spray versions work wonders for even coating. Melted butter adds indulgence, while avocado oil handles high heat beautifully.
The spice blend makes flavors pop. Kosher salt enhances natural sweetness, while black pepper adds warmth. Garlic powder sticks better than fresh cloves, and paprika brings smoky depth. Try coriander for citrusy notes!
Recommended Equipment & Substitutions
A heavy baking sheet prevents warping at high temps. Silicone brushes spread oil without wasting a drop. Sharpen your knife – clean slices mean fewer crumbles.
No pastry brush? Spoon oil over slices instead. Out of paprika? Chipotle powder adds fiery flair. Even basic pans work if you flip halfway through roasting.
Remember: Florets that break off become bonus roasted bites. Nothing goes to waste when you’ve got the right tools and a dash of creativity!
Prepping the Cauliflower

What’s the secret to picture-perfect veggie slabs that hold their shape? It all starts with smart prep work. We’ve discovered that how you handle the base determines whether you get Instagram-worthy slices or crumbly chaos.
Removing Outer Leaves & Keeping the Core Intact
Grab your fresh head and rinse it under cool water. Gently shake off excess droplets – no need to pat dry completely. Those outer leaves? They’re nature’s protective layer, but we only need to remove the toughest ones.
Slide your fingers between the base and leafy greens. Tug downward until they snap free. Don’t obsess over every tiny leaf – some cling tighter than others and will release during slicing.
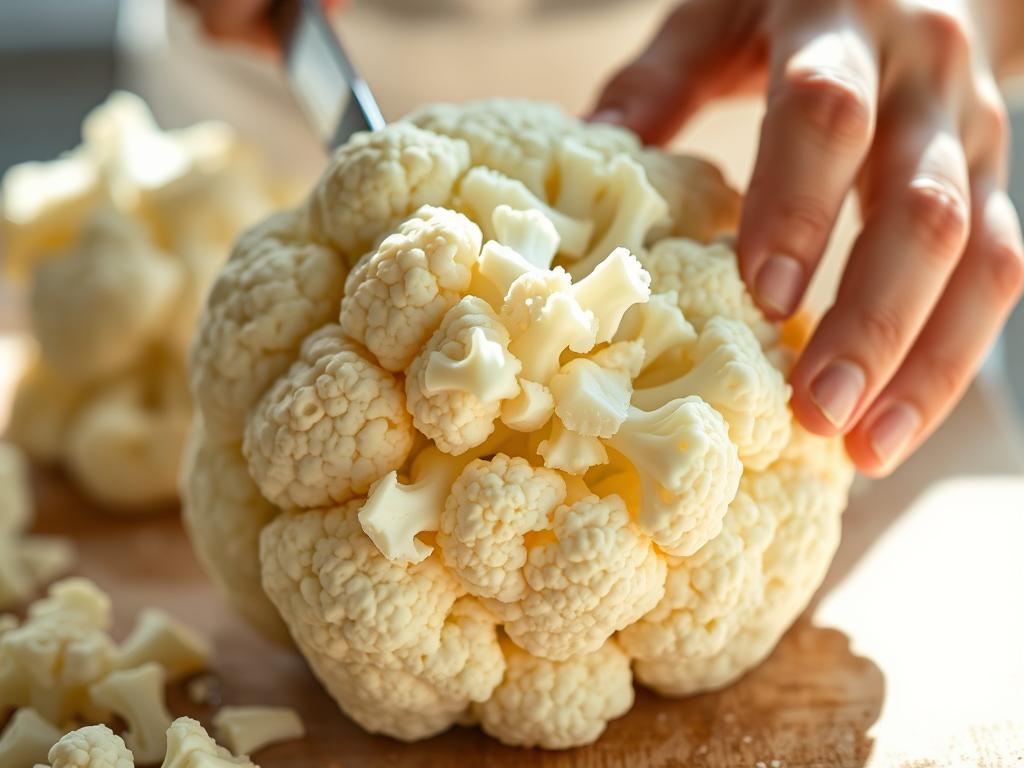
Here’s where magic happens: never cut the core. Think of it as your veggie’s backbone. Trim just the dried-out stem bottom (¼ inch max!), leaving the central structure untouched. This keeps florets locked together like puzzle pieces.
| Step | Proper Technique | Improper Approach |
|---|---|---|
| Leaf Removal | Remove only outer layer | Peeling all green parts |
| Core Handling | Trim base, keep center | Cutting through middle |
| Cleaning | Rinse upside down | Soaking in water |
We learned this the hard way: sliced cores lead to broken “steaks.” The intact heart softens beautifully while roasting, adding subtle sweetness. Plus, those leftover leaves? Toss them in oil and roast for crispy garnishes!
“Treat the core like your favorite cast iron skillet – season it, cherish it, and never throw it away.”
Take your time during this stage. Rushed cuts often remove too much stem support. Remember: patience here means flawless slices later!
The Ultimate “cauliflower steaks recipe” — Tips for Slicing

Mastering the art of slicing transforms ordinary veggies into showstoppers. We’ve found that ¾-inch thickness creates ideal texture – sturdy enough to flip, thin enough to caramelize. Let’s turn that knife into your new best friend.
Slicing Techniques for Thick Portions and Florets
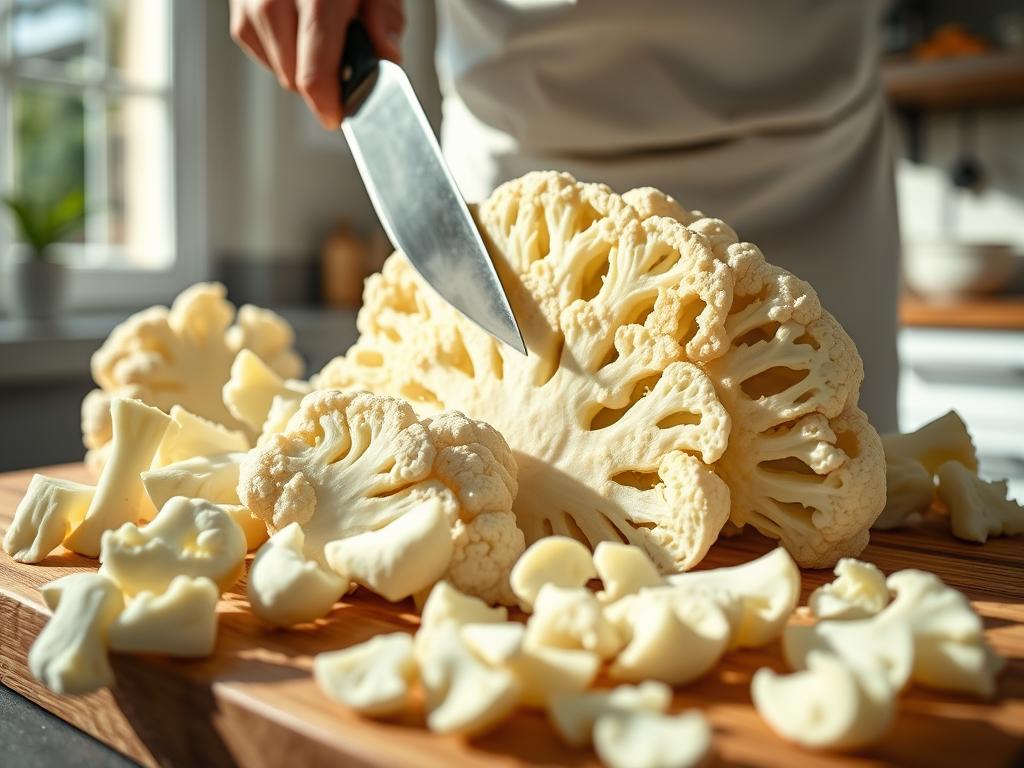
Position your veggie stem-side up – this natural base prevents wobbling. Sharp chef’s knives glide through dense cores like butter, while dull blades crush delicate structures. Remember: Thinner cuts burn faster, thicker ones stay firm.
| Step | Tool | Outcome |
|---|---|---|
| Stem alignment | Sturdy cutting board | Stable slicing surface |
| Knife angle | 8-inch chef’s knife | Clean ¾” slabs |
| Floret recovery | Baking sheet | Zero-waste roasting |
Don’t stress about broken pieces – we call them “flavor confetti”. Those smaller bits crisp up beautifully, creating textural contrast. Pro tip: Crosshatch the stem ends with shallow cuts for faster seasoning absorption.
“A good slice isn’t about perfection – it’s about maximizing flavor potential in every piece.”
Expect 2-3 center cuts per head that hold their shape. Outer portions naturally separate into florets – roast them together! This approach gives you multiple textures from one prep session, making every bite exciting.
Seasoning and Marinade Options

Flavor is your playground here. Whether you crave classic simplicity or bold twists, these seasoning strategies turn humble slices into crave-worthy masterpieces. Let’s explore how four pantry staples become magic dust – and discover exciting ways to mix things up.
Classic Seasoning Mix
Our go-to blend proves less is more. Equal parts garlic powder and paprika create earthy warmth, while kosher salt amplifies natural sweetness. Black pepper adds just enough kick without overpowering.
Why does this combo work? Garlic powder sticks better than fresh cloves during roasting. Paprika brings smoky depth – try smoked varieties for campfire vibes. A quick olive oil spray helps spices cling like glitter to velvet.
Creative Variations
Ready to play? These bold twists will make your taste buds dance:
| Seasoning Type | Key Ingredients | Flavor Profile |
|---|---|---|
| Balsamic Glaze | Aged vinegar + olive oil | Sweet-tangy with caramelized edges |
| Montreal Magic | Steak seasoning blend | Peppery robustness |
| Ranch Remix | Buttermilk powder + dill | Creamy herbaceousness |
| Global Spice | Cumin + curry powder | Warm exotic notes |
Our favorite hack? Whisk olive oil with balsamic vinegar before brushing – it creates lacquered perfection. For heat lovers, add cayenne to the ranch mix. The beauty lies in customization: what tastes like Tuesday night to you could feel like Friday feast to someone else!
“I thought seasonings were just sprinkles – turns out they’re the secret language of flavor!”
Cooking Methods for Perfect Texture
Your cooking approach determines whether you get caramelized edges or mushy middles. We’ve perfected three techniques that deliver consistent results – pick your favorite or rotate based on mood!
Oven Roasting Process
Preheat your oven to 425°F – this high heat kickstarts caramelization. Arrange slices on a baking sheet without crowding. Roast 15 minutes, then flip gently using two spatulas. Spray lightly to refresh the crust, then bake 10 more minutes.
Why this works: The hot sheet creates an instant sear, locking in moisture. Flipping halfway ensures even browning without drying out the centers. Perfect for hands-off cooking!
Grill and Air Fryer Alternatives
Grill masters – oil those grates! Medium-high heat gives smoky char marks in 12 minutes. Air fryer fans: 400°F cooks slices in 10 minutes with aggressive shaking halfway. Both methods deliver crispy exteriors faster than traditional baking.
Pro tip: Grill smaller florets in a basket to prevent fall-through. Air fryer batches stay extra crunchy thanks to rapid air circulation. Your texture preferences decide the tool!
Whichever method you choose, remember: Patience pays off. Let slices rest 3 minutes before serving – that’s when magic settles into every bite. Now go claim those golden-brown victories!
🌱 Kickstart Your Mornings with a Delicious Vegan Breakfast Casserole! 🌱
Are you ready to transform your breakfast routine? Our Vegan Breakfast Casserole is not just a meal; it’s a flavorful journey that fuels your day with wholesome ingredients. Packed with nutrients and bursting with taste, this dish is perfect for anyone looking to enjoy a hearty, plant-based start to their morning.
Don’t miss out on this culinary delight that will have you excited to wake up! Discover the secret to an easy, nutritious breakfast that everyone will love.
👉 Read the full recipe on my blog now and elevate your breakfast game today!

