Ever had one of those mornings where the snooze button wins and breakfast feels impossible? We get it. That’s why we love Breakfast Cookies—a grab-and-go treat that’s wholesome, satisfying, and totally guilt-free. It’s the kind of breakfast that works with your day, not against it.
Imagine biting into a soft, chewy delight where peanut butter hugs rolled oats like old friends. These aren’t just snacks—they’re portable fuel packed with plant-based protein and fiber. And guess what? You only need one bowl to whip them up!
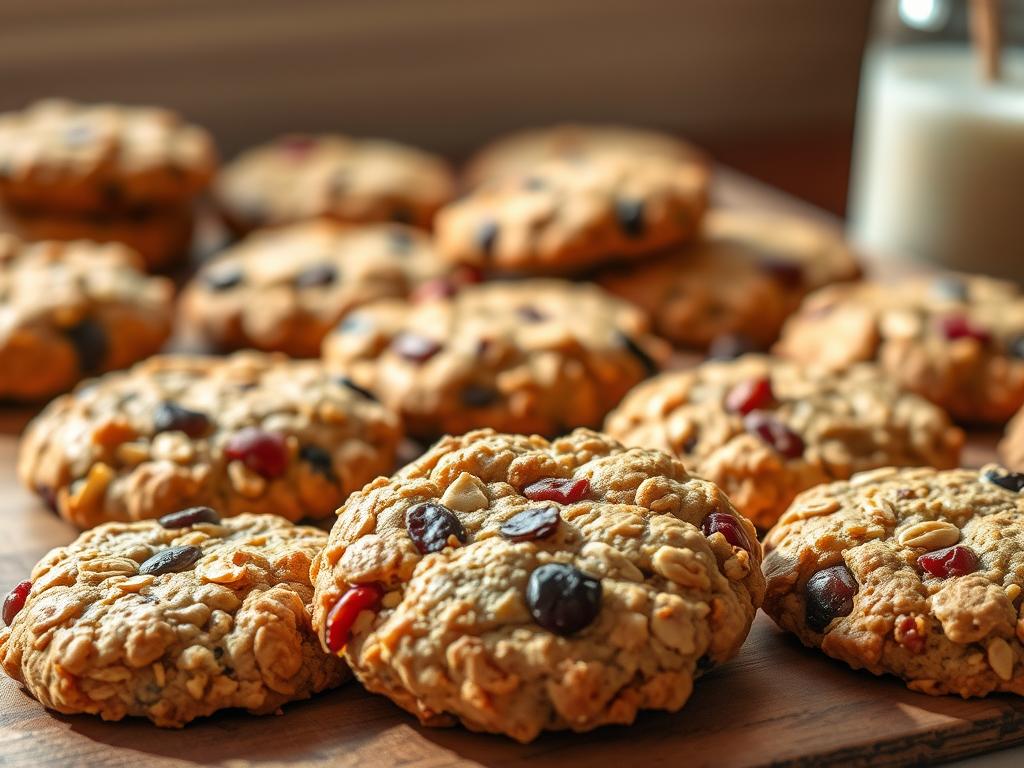
We use simple swaps to keep things gluten-free and vegan. A splash of maple syrup teams up with creamy nut butter as our wet ingredients, binding everything while adding moisture. Then come the fun mix-ins: tart dried cranberries for antioxidants and rich chocolate chips because… well, joy matters too!
Key Takeaways
- Perfect for hectic mornings—grab, go, and stay satisfied
- Peanut butter and oats create a hearty, indulgent texture
- Wet ingredients like maple syrup ensure softness without dairy
- Dried cranberries add vitamin C; dark chocolate boosts mood
- Vegan-friendly and gluten-free for diverse dietary needs
Whether you’re rushing to work or savoring a slow sunrise, these little gems prove that wholesome eating can taste incredible. Ready to make mornings magical? Let’s dive in.
Introduction to Breakfast Cookies
Remember when grabbing a granola bar was the height of breakfast innovation? Today’s eaters want flavor and function in one bite—and that’s exactly where these portable morning stars shine. Let’s explore why they’ve become a pantry staple for busy households.
What Makes These a Great Morning Choice?
Unlike sugary snacks, these baked goods balance nostalgia with nutrition. Nut butter alternatives like almond or sunflower seed add creamy richness and plant-based protein. Pair that with oats for fiber, and you’ve got energy that lasts till lunch.
Dark chocolate chunks aren’t just indulgent—they’re packed with antioxidants. As one nutritionist puts it:
“Smart ingredient swaps turn treats into fuel without sacrificing joy.”
How Modern Eating Embraced Portable Meals
The shift began when bakers reimagined recipes to fit hectic lifestyles. Health-conscious crowds demanded gluten-free options, while foodies craved customization. Now, you’ll find versions with chia seeds, dried blueberries, or even matcha!
| Traditional Cookies | Modern Morning Versions | Key Benefits |
|---|---|---|
| Refined flour | Oats or almond flour | Higher fiber |
| Butter-heavy | Nut butter or avocado oil | Healthy fats |
| Milk chocolate | Dark chocolate (70%+) | Antioxidant boost |
Families love how easily these adapt to allergies or preferences. Swap ingredients, tweak sweetness—every batch becomes your signature creation. Because mornings should feel nourishing, not stressful!
Essential Ingredients and Health Benefits
Great recipes start with smart choices. Let’s explore the building blocks that turn simple baking into power-packed fuel. Every cup and spoonful matters here—we’ll show you why.
What’s in Your Bowl?
Rolled oats form the base, offering slow-release energy and fiber. We pair them with chia or flax seeds for omega-3s. Nut butter binds everything while adding plant-based protein.
Maple syrup keeps things naturally sweet. Dark chocolate chips? They’re not just tasty—studies show cocoa supports heart health. Each ingredient plays multiple roles!
Why These Choices Matter
Oats contain beta-glucan, a fiber known to lower cholesterol. Seeds deliver magnesium for muscle function. Even the baking process matters—quick prep in 20 minutes preserves nutrients better than long cooks.
| Ingredient | Key Nutrient | Daily Benefit |
|---|---|---|
| Oats | Fiber | Supports digestion |
| Chia seeds | Omega-3s | Reduces inflammation |
| Almond butter | Vitamin E | Boosts skin health |
| Maple syrup | Manganese | Aids metabolism |
Need substitutions? Sunflower seed butter works for nut allergies. Gluten-free flour blends replace oats if needed. Quality counts—opt for organic when possible!
You’ll love how these elements create crispy edges with chewy centers. More importantly, they give you steady energy without crashes. That’s how smart baking becomes self-care.
Step-by-Step Cooking Instructions

Let’s roll up our sleeves and transform simple ingredients into morning magic. Follow these easy steps to create treats that’ll make your oven smell like a cozy café!
Preparing the Dough and Wet Ingredients
Start by blending peanut butter and almond butter in a large bowl. Add mashed bananas—they’ll act as nature’s binder while keeping sugar content low. Use a spatula to fold in oats until the dough holds together like playdough.
Pro tip: Chill the mixture for 10 minutes if it feels sticky. This makes shaping easier! Scoop ¼-cup portions onto a parchment-lined sheet, leaving space for spreading. Press chocolate chips gently into each mound—they’ll stay intact during baking.
Baking Techniques and Timing
Always preheat your oven to 350°F—this ensures even cooking from edge to center. Bake for 12-14 minutes until edges turn golden but centers remain soft. Watch closely after minute 10; ovens vary!
Let cool completely before moving. This patience pays off with perfect texture: crispy outside, chewy inside. Store extras in airtight containers—they’ll stay fresh for days (if they last that long!).
Customization and Flavor Variations

Think your recipe needs to stay the same every time? Think again! This dough becomes your canvas—we’ll show you how to paint outside the lines while keeping texture and taste on point.
Ingredient Substitutions for Dietary Needs
Allergy-friendly swaps start with your bowl. Swap peanut butter for sunflower seed spread to dodge nut allergies. Use gluten-free oats if needed—they’ll still give that hearty chew. For vegans, flax eggs bind better than you’d expect!
Need less sugar? Reduce maple syrup by half and add mashed banana. Over time, you’ll find your perfect balance. Just keep wet-to-dry ratios consistent—this prevents crumbly disasters on the sheet.
Creative Mix-Ins and Flavor Boosters
Play with textures using toasted coconut or crushed walnuts. Tart cranberries pair beautifully with dark chocolate, while pumpkin seeds add crunch. A pinch of salt? It makes sweet flavors pop like confetti!
| Classic | Adventurous | Why It Works |
|---|---|---|
| Chocolate chips | Freeze-dried strawberries | Adds fruity tang |
| Rolled oats | Quinoa flakes | Boosts protein |
| Cinnamon | Cardamom + orange zest | Creates complex aroma |
Pro tip: Chill dough 10 minutes before scooping onto the sheet. This prevents spreading and keeps those craggy edges we all love. Your kitchen, your rules—let’s bake some joy!
Tips for Perfect Texture and Taste

Mastering texture transforms good baking into great mornings. We’ve cracked the code for that ideal balance—crispy edges hugging soft centers. Let’s share our favorite kitchen-tested tricks!
Chewy vs. Crunchy: The Sweet Spot
Always transfer treats to a cooling rack immediately after baking. This stops residual heat from over-crisping the bottoms. Pro tip: Line your sheet with parchment paper for even heat distribution and zero sticking!
Room temperature almond butter blends smoother than chilled. Whip it with sweeteners until fluffy—this traps air for lighter bites. As one baker told us:
“Texture lives in the details: proper mixing, precise timing, and patience during cooling.”
Baking Like a Pro Every Time
Store cooled goods in an airtight container with parchment between layers. They’ll stay fresh 5 days or freeze 3 months. For chewier results? Bake 1 minute less than recipes suggest. Want crunch? Extend by 90 seconds.
| Factor | Chewy Texture | Crunchy Texture |
|---|---|---|
| Baking Time | 12-13 minutes | 14-15 minutes |
| Butter Temp | Room temp | Slightly chilled |
| Storage | Bread box | Airtight container |
Oven quirks? Test one batch first. Rotate sheets halfway if heat uneven. Remember—small tweaks make big differences. Your next batch could be your best yet!
Healthy Breakfast Options for On-the-Go

Morning rush got you grabbing whatever’s closest? Let’s make sure your fuel stays fresh and fabulous—even days later. Proper storage keeps treats tasting like they just left the oven while preserving their nutritional punch.
Storing, Freezing, and Reheating Suggestions
For short-term freshness, store cooled goods in an airtight container at room temperature. They’ll stay soft for 5 days—if they last that long! Need longer? Freeze portions on a baking sheet lined with parchment paper first to prevent sticking. Once solid, transfer to freezer bags for up to 3 months.
Craving that just-baked warmth? Always preheat oven to 325°F before reheating. Thaw frozen pieces overnight or pop them straight onto the rack for 8 minutes. As one baker shared:
“Texture revival starts with patience—low and slow brings back the chew!”
Three pro tips for grab-and-go success:
- Portion before freezing: Wrap individual servings in wax paper for instant morning access
- Mix thoroughly: Ensure dry ingredients like oats and flax blend evenly—this prevents crumbles after thawing
- Sweetness hack: Brush cooled treats lightly with maple syrup to revive moisture without adding sugar
Want maximum convenience? Bake a double batch every Sunday. With these strategies, you’ll conquer chaotic mornings while savoring every nourishing bite!
Breakfast Cookies Recipe Guide
Let’s tie everything together with a quick recipe walkthrough and clever tweaks for personal flair. Whether you’re baking your first batch or tenth, these reminders ensure success while leaving room for creativity.
Step-by-Step Breakfast Cookies Recipe Recap
Grab your large bowl—this is where the magic happens. Mash ripe bananas until smooth, then stir in nut butter for protein power. If using an egg or flax substitute, add it now to bind everything. Fold in oats slowly—the dough should feel thick but pliable.
Use rounded tablespoons to portion dough onto sheets. This ensures even baking and perfect circles. Bake 12 minutes at 350°F for soft centers. Let cool completely—they’ll firm up beautifully!
Adapting the Recipe for Personal Preferences
Swap almond butter for cashew or sunflower seed spreads to change flavors. Need more protein? Add hemp seeds or collagen powder. For egg-free versions, chia gel works wonders. Even small changes create new favorites!
| Classic Version | Adventurous Twist | Why It Works |
|---|---|---|
| Mashed banana | Pumpkin puree | Adds moisture + vitamins |
| Peanut butter | Tahini + honey | Savory-sweet balance |
| Chocolate chips | Toasted coconut flakes | Crunchy texture boost |
One baker shared:
“I use applesauce instead of banana for my tree-nut allergic son—they’re still his favorite school snack!”
Remember—your large bowl is a playground. Mix in dried mango with macadamia butter. Try date syrup instead of maple. Every tweak makes these protein-packed bites uniquely yours!
Conclusion
We’ve all faced days when time feels scarce but hunger demands attention. That’s why these golden rounds shine—they’re more than a morning solution. Whether you need quick fuel or an afternoon pick-me-up, this recipe delivers wholesome satisfaction in every bite.
Customization is where the magic happens. Fold in dried mango for tropical vibes or walnuts for crunch. Swap chocolate chips for freeze-dried berries to let natural fruit flavors take center stage. Your kitchen becomes a playground for nourishing creativity!
We love how these treats bridge gaps between nutrition and indulgence. Packed with oats’ fiber and nut butter’s protein, they keep energy steady. Yet they still feel like a proper snack—soft, chewy, and deeply satisfying.
Share your creations online using #MorningMagicBites! Whether you tweak ingredients for allergies or invent new flavor combos, each batch tells your story. Because great food grows better when we bake together.
Ready to transform hectic days? Whip up a batch this weekend. Tuck them in lunchboxes, gym bags, or your desk drawer. When hunger strikes, you’ll have smart fuel that tastes like home—and joy.
Indulge in a dessert experience like no other with our Crescent Roll Cheesecake: A Delicious Twist on a Classic! This delightful recipe combines the flaky goodness of crescent rolls with the creamy richness of cheesecake, creating a treat that will wow your taste buds and impress your guests.
Don’t miss out on this mouthwatering twist that’s perfect for any occasion—whether it’s a family gathering or a cozy night in. Discover the secret to this delectable dessert now!
👉 Read the full recipe on my blog today and elevate your dessert game!
1 thought on “Breakfast Cookies: Healthy and Satisfying Start to Your Day”
Comments are closed.