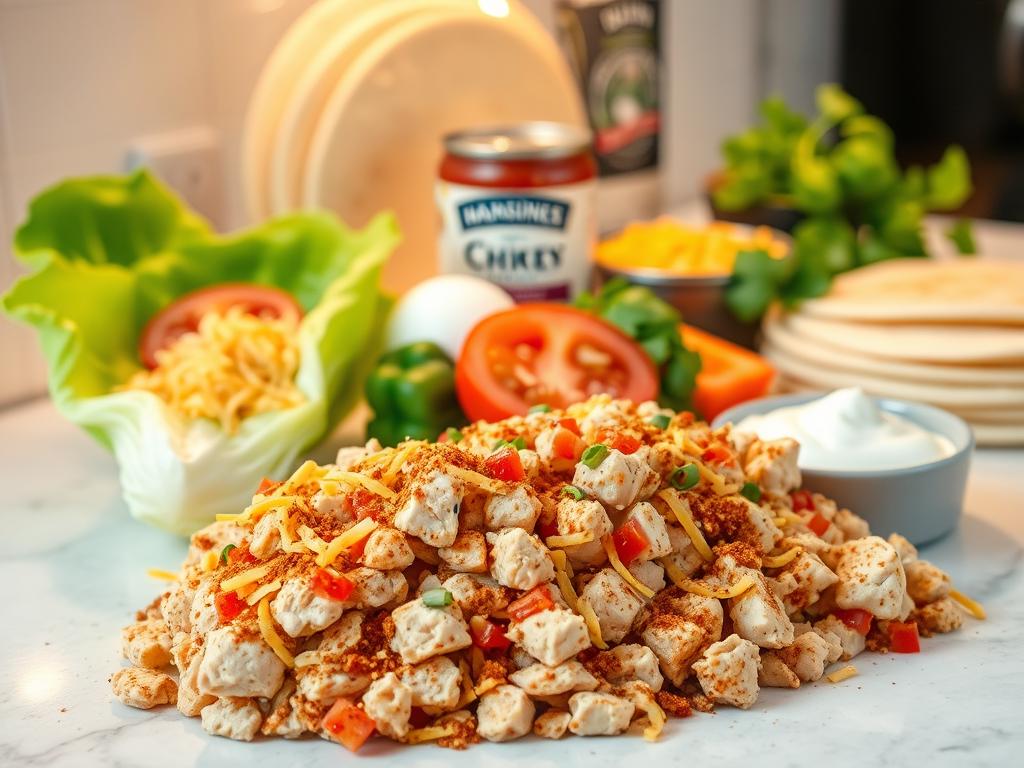
We’ve all had those nights when making dinner feels impossible—work, school, and endless to-do lists pulling you in every direction. That’s why Chicken Taco Casserole is our kitchen hero. Creamy, loaded with flavor, and bringing all the fun of taco night into one comforting bake, it’s the weeknight win everyone will love.
Picture this: golden cheese bubbling over seasoned shredded poultry, colorful veggies peeking through a rich sauce, and that irresistible aroma filling your kitchen. This one-pan wonder transforms simple ingredients into magic, using clever shortcuts like pre-cooked rotisserie meat to save precious time. It’s the kind of meal that makes kids cheer and adults sneak second helpings.
What makes this dish special isn’t just its taste – it’s how it brings people together. We’ve watched picky eaters clean their plates and heard countless stories from readers who’ve made it their own. One parent told us it’s now their “Wednesday night tradition,” while a college student shared how it helped them feel connected to home.
Key Takeaways
- Combines taco flavors with easy casserole preparation
- Uses time-saving ingredients like rotisserie meat
- Customizable for different dietary needs
- Minimal cleanup with single-dish cooking
- Family-approved by both kids and adults
- Perfect for meal prep and leftovers
Overview of the Chicken Taco Casserole
Imagine a meal that effortlessly combines convenience with bold flavors. Our beloved bake transforms taco night into a stress-free experience, blending creamy textures with zesty seasonings in one dish. Whether you’re hosting friends or feeding hungry kids, this recipe adapts to any occasion.
What Makes It a Go-To Family Dinner
This dish shines because it solves three universal problems: time, taste, and flexibility. Rotisserie meat cuts prep work in half, while the saucy base keeps every bite moist. We love how it:
- Welcomes custom additions like black beans or roasted corn
- Holds perfectly for after-school snacks or late-night cravings
- Travels well to parties without losing its appeal
One parent told us: “My teens actually argue over who gets the last serving!”
The Story Behind the Recipe
This creation came from real-life needs. After dozens of requests for a make-ahead meal that wouldn’t dry out, we tested 27 versions. The winner? A clever layering technique that locks in moisture. Food blogger Jamie Rivera praised it as “the Goldilocks of casseroles – not too heavy, not too bland, just right.”
Today, it’s the most-shared recipe in our community, with fans adding their twists. From gluten-free tortilla chips to vegan cheese swaps, this dish invites creativity while staying reliably delicious.
Why This Recipe is a Family Favorite
What transforms a good dish into a household legend? It’s that magical combination of flavor, flexibility, and fuss-free prep – and this recipe nails all three. We’ve seen it bridge generational gaps at dinner tables, turning “meh” Mondays into moments worth savoring.
The beauty lies in its adaptability. Swap in cauliflower rice for carb-conscious folks, or add jalapeños for spice enthusiasts. One parent shared: “My son piles on avocado, while my daughter adds extra cheese – everyone feels heard.” This personal touch transforms a simple meal into their meal.
Busy households adore how it simplifies planning. Prep it Sunday night, and you’ve got four days of stress-free dinners that actually improve over time. The sauce soaks into every layer, creating richer flavors by day two. No wonder college students call it their “dorm room survival food”!
But the real magic? How it turns rushed meals into connection points. A grandparent told us: “It’s the one dish my grandkids ask for every visit – we bond over sprinkling the cheese together.” That’s the power of food that feels like home, yet never gets boring.
Essential Ingredients for a Perfect Chicken Taco Casserole

Great meals start with smart ingredient choices. Our crowd-pleasing bake combines pantry staples with fresh flavors for that perfect balance of convenience and taste. Let’s break down what makes this combination work so well.
Core Ingredients and Measurements
This recipe’s magic comes from seven key components:
- 2 cups cooked poultry (rotisserie works wonders)
- 15-oz can black beans – rinsed for creamier texture
- 10-oz diced tomatoes with chilies – flavor boosters!
- 1 packet taco seasoning – or homemade spice blend
- 1¼ cups sour cream – creates the lush base
- 2 cups shredded cheese – Colby Jack’s our favorite
- 1 cup crushed chips – adds that craveable crunch
Substitution and Variation Ideas
We love how this dish adapts to different needs:
Swap sour cream for Greek yogurt if you want extra protein. Try pinto beans instead of black beans for variety. For vegetarians, double the beans or add meatless crumbles. One reader shared: “We use pepper jack cheese and add roasted poblano peppers – gives it amazing depth!”
Don’t hesitate to toss in extra veggies. Bell peppers or zucchini blend beautifully. The taco seasoning remains the star, tying all elements together in every satisfying bite.
Step-by-Step Preparation Process

Let’s roll up our sleeves and transform simple ingredients into something extraordinary! This foolproof method ensures your creation comes together smoothly, even on hectic weeknights.
Prepping Your Ingredients
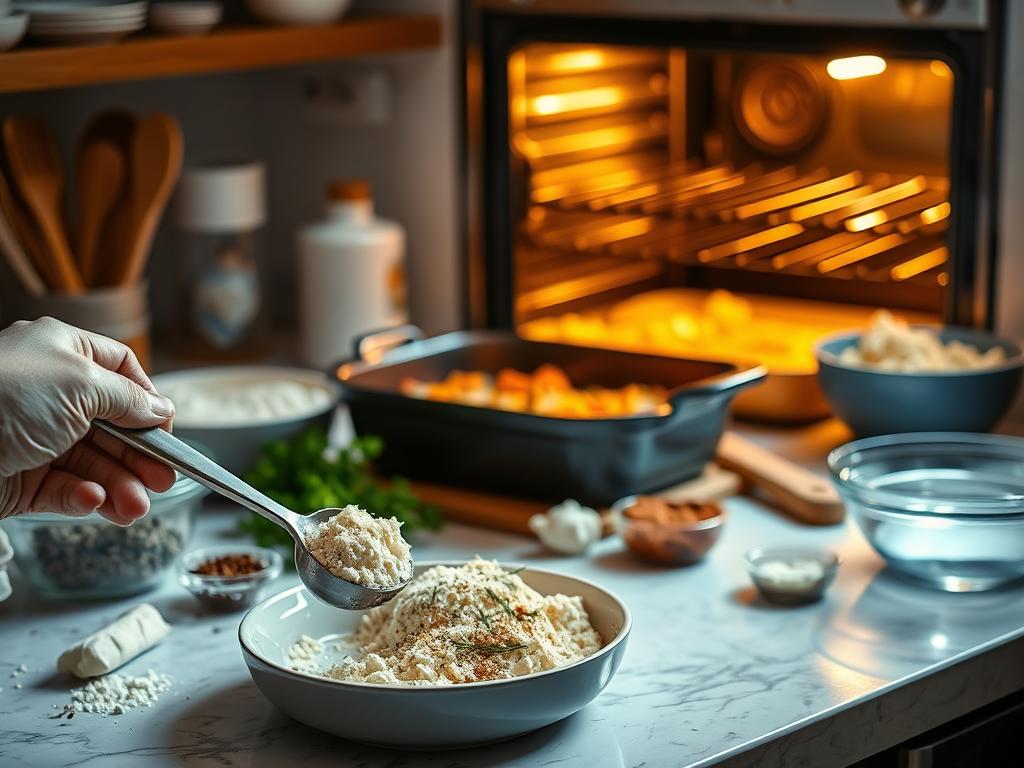
First things first: preheat your oven to 350°F. Grab that trusty 2½-quart dish and give it a quick grease – this golden rule prevents sticking and makes cleanup breeze.
Now let’s build flavor:
- Sizzle diced onions and bell peppers in oil until they sing with aroma
- Toss in shredded poultry, black beans, and corn – the dream team!
- Stir in zesty tomatoes and seasoning until everything’s coated in that signature spice
Here’s our pro tip: “Let the mixture mingle off heat before adding creamy elements.” Fold in sour cream and half the cheese gently – this keeps the texture luxuriously smooth.
| Step | Time Saver | Flavor Boost |
|---|---|---|
| Oven Prep | 5 min | Even cooking |
| Veggie Sauté | 7 min | Caramelized sweetness |
| Mixing | 3 min | Spice distribution |
Once your creation is nestled in the baking dish, you’re minutes away from magic. One reader shared: “I love how the colors peek through before baking – like edible confetti!”
Baking Tips and Techniques for Success

Mastering the bake transforms good ingredients into something magical. We’ve learned through dozens of test runs that temperature control makes all the difference. Set your oven to 350°F – the Goldilocks zone where flavors meld without scorching toppings.
Here’s our foolproof method: Start by covering your baking dish with foil for the first 20 minutes. This traps steam to soften veggies while preventing premature browning. One reader shared: “I used to skip this step – now I never do! The texture improvement is incredible.”
Watch for these visual cues rather than clock-watching:
- Bubbles dancing around the edges at 25-minute mark
- Golden cheese crown forming in final 5 minutes
- Juices thickening slightly when you jiggle the dish
Chilled leftovers need special care. Add 8-10 minutes to baking time if going straight from fridge to oven. Our secret? Slide a butter knife into the center after 15 minutes – if it comes out warm, you’re golden!
| Scenario | Adjustment | Result |
|---|---|---|
| Cold Start | +10 minutes | Even heating |
| Quick Browning | Foil tent | Protected top |
| Cheese Perfection | Uncovered finish | Crispy edges |
Remember, ovens vary – trust your eyes over timers. That moment when cheese cascades down the sides? That’s your dinner bell ringing!
How to Achieve the Perfect Cheese Melt

The secret to unforgettable meals often lies in the details. For our beloved bake, that magic touch comes from mastering the cheese melt. We’ve cracked the code for achieving that glossy, golden finish that makes everyone’s eyes light up.
Start with quality shredded cheese – pre-shredded blends work, but hand-grated melts smoother. Mix half into the filling for creaminess, then layer the rest on top after adding chips. This creates a protective crust that stays crispy while sealing in moisture.
| Cheese Type | Melt Quality | Flavor Profile |
|---|---|---|
| Colby Jack | Silky smooth | Mild & buttery |
| Mexican Blend | Bubbly crust | Zesty kick |
| Cheddar | Sharp edges | Bold tang |
Bake uncovered at 350°F on the middle oven rack. Watch for these signs of perfection:
- Uniform bubbles across the surface
- Golden-brown speckles forming
- Chips peeking through melted layers
For extra wow factor, add a final sprinkle of shredded cheese during the last 3 minutes. One reader raved: “It looks like it came from a gourmet kitchen!” Let rest 5 minutes before serving – this lets the cheese set beautifully without losing its gooey charm.
Serving
What’s better than pulling a bubbling dish from the oven? The moment when golden cheese meets colorful toppings! We love setting up a build-your-own station with lime wedges, fresh cilantro, and creamy avocado slices. It turns dinner into an interactive experience where everyone crafts their perfect bite.
For picture-perfect portions, let it rest 8 minutes after baking. This crucial pause lets layers settle so each scoop holds its shape. Pair with crisp romaine salad or citrusy slaw to balance the rich flavors. Leftovers? They’re even better next day – just reheat single servings in a skillet to revive that crispy texture.
One parent shared: “My kids pack leftovers in lunchboxes with tortilla chips – genius!” Whether you’re feeding a crowd or meal prepping, this dish keeps its charm from first serving to last delicious bite. Now grab those plates – your new favorite tradition awaits!
Indulge in Ultimate Comfort: Discover the Creamy Cheeseburger Pasta Recipe! 🍝✨
Are you ready to elevate your dinner game with a dish that combines the rich flavors of a cheeseburger and the creamy goodness of pasta? This Creamy Cheeseburger Pasta is not just a meal; it’s an experience that will warm your heart and satisfy your cravings! Perfect for busy weeknights or cozy weekends, this recipe is sure to become a family favorite.
Don’t miss out on the chance to impress your loved ones with this mouthwatering comfort dish! Read the full article on my blog now and unlock the secrets to creating this delicious masterpiece. Your taste buds will thank you—so what are you waiting for? Click here to dive into the recipe today!

