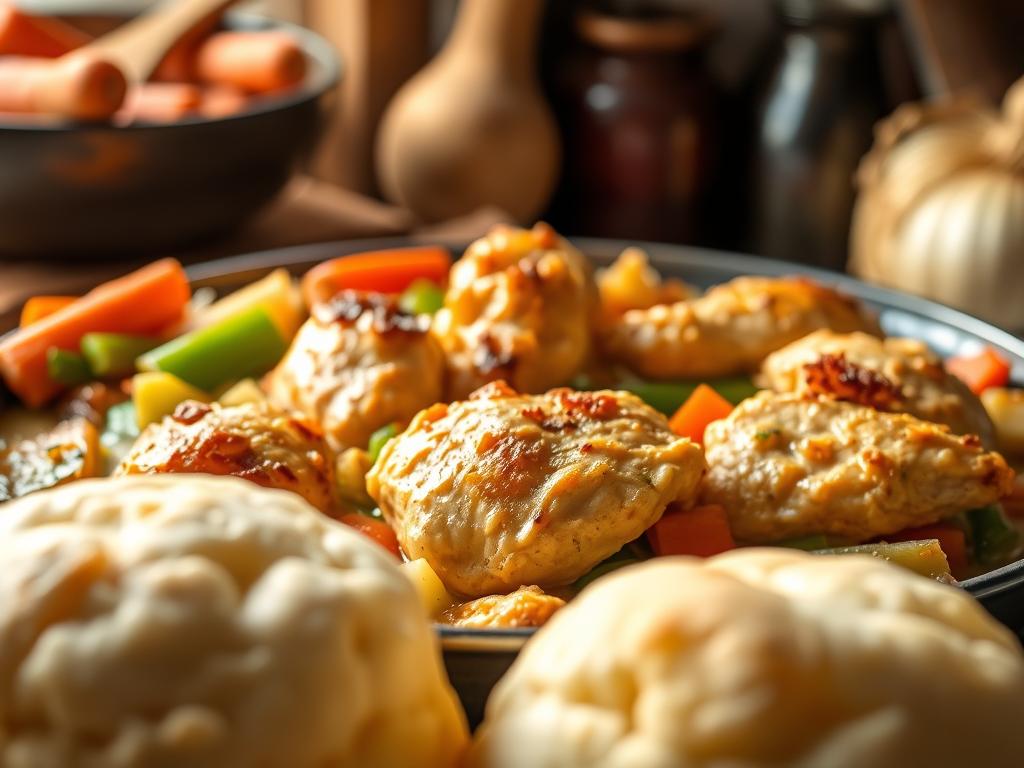
Ever had one of those evenings when you crave something warm, hearty, and made with love? We’ve all been there. Picture this: golden light spilling through the kitchen window, laughter filling the air, and a bubbling Chicken Vegetable Casserole fresh from the oven. That’s the kind of magic we’re bringing to your table tonight.
This recipe isn’t just about ingredients – it’s about creating moments. We’ve crafted a creamy, nutrient-packed meal that wraps tender protein and garden-fresh produce in one cozy package. It’s the kind of dish that makes rushed weeknights feel special and leaves everyone asking for seconds.
What makes this our go-to? Simplicity meets flexibility. Use what’s in your fridge, swap veggies based on seasons, or adjust portions for meal prep. It’s designed to work for you, not the other way around. Plus, it reheats beautifully – because good food should make life easier, not harder.
Key Takeaways
- Ideal for busy families needing quick, satisfying dinners
- Balances comfort and nutrition without sacrificing flavor
- Easy to customize with seasonal ingredients
- Makes excellent leftovers for meal planning
- Uses common pantry staples creatively
Introduction to a Hearty Meal
There’s a reason we return to certain dishes time and again. Comfort food isn’t just about filling bellies – it’s about feeding connections. Think of those moments when a single bite feels like a warm hug, turning ordinary evenings into something memorable.
The Magic of Nostalgia on a Plate
We’ve all experienced it – that first forkful transporting you back to childhood dinners or holiday gatherings. Our recipe taps into this emotional power through:
- Rich textures that satisfy both body and spirit
- Familiar aromas sparking instant recognition
- Balanced flavors creating instant contentment
“The best meals aren’t measured by complexity, but by the joy they create.”
Built for Real Life
What sets this dish apart? Practical magic. While many comfort foods demand hours of effort, ours works with your schedule. Use frozen produce when fresh isn’t available, swap proteins based on what’s on sale, or double the batch for stress-free leftovers. It’s designed to adapt, not complicate.
We’ve tested it with beginners and seasoned cooks alike – the results always bring people together. That’s the true measure of a great recipe: its ability to turn hectic weeknights into shared experiences worth savoring.
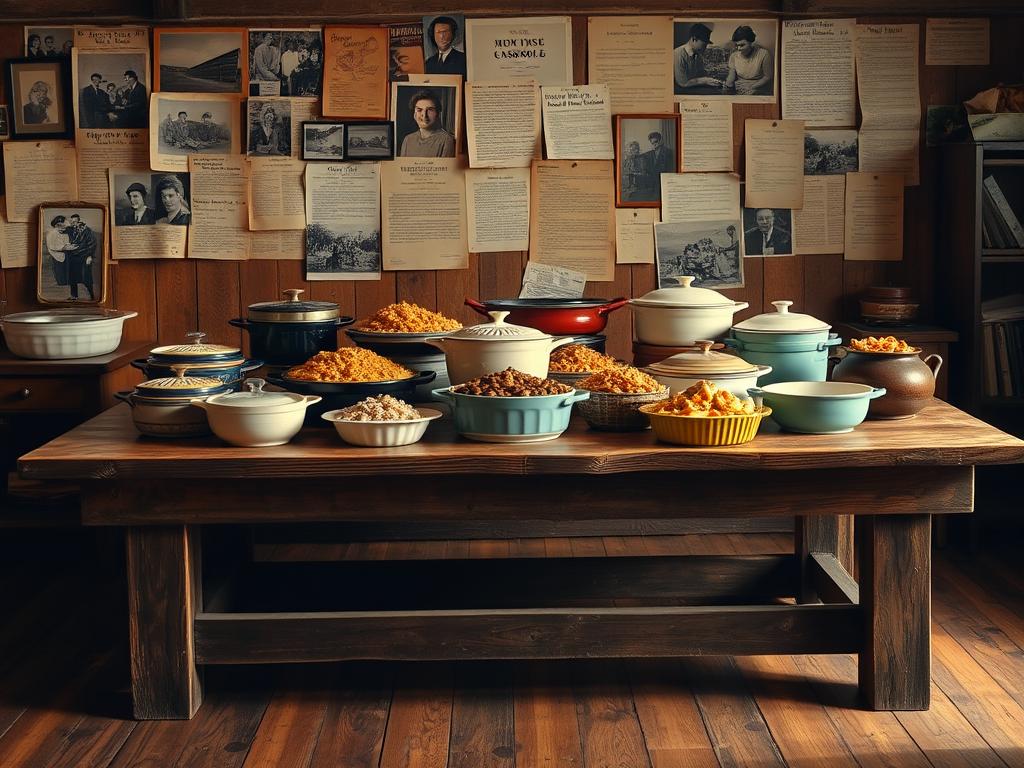
The History and Cultural Significance of Casseroles

Have you ever wondered how humble oven-baked dishes became central to family meals? Their story reveals how necessity and creativity shaped American cooking. Let’s explore how these layered meals became symbols of resourcefulness and comfort.
Origins of the Casserole Concept
The term traces back to French “casse” – a deep saucepan. Early versions weren’t elaborate. Think crusty bread layered with broth-soaked meats. By the 1700s, baked pasta dishes like simple macaroni and cheese emerged as early prototypes.
Three key factors fueled their spread:
- Immigrant families blending Old World techniques with local ingredients
- The rise of affordable cast-iron cookware
- Agricultural shifts making grains and dairy more accessible
Evolution in American Kitchens
Everything changed during the 1930s. Economic hardship turned these dishes into survival tools. Home cooks mastered the art of transforming scraps into sustenance:
- Yesterday’s boiled potatoes became creamy bases
- Meat trimmings added protein without cost
- Wilting veggies gained new life under cheese crusts
This ingenuity birthed iconic American recipes we still love. Today’s versions honor that spirit – flexible, forgiving, and focused on bringing people together. Whether using farm-fresh produce or pantry staples, the heart remains the same: nourishment that adapts to your life.
Ingredients Overview and Essential Prep Tips

What transforms simple items into a memorable meal? It starts with smart choices that balance flavor, texture, and convenience. Let’s explore how each component works together – and how to make prep work for your schedule.
Building Blocks of Flavor
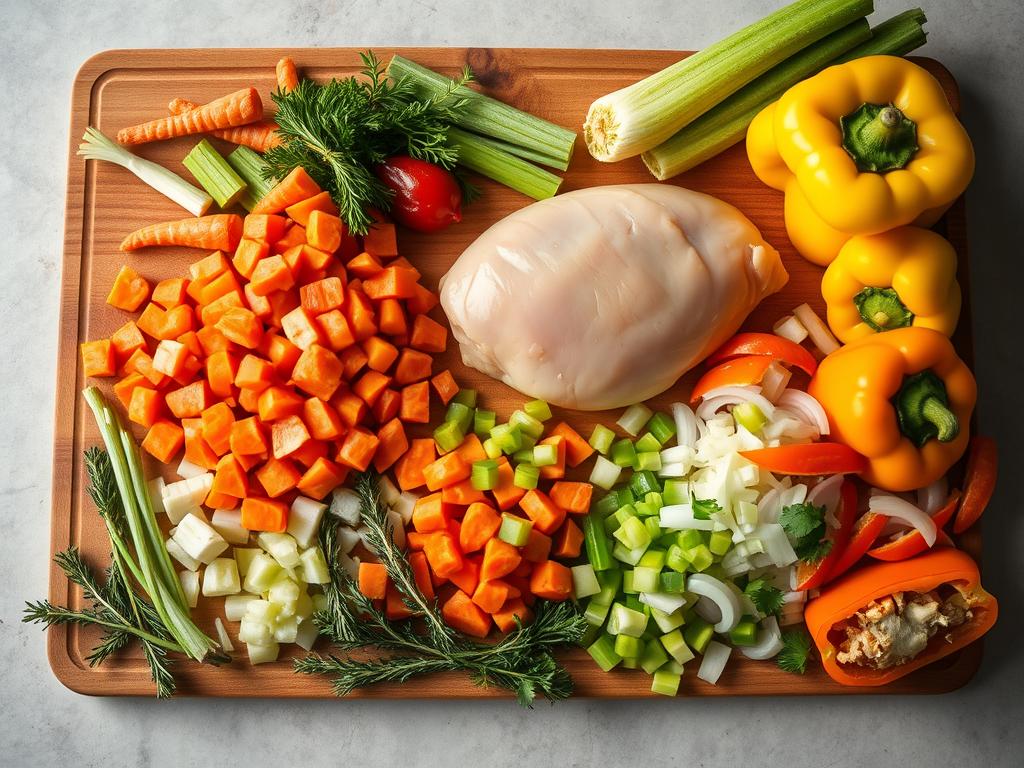
Rotisserie chicken shines as our time-saving hero, offering ready-to-use protein. Broccoli and cauliflower add crunch, while spinach keeps things tender. Frozen mixed veggies? They’re perfect for busy nights.
Greek yogurt teams up with sharp cheddar for a rich yet light sauce. Eggs act as the binder, ensuring every scoop holds together. Don’t skip the garlic and onion – these aromatics create the savory base that makes taste buds dance.
Streamlined Preparation Methods
Steam fresh florets just until bright and slightly firm – they’ll finish cooking in the oven. Shred your rotisserie bird using two forks for feathery strands that mix evenly.
Prefer shortcuts? Use frozen produce straight from the bag. Love crispy tops? Sprinkle parmesan crisps before baking. Whether you’re team canned soup or homemade roux (butter + flour = magic), we’ve got your back.
Remember: This dish thrives on your preferences. Swap sage for thyme, add mushrooms, or go wild with pepper jack cheese. Good food adapts – and so can you.
Step-by-Step Cooking Process
Ready to transform fresh ingredients into a crowd-pleasing meal? Let’s break down each stage to build layers of flavor while keeping things simple. We’ll guide you through steaming, sautéing, and mixing techniques that guarantee success.
Steaming and Sautéing Techniques
Start with your florets in a deep pan – 1 inch of water and a pinch of salt work wonders. Steam covered for 15-18 minutes until tender but firm. This preserves texture better than boiling. As they cook, preheat the oven to 375°F – perfect timing for efficiency!
Reuse the same pan for sautéing. Heat olive oil until shimmering, then cook diced onion for 2 minutes. Add spinach and garlic, letting them wilt just enough to release aromas without losing vibrancy.
Mixing and Assembling the Casserole
In your largest mixing bowl, whisk eggs with Greek yogurt and milk until smooth. Fold in shredded rotisserie chicken, steamed florets, and sautéed greens. Season generously – this is where personality shines through!
Transfer to a greased 9×13 dish, spreading evenly. Top with cheese for that golden crust we all crave. Bake 35 minutes – ideal for tossing a salad or setting the table while savory scents fill your kitchen.
Pro Tip: Let the dish rest 5 minutes after baking. This helps the creamy base set for cleaner slices. Those extra minutes make all the difference between good and restaurant-quality results!
Mastering the chicken vegetable casserole

What transforms a simple meal into a family favorite? We’ve discovered three game-changing techniques that elevate every bite. Let’s explore how small adjustments create big flavor impacts while keeping prep time manageable.
Moisture control makes or breaks your creation. Always pat steamed veggies dry with paper towels – residual water turns creamy bases soupy. For perfect consistency, mix wet and dry ingredients separately before combining.
Layering matters more than you think. Alternate protein, veggies, and sauce in distinct strata rather than tossing everything together. This approach ensures balanced flavor distribution and creates Instagram-worthy slices when served.
| Basic Method | Master Technique | Result |
|---|---|---|
| Seasoning final mix | Salt each component separately | Depth of flavor |
| 425°F entire bake | Start high, reduce to 375°F | Crispy top, tender center |
| Immediate serving | 12-minute rest period | Clean slices |
Watch for bubbling edges and golden-brown surfaces – these visual cues never lie. If your top isn’t browning evenly, briefly broil while watching like a hawk. That resting time? It’s not optional. Letting proteins reabsorb juices means every forkful stays moist.
These methods turn weeknight dinners into special occasion stars. Imagine serving slices that hold their shape, bursting with distinct yet harmonious flavors. That’s the power of mastered techniques – and your kitchen deserves that magic.
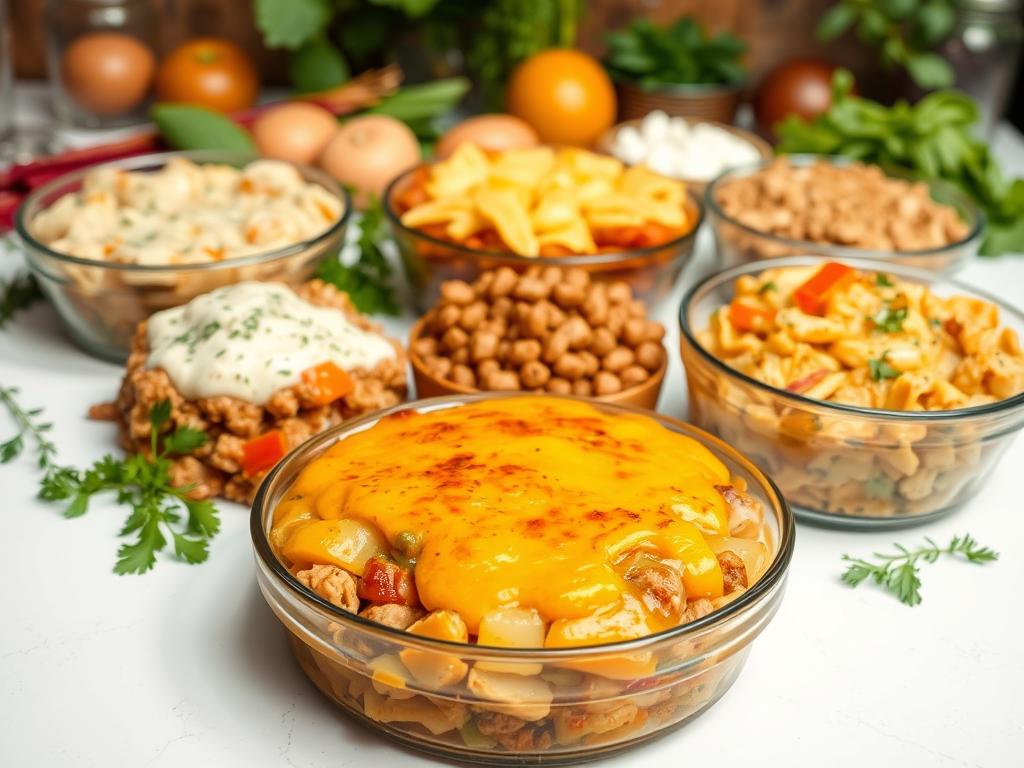
Creative Variations and Substitutions

Want to reinvent your go-to dish without starting from scratch? We’ve seen countless readers make this recipe their own through clever twists. Let’s explore how simple swaps can spark new excitement at your table.
Fresh Takes on Ingredients
Butternut squash brings vibrant color and natural sweetness when swapped for cauliflower. Try zucchini ribbons or diced carrots for extra crunch. Mushrooms add earthy depth, while frozen spinach simplifies prep without sacrificing nutrition.
Pre-cooked wild rice transforms this into a hearty main course, absorbing flavors beautifully. For protein changes, leftover turkey blends seamlessly, and smoked ham adds bold character. Even cooked lentils work for plant-based versions!
Flavor-Boosting Toppings & Cheese Combos
Mix sharp cheddar with nutty Gruyère for complexity, or kick up the heat with pepper jack. Crushed tortilla chips tossed with cheese create a crunchy Tex-Mex crown. Love that green bean casserole vibe? Sprinkle crispy fried onions during the last 5 minutes of baking.
Our favorite game-changing trick: Stir Dijon mustard into the sauce base. It adds brightness that cuts through richness. For southwestern flair, layer corn, black beans, and a spoonful of salsa between veggie strata.
| Ingredient | Swap Idea | Flavor Impact |
|---|---|---|
| Cauliflower | Butternut squash | Sweet, colorful |
| Spinach | Shredded cabbage | Crunchy texture |
| Breadcrumbs | Crushed chips | Salty crunch |
These adaptations prove one recipe can become dozens of distinct meals. Whether using seasonal produce or cleaning out the fridge, every version keeps dinner rotations exciting. What will your signature twist be?
Tips for Perfecting Texture and Flavor
What separates good dishes from unforgettable ones? It’s all about mastering contrasts. We’ve cracked the code for creating meals that delight both the palate and the senses through smart textural play.
Our favorite trick? Swapping heavy cream with Greek yogurt. This simple switch keeps your sauce luxuriously thick while adding a bright tang. Just whisk it with eggs and milk – you’ll get richness without the guilt.
Balancing Creaminess and Crunch
Pat steamed veggies dry with paper towels. This step prevents watery disasters and lets the flavor of your ingredients shine. For maximum crunch, try parmesan crisps or buttered panko crumbs on top.
| Texture Mistake | Smart Fix | Why It Works |
|---|---|---|
| Soggy vegetables | Cool & drain thoroughly | Removes excess moisture |
| Bland seasoning | Salt each layer separately | Builds depth |
| Pale topping | Broil 90 seconds | Creates golden brown finish |
Butter makes magic happen in your crust. Use 1 tablespoon per cup of breadcrumbs – enough to coat without greasiness. Bake at 375°F until edges bubble, then rest 12 minutes. This waiting game lets the sauce set for picture-perfect slices.
“Texture is the unsung hero of comfort food,” says chef Marco Pierre. We couldn’t agree more. By balancing creamy bases with crispy elements, you transform every bite into an experience. Your fork will dance between silky and crunchy – exactly how great food should feel.
Nutritional Information and Serving Suggestions
Let’s talk about what makes this dish both satisfying and smart for your table. We believe good eating means balancing flavor with nourishment—no compromises needed. Whether you’re tracking macros or simply want wholesome family meals, understanding what’s in your food matters.
Breaking Down the Numbers
Each serving delivers around 380 calories, striking that sweet spot between hearty and mindful. The balance comes from 22g protein for staying power, 28g carbs for energy, and 18g fat (mostly the good kind from olive oil and cheese). We love that 35% of your daily calcium needs get checked off too!
Making It Work for Your Crew
Pair it with a crisp apple-walnut salad for contrasting textures. For picky eaters? Try roasted sweet potato wedges—their natural sweetness balances savory flavors perfectly. Leftovers become tomorrow’s star when stuffed into whole-grain wraps with fresh greens.
Remember: These numbers reflect our base recipe. Swapping ingredients? Adjust seasonings or cheese amounts to hit your ideal nutrition targets. Every family’s needs differ, and that’s okay—the goal is creating meals that nourish bodies and connections equally.
Indulge in Comfort: Discover the Irresistible Crack Chicken Casserole!
Are you ready to elevate your dinner game with a dish that’s not only creamy and comforting but also bursting with flavor? Our latest blog post dives into the mouthwatering world of Crack Chicken Casserole, a recipe that will have your family begging for seconds! Perfect for busy weeknights or cozy gatherings, this dish combines tender chicken, rich cheese, and savory spices to create a meal that warms the heart and satisfies the soul.
Don’t miss out on this culinary delight! Read the article now and unlock the secret to effortless comfort food. Your taste buds will thank you!

