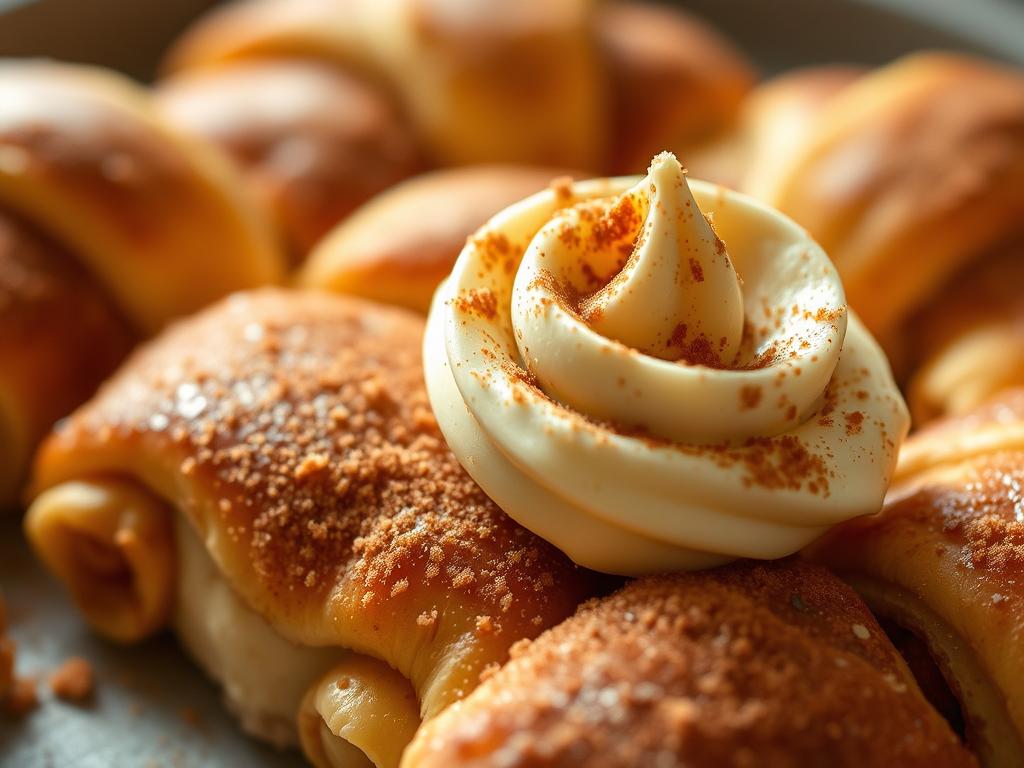
Do you remember the smell of freshly baked desserts wafting through your grandma’s kitchen? That comforting aroma of buttery pastry and sweet, creamy goodness? For many of us, those memories are wrapped in warmth and nostalgia. Now, picture this: Crescent Roll Cheesecake—a dessert that takes those cozy feelings and wraps them in golden, flaky layers. It’s the perfect marriage of pillowy crescent dough and rich, velvety cheesecake filling. Dreamy? Absolutely.
This isn’t just another recipe. It’s a bridge between generations. One bite might remind you of Sunday brunches or holiday gatherings, where laughter and dessert were equally abundant. The magic lies in its simplicity: a golden, crisp crust hugging a silky-smooth center, all kissed by hints of vanilla and cinnamon. And the best part? You don’t need to be a pastry chef to master it.
We’ve all had those moments when we crave indulgence without the hassle. That’s why this treat is perfect for busy weeknights and special occasions. Whether you’re new to baking or a seasoned pro, you’ll love how effortlessly it comes together. Let’s create something that’ll have everyone asking, “Can I have seconds?”
Key Takeaways
- Combines flaky pastry with rich, creamy filling for a unique dessert experience
- Uses pre-made dough to simplify preparation without sacrificing flavor
- Evokes nostalgic memories of family gatherings and homemade treats
- Perfect balance of textures: crisp exterior meets velvety interior
- Requires minimal ingredients and time, ideal for cooks of all skill levels
Introduction
Ever tried making dessert that feels fancy but takes less effort than folding laundry? That’s the beauty here. We’re talking about pre-made dough transformed into golden layers cradling a cloud-like center—all ready in under an hour. No fancy tools needed, just your trusty baking dish and a craving for something special.
The Magic of Minimal Effort
Start by pressing store-bought dough into your dish. The real star? A velvety mixture of cream cheese, sugar, and vanilla that pours like silk. Spread it over the base, add another dough layer, and bake. That’s it—no rolling pins or pastry skills required.
Texture Play That Delights
What makes this treat unforgettable? The contrast. Crispy edges give way to a melt-in-your-mouth middle, while cinnamon sugar adds a sparkle of crunch. It’s like enjoying a Danish and cheesecake in one bite.
| Feature | This Recipe | Traditional Methods |
|---|---|---|
| Prep Time | 15 minutes | 45+ minutes |
| Crust Texture | Flaky layers | Dense graham base |
| Assembly Complexity | 2 layers + filling | Multiple steps |
| Sentimental Appeal | Grandma-approved ease | Formal baking vibe |
Using a rectangular dish isn’t just practical—it creates uniform slices perfect for sharing. Picture serving neat squares at brunch, their edges glistening with caramelized sugar. Suddenly, you’re everyone’s favorite host.
This isn’t just dessert. It’s your secret weapon for creating “Did you really make this?!” moments. Ready to taste nostalgia reinvented?
The History and Appeal Behind Crescent Roll Cheesecake

Picture a dessert that’s both a nod to tradition and a wink to modern convenience. For decades, families gathered around oven 350°F-baked treats, swapping stories while sweet aromas filled the air. My own grandmother would hum old hymns as she whisked ingredients in her chipped small bowl—a ritual that turned simple desserts into heirlooms.
Nostalgic Memories and Family Traditions
Those lazy Sunday afternoons taught us something: food isn’t just fuel. It’s love folded into layers. The original version of this treat emerged from Depression-era ingenuity, using pantry staples to create joy. One reader shared, “Mom always made hers with jam swirls—now I add chocolate chips for my kids. It’s our thread through time.”
Modern Twist on a Classic Treat
Today’s version keeps that soulful core but skips the fuss. By swapping labor-intensive crusts for store-bought dough, we slash prep time without losing charm. A small bowl mixes the filling in minutes, while the trusty oven 350°F works its magic. Want to jazz it up? Toss in chocolate chips before baking—a playful update that nods to today’s sweeter tooth.
What makes this recipe stick? It’s democracy in dessert form. Whether you’re reviving childhood memories or starting new ones, that golden pan says, “Come together.” And isn’t that the sweetest tradition of all?
Essential Ingredients and Tools

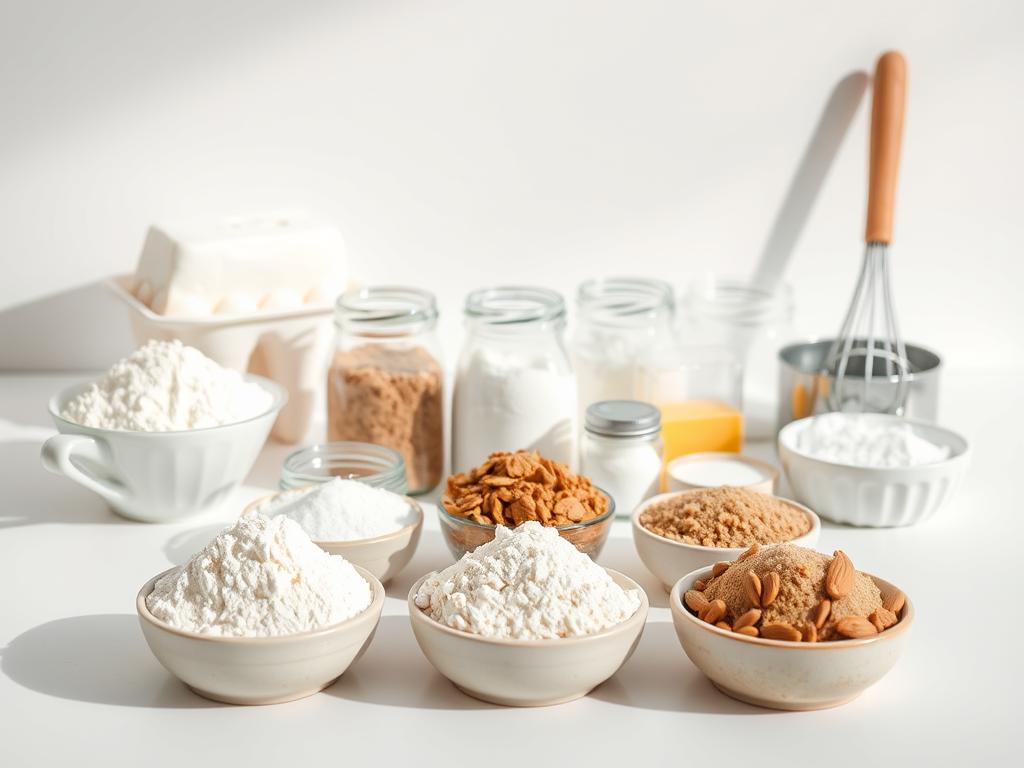
What separates a good dessert from a great one? It starts with the right foundation. Let’s break down what you’ll need to create that perfect balance of textures and flavors.
The Dynamic Duo: Dough and Dairy
Chilled, pre-made dough is your secret weapon here. Why? Cold layers bake into those flaky, golden sheets we all love. Pair it with full-fat cream cheese—the higher fat content prevents a grainy texture and gives the filling its silky mouthfeel. One reader noted, “Using low-fat versions made my filling weep—stick to the good stuff!”
Supporting Cast and Kitchen Heroes
Granulated sugar isn’t just sweetener—it stabilizes the filling. Measure precisely: too little leaves it bland, too much overpowers the tang. A 9×13-inch baking dish ensures even heat distribution, while a small bowl keeps your mixing simple. Don’t forget vanilla extract—it’s the flavor bridge between rich dairy and buttery layers.
| Ingredient | Role | Pro Tip |
|---|---|---|
| Pre-made dough | Creates flaky base | Keep refrigerated until use |
| Cream cheese | Rich filling base | Room temp blends smoother |
| Granulated sugar | Sweetness & texture | Mix with filling gradually |
| Baking dish | Even baking | Lightly grease edges |
Every component plays a part. The right tools? They’re like trusted friends—reliable, practical, and always there to help you shine.
Step-by-Step Crescent Roll Cheesecake Process

Ever wondered how a few simple steps can transform basic ingredients into magic? Let’s walk through the process together. You’ll be amazed how quickly Crescent Roll Cheesecake comes alive with minimal effort.
Preheating, Prepping, and Layering the Dough
Start by setting your oven to 350°F. This ensures even baking from edge to center. Grab your baking dish—lightly grease it or use parchment paper for easy removal later.
Unroll the dough carefully. Press seams together with your fingertips to create a solid base. This prevents the filling from leaking through. One reader shared, “I use the back of a spoon to smooth it—works like a charm!”
Creating the Cream Cheese Filling
In a bowl, beat softened cream cheese until fluffy. Add sugar gradually, then vanilla. Spread this mixture over the dough layer using a spatula. Keep it light—overworking the filling can make it dense.
Top with the second dough sheet. Brush melted butter across the surface. Sprinkle a generous mix of cinnamon and sugar. Bake 25-30 minutes until golden. Let it cool slightly before slicing—patience rewards you with clean cuts!
Crescent Roll Cheesecake: Key Techniques for a Flawless Outcome

What’s the secret to turning simple ingredients into a showstopping dessert? It’s all in the technique. Let’s break down the methods that ensure every bite delivers that perfect balance of textures and flavors.
Achieving That Perfect Seamless Dough Layer
Start with cold dough—it’s easier to handle. Press the seams together using your fingertips, not palms. Why? Body heat softens the dough, making gaps more likely. One baker shared, “I chill my hands in ice water first—game changer!”
Your base layer should feel like one solid sheet. Gaps? They’ll let filling seep through, creating soggy spots. Run a rolling pin lightly over the surface to even it out. This creates a sturdy foundation for your creamy center.
Baking at 350°F is non-negotiable. Too hot, and the top burns before the center sets. Too low, and you lose that golden crunch. Watch for edges pulling slightly from the pan—that’s your visual cue for doneness.
- Pro tip: Let filling cool slightly before spreading—it prevents dough from tearing
- Use upward strokes when applying topping to avoid compressing layers
- Rotate your pan halfway through baking for even color
Vanilla’s magic happens in the oven’s heat. Add extract to both filling and sugar sprinkle—it amplifies aroma without overwhelming. Remember, gentle handling preserves those flaky rolls we love. Now go create that “How’d you make this?!” masterpiece!
Creative Variations and Flavor Boosts
Imagine transforming a simple dish into a showstopper with just a few additions. Whether you’re craving fruity brightness or chocolatey decadence, this recipe welcomes your personal flair. Let’s explore ways to make each bite uniquely yours.
Mix-Ins and Topping Twists
Fold in chocolate chips or swirl raspberry jam into the filling for bursts of flavor. Crushed nuts add crunch, while lemon zest brightens the richness. One reader raves: “I layer sliced apples with cinnamon—it’s like autumn in every bite!”
Top baked bars with caramel drizzle or a dusting of powdered sugar. For holiday sparkle, sprinkle crushed peppermint over melted chocolate. A pinch of sea salt on the cinnamon-sugar crust balances sweetness beautifully.
Allergy-Friendly Adaptations
Use gluten-free dough and dairy-free cream cheese for dietary needs. Swap sugar with maple syrup, and add a flax “egg” to bind the filling. One parent shared: “My nut-allergic kid loves sunflower seed sprinkles—safe and delicious!”
Cutting into bars makes serving effortless at gatherings. Bake in a square dish for uniform portions that fit cupcake liners—ideal for grab-and-go treats. Best part? Most variations take under 5 extra minutes to prepare.
Tips for Serving, Storing, and Reheating
Ever pulled a dessert from the oven only to wonder how to keep it perfect for later? Let’s talk about extending that joy—because great treats deserve great aftercare.
Optimal Serving Suggestions
Serve it warm for gooey comfort or chilled for firm slices. If reheating, use your oven at 300°F for 8-10 minutes to revive the crust without drying the center. One fan raves: “I pop leftovers in the air fryer—crispy edges in 3 minutes!”
Storing Instructions for Longevity
Cool completely before covering. Use an airtight container—glass keeps flavors fresher than plastic. Refrigerate for up to 4 days, or freeze portions for 2 months. Need a quick time-saver? Slice before freezing for grab-and-go squares.
- Pin-worthy moments: Bake ahead for brunches or pack in lunchboxes
- Layer parchment paper between slices to prevent sticking
- Store toppings like whipped cream separately in a bowl
Remember: The crust stays crispest when stored away from moisture. A simple trick? Place a paper towel in the container to absorb excess condensation. Now you’re ready to savor every bite—fresh or reheated!
Baking Secrets from the Experts
Ever notice how professional bakers make every topping sparkle and every bottom layer crisp? Their secret isn’t magic—it’s smart techniques anyone can master. Let’s uncover the tricks that turn good desserts into “Can I get your recipe?” masterpieces.
Mastering the Cinnamon-Sugar Topping
The perfect mixture starts with balance. Use 2 parts sugar to 1 part cinnamon for caramelization without bitterness. Sprinkle it over melted butter—this creates a glue-like layer that bakes into a glassy crust. One pastry chef shared: “I sift mine twice to prevent clumps. Your topping stays even, not patchy.”
Gently press the sugar blend with your palm before baking. This simple step prevents it from sliding off during oven time. Want to add chocolate? Fold mini chips into the mixture—their small size melts evenly without sinking.
Ensuring Even Baking and a Crispy Crust
That golden bottom layer starts with temperature control. Always preheat your oven—cold starts lead to soggy bases. Place your dish on the middle rack where heat circulates best. A baker’s tip: “Tap the center lightly after baking. If it sounds hollow, you’ve nailed it!”
Quality ingredients matter. Real cinnamon contains oils that intensify flavor when heated. Premium cream cheese in your mixture ensures smoothness without graininess. For extra crunch, brush the bottom dough with egg wash before adding filling—it creates a moisture barrier.
Remember: Great desserts aren’t about complexity. They’re about smart choices—like using room-temperature ingredients that blend seamlessly. Now go make that topping shine!
Conclusion
What if your next baking project could bridge generations—and do it in under an hour? Crescent Roll Cheesecake’s magic lies in its contrasting textures and harmonious flavors, where crisp layers meet velvety richness. With minimal prep time and simple mixing techniques, even first-timers achieve bakery-worthy results.
Remember the basics: chill your dough, blend filling until smooth, and bake at 350°F for golden perfection. The real joy? Endless variations. Fold in citrus zest, swirl berry compote, or sprinkle crushed nuts—each twist creates new flavor stories.
We’ve seen how swapping ingredients sparks creativity. One reader added espresso powder to their cinnamon sugar, another used pumpkin puree. Why not try your own mixing experiments? Share those wins—your twist might become someone else’s tradition.
Grab your prep bowls and preheat the oven. In mere days, you’ll master a treat that’s equally at home on brunch tables or lunchboxes. Ready to bake memories that stick—literally?
Transform Your Mornings with Hassle-Free Breakfasts! Say goodbye to chaotic mornings and hello to delicious, effortless meals with our latest blog post, “Crockpot Breakfast: Hassle-Free Morning Meals.” Discover how you can wake up to warm, satisfying breakfasts that practically make themselves while you sleep!
Don’t let busy schedules steal your time or your appetite. Dive into our easy-to-follow recipes and tips that will revolutionize your morning routine.
Read the article now and start enjoying stress-free mornings today! Click here to unlock the secrets of a perfect crockpot breakfast! 🥘✨


1 thought on “Crescent Roll Cheesecake: A Delicious Twist on a Classic”
Comments are closed.