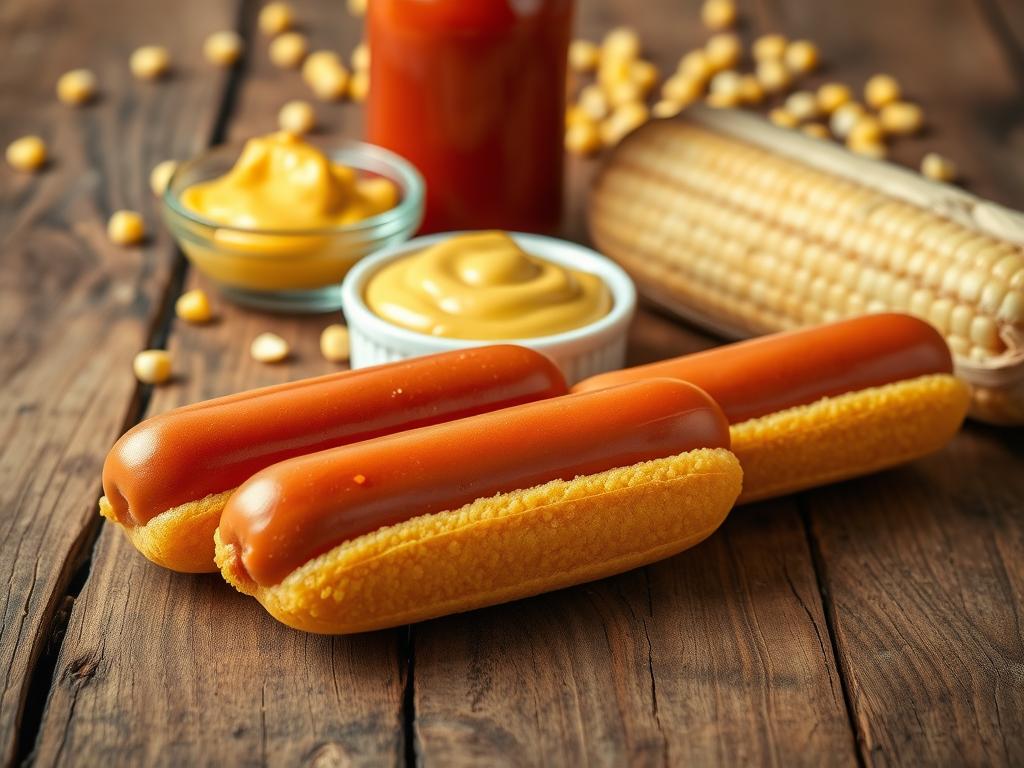
Remember that first bite of golden-brown perfection at a childhood fair? The crispy batter, the juicy sausage, and that hint of sweetness in every bite? That’s the magic of Homemade Corn Dogs—and today, we’re bringing it straight to your kitchen.
We’ve all stood in those winding carnival lines, watching vendors dip sausages into golden batter. Now imagine creating that same excitement at home. Our recipe transforms basic pantry staples into crispy-on-the-outside, fluffy-on-the-inside delights that’ll make your kitchen smell like a summer festival.
What makes these handheld treats special? The honey-kissed batter forms a protective shell around juicy sausages, locking in moisture while frying to perfect crispness. No fancy equipment needed – just skewers, a pot, and that nostalgic anticipation as they sizzle.
Key Takeaways
- Recreate authentic fair-style treats using everyday kitchen tools
- Honey-infused batter creates ideal texture contrast
- Simple technique ensures juicy sausages every time
- Perfect for family cooking nights or game-day snacks
- Customize with different sausage types or dipping sauces
We’ll walk you through each step like a trusted cooking buddy. From batter consistency checks to oil temperature tricks, you’ll gain skills that turn this carnival classic into a household staple. Ready to make memories that taste even better than the original?
Introduction to Homemade Corn Dogs
Who says you need a carnival ticket to enjoy that iconic snack? Our streamlined approach lets you whip up crowd-pleasing treats faster than you can say “fun fair.” The secret lies in a no-rest batter that’s ready in minutes – no waiting, no fuss.
We’ve designed this method for real-life chaos. Got surprise guests? Mix the batter while the oil heats. Meal prepping? Store it refrigerated for two days or freeze cooked sticks for instant cravings. Here’s why families adore this project:
- Instant gratification: From bowl to fryer in 10 minutes flat
- Customization freedom: Swap regular sausages for chicken or veggie dogs
- Quality control: No mystery ingredients – just wholesome pantry staples
That first crunch will transport you straight to summer nights under twinkling lights. But here’s the twist – yours will taste better because they’re fresh from your kitchen. We’ll show you how to nail that signature crispness every time, turning weeknight dinners into mini celebrations.
Best part? This recipe grows with your skills. Master the basics today, experiment with flavored batters tomorrow. Ready to turn your kitchen into the neighborhood’s favorite food stall?
The Allure of Fair Food Favorites
What transforms a simple meal into a memory? That golden crunch echoing through bustling fairgrounds holds the answer. From Disneyland’s iconic Little Red Wagon carts to county fair stands, hand-dipped classics have become edible time machines.
A Carnival Classic Experience
We’ve all chased that perfect balance of sweet batter and savory centers. The magic lies in the ritual – skewering sausages, swirling batter, and watching oil bubbles dance. These sticks aren’t just food; they’re portable joy wrapped in crispy breading.
Disney perfected this art with their famous cart, proving simplicity wins hearts. Serve yours with tangy mustard and crisp apple slices for that authentic fairground feel. It’s not about replicating – it’s about capturing that fleeting summer-night energy in every bite.
A Taste of Nostalgia
One crunch transports you back to sticky fingers and laughter-filled midway walks. We love how these treats bridge generations – grandparents and kids bonding over skewers sizzling in oil. That honey-kissed flavor? It’s not just seasoning. It’s a time capsule of shared happiness.
Creating them at home sparks new traditions. Imagine Saturday afternoons where flour-dusted counters become your family’s carnival hub. The best part? You control the story – spicy dips, smoky sausages, or even gluten-free twists. Every batch writes another delicious chapter.
Key Ingredients and Their Roles

What transforms basic pantry items into those iconic golden sticks? Let’s break down the flavor architects behind every perfect bite. Each component plays a specific role in creating that crave-worthy crunch and tender interior.
The Dry Team: Texture Titans
Our foundation starts with three essentials:
| Ingredient | Superpower | Pro Tip |
|---|---|---|
| Yellow cornmeal | Adds rustic texture | Use medium grind |
| All-purpose flour | Creates structure | Sift for airiness |
| Baking powder | Lifts the batter | Check expiration date |
This trio works like kitchen alchemists. The cornmeal brings earthy sweetness while flour ensures crispness that holds its shape. Baking powder? That’s our secret levitation agent for fluffy perfection.
Liquid Gold Components
Now for the moisture magicians:
- Buttermilk tenderizes with acidity
- Egg binds everything together
- Honey caramelizes during frying
“That hint of sweetness? It’s not just flavor – honey helps create micro-bubbles in the batter for extra crispness!”
Choosing Your Star Player
Not all sausages are created equal. Look for:
- Firm texture (prevents splitting)
- Minimal shrinkage brands
- Pre-cooked varieties
Beef-pork blends work beautifully, but smoked chicken sausages add exciting twists. For plant-based options, choose high-protein varieties that mimic traditional snap. Remember: quality here makes all the difference!
Essential Equipment and Tools

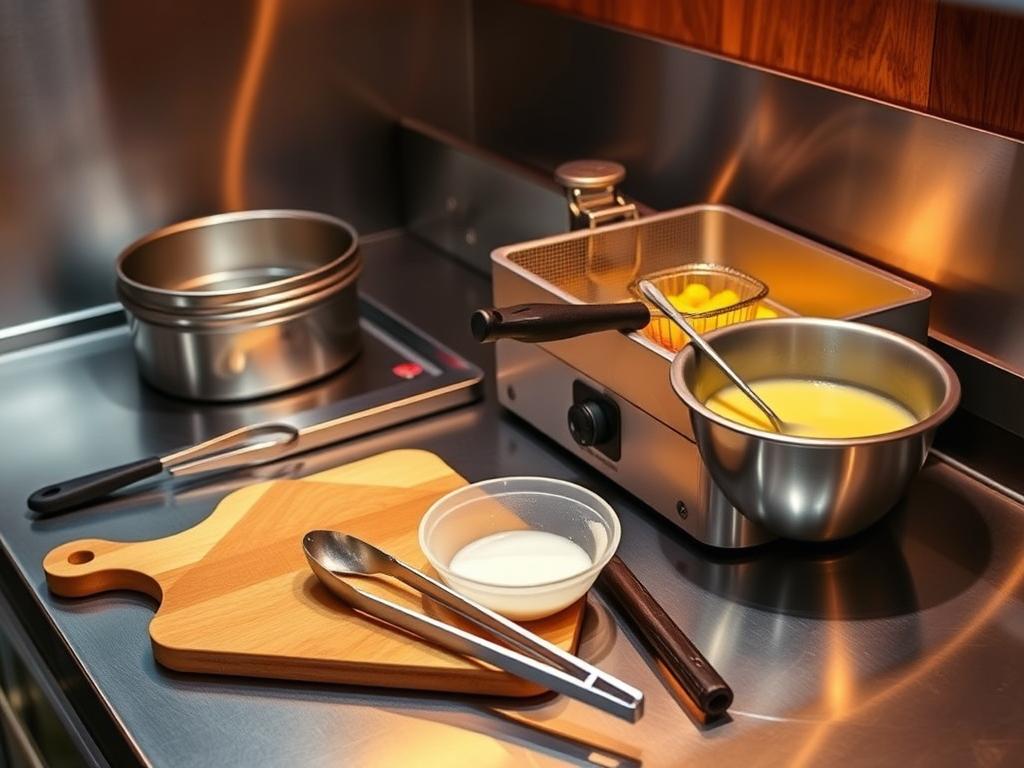
Gathering the right tools transforms kitchen experiments into golden successes. Let’s set you up with gear that makes the process smooth and safe. With these essentials, you’ll nail that crispy exterior and tender center every time.
Deep Frying Setup and Tools
Your frying station starts with a heavy pot or skillet holding at least 3 inches of oil. This depth lets your creations float freely for even cooking. Clip a thermometer to the side – maintaining 350°F oil prevents greasy results.
Long-handled tongs become your best friend here. They keep hands safe while flipping sticks to golden perfection. Choose wooden skewers that extend 4 inches past the sausage end for comfy handling.
Using a Drinking Glass for Batter
Here’s our favorite hack: pour batter into a tall glass instead of a bowl. The narrow shape lets you fully submerge each stick in one smooth motion. No drips, no uneven spots – just complete coverage that cooks into that signature crunch.
Sturdy glassware also means less cleanup. After dipping, simply wipe the rim and reuse. Pair this technique with preheated oil, and you’ll achieve professional-level results on your first try. Now that’s what we call smart cooking!
Step-by-Step Corn Dog Preparation

Let’s roll up our sleeves and transform simple ingredients into golden treasures. Our streamlined method delivers that signature crunch without complicated steps – just pure fried joy waiting to happen.
Mixing the Dry and Wet Ingredients
Start by patting your sausages dry – this helps the batter stick like a second skin. In separate bowls, combine your texture builders and moisture magicians:
- Dry team: Whisk cornmeal, flour, and leavening agents until they resemble sunshine dust
- Wet squad: Blend buttermilk, egg, and honey until smooth as carnival taffy
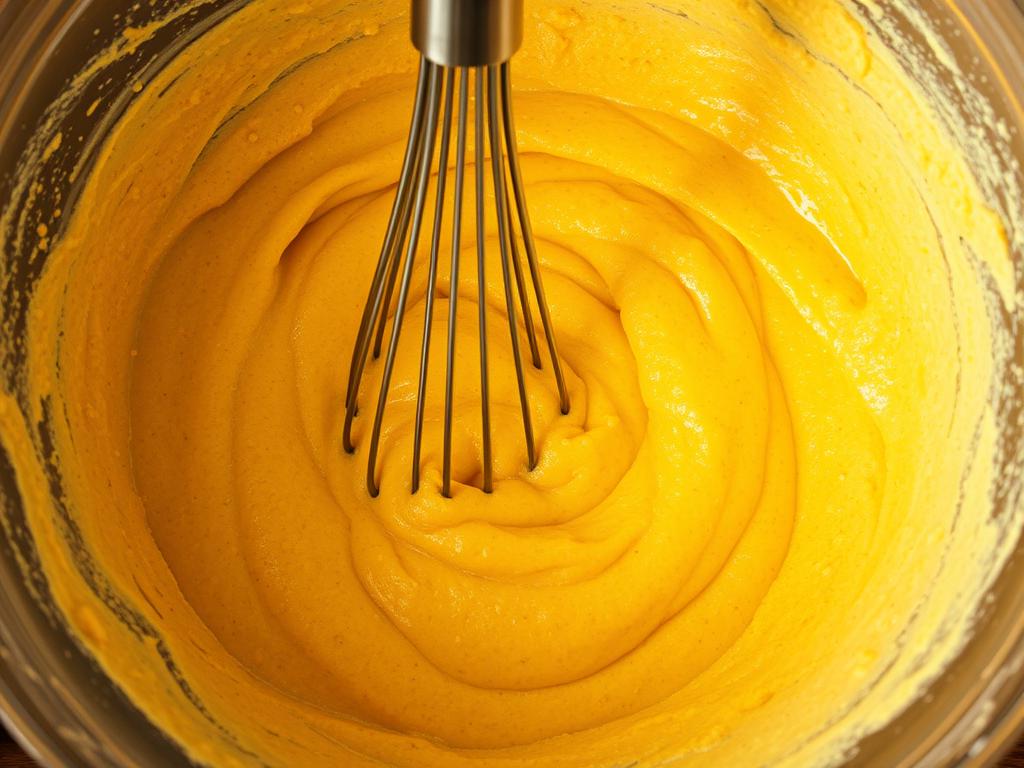
Pour the liquid into the dry mix using gentle folds. Remember: lumpy batter means crispy magic. Let it rest 10 minutes while the oil heats – this hydration break makes every second count.
Dipping Techniques and Frying Basics
Here’s where the fun begins. Skewer each sausage firmly, leaving a handle for easy flipping. Our favorite hack? Use a tall glass for dipping – it coats evenly without messy drips.
Maintain oil at 350°F using a thermometer. Fry 2-3 sticks at a time for 3 minutes, rotating halfway. Watch the batter puff into that iconic golden shell while keeping the center juicy. Pro tip: Let excess oil drip back into the pot before plating – your crunch factor will thank you!
Perfecting the Cooking Process

That satisfying crunch you crave starts with precise heat control. We’ll guide you through maintaining ideal conditions for golden results every time.
Maintaining the Right Oil Temperature
Think of oil as your dance partner – it needs steady rhythm. Heat it to 350°F using a clip-on thermometer. This magic number creates crisp exteriors without greasiness.
Why fuss over 10-degree fluctuations? Too cool, and your batter absorbs oil. Too hot, and it browns before cooking through. We keep ours between 340-360°F by adjusting the burner slightly between batches.
Achieving a Beautiful Golden Brown Finish
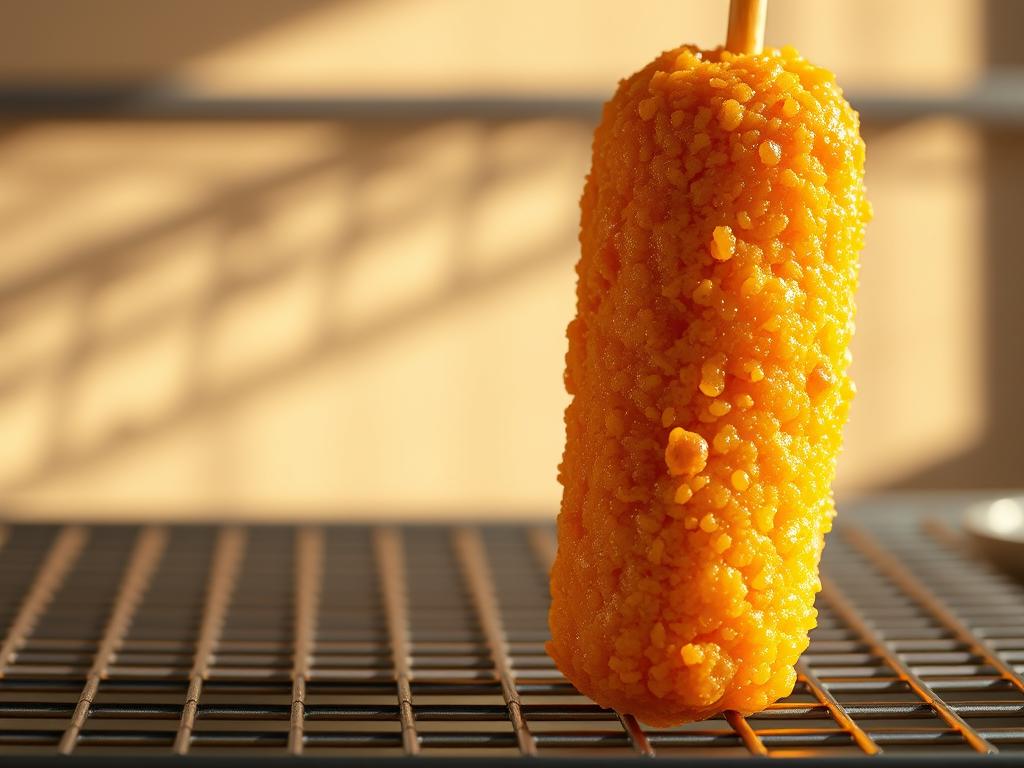
Here’s our chef-approved trick: Hold each skewer at a 45° angle in hot oil for 5 seconds. This seals the batter, preventing sticking and ensuring even coverage.
Fry 2-3 at a time for 3 minutes, turning halfway. Watch for:
- Uniform color development
- Puffed batter with micro-bubbles
- Steady sizzle without violent splattering
Remove when they resemble sun-kissed autumn leaves. Let excess oil drip off on a rack – paper towels create steam that softens your crispy shell.
“Temperature control isn’t just science – it’s the difference between good and legendary fair-style treats!”
Tips for a Crispy, Flavorful Batter
Mastering your mixture makes all the difference between soggy disappointment and that irresistible crunch. We’ll share the secrets professional vendors use to keep their batter clinging tight and frying crisp.
Avoiding Common Batter Pitfalls
Test your batter’s readiness with the spoon check: It should coat the back thickly but still drip slowly like warm honey. Too thick? Add buttermilk one tablespoon at a time – small adjustments prevent over-thinning.
Ever seen cracked shells during frying? Air bubbles are the culprit. Submerge skewers straight down into your glass, then twist gently as you lift. This smooth motion seals gaps while creating an even golden jacket.
Skip the cornstarch dusting! Patting your sausages dry with paper towels provides enough grip for the batter. If you spot thin spots after dipping, don’t hesitate – a quick second dip fills those gaps perfectly.
“Perfect batter isn’t about complicated steps – it’s about controlled motions and trusting your instincts.”
Watch for these signs during frying:
- Steady bubble streams around the stick
- Uniform browning within 2-3 minutes
- Crisp texture that holds shape when lifted
Remember: Your cornmeal-flour blend needs proper hydration. Let the batter rest 10 minutes before dipping – this waiting period allows the ingredients to bond for maximum crunch.
Innovative Serving Suggestions
The real magic happens when golden sticks meet creative pairings. Let’s transform your kitchen counter into a carnival snack bar with these crowd-pleasing combos.
Dipping Sauces: Ketchup, Mustard, and More
Classic condiments get exciting upgrades here. While Disneyland sticks to yellow mustard, we love mixing spicy sriracha mayo with sweet honey mustard for contrast. Try these winning duos:
- Tangy twister: Zesty barbecue sauce + pickle relish
- Heat seekers: Chipotle aioli + lime crema
- Sweet tooth: Maple drizzle + candied bacon bits
Creative Side Ideas for a Complete Meal
Balance crispy textures with fresh accompaniments. Serve on parchment paper for that authentic fairground feel – bonus points for checkered patterns! Our favorite combos:
- Crunchy apple slices dusted with cinnamon
- Vinegar-based coleslaw cutting through richness
- Sweet potato fries with smoked paprika dip
Got leftover batter? Skewer cocktail sausages on toothpicks for bite-sized versions kids adore. These mini marvels cook faster and make perfect game-day snacks. Paper boats optional, but highly recommended for maximum fun!
Savor the Comfort of Home-Cooked Goodness! Dive into our latest blog post on Chicken Tamale Pie: A Comforting Casserole and discover how this delightful dish can transform your mealtime into a heartwarming experience. Perfect for busy weeknights or cozy gatherings, this recipe is packed with flavor and nostalgia that will have everyone coming back for seconds!
Don’t miss out on the chance to impress your family and friends with a dish that’s as easy to make as it is delicious. Click now to read the full article and unlock the secret to creating this comforting casserole masterpiece! Your taste buds will thank you!

