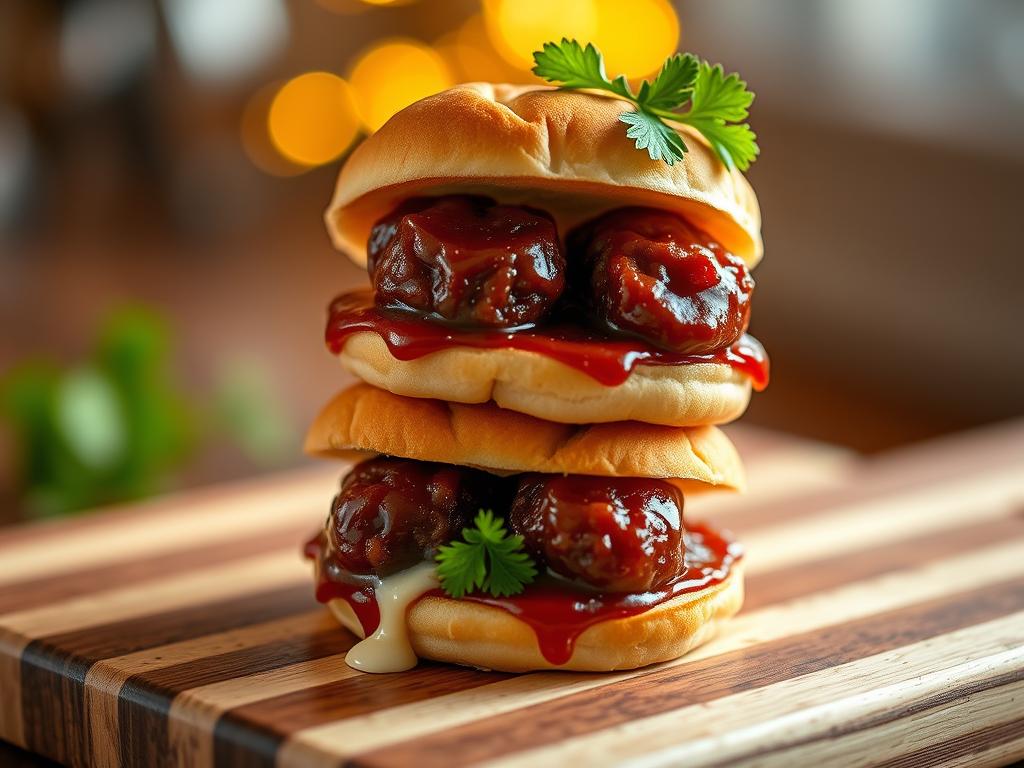
There’s something magical about watching friends gather around a platter of warm, saucy bites that disappear faster than you can say “seconds, please.” We’ve all been there – scrambling for a recipe that feels special enough for game day but simple enough for Tuesday night. That’s where these irresistible mini sandwiches (Meatball Sliders) come in.
Imagine juicy homemade meatballs smothered in a tangy-sweet glaze, nestled in soft rolls with melted cheese oozing from every corner. This recipe isn’t just food – it’s edible joy. Whether you’re feeding hungry teens after practice or impressing coworkers at a potluck, these handheld wonders adapt to your life effortlessly.
What makes them truly special? They’re built for connection. No fancy utensils needed – just good flavors and shared moments. The secret lies in balancing hearty meatballs with a sauce that clings perfectly to toasted buns. You’ll love how the caramelized edges contrast with the pillowy centers.
Key Takeaways
- Versatile recipe works for weeknight dinners or large gatherings
- Combines juicy meatballs, rich sauce, and melted cheese in every bite
- Easy to customize with different cheeses or glaze variations
- Perfect make-ahead option for stress-free entertaining
- Crowd-pleasing format encourages casual, joyful eating
We’ve perfected the ratios so you get maximum flavor with minimal effort. From the first sizzle of meatballs in the skillet to the final sprinkle of fresh herbs, every step feels like an invitation to create memories. Ready to become the hero of your next gathering?
Introduction to These Flavor-Packed Mini Sandwiches
Every great gathering deserves a showstopping dish that brings people together without keeping you chained to the kitchen. Our crowd-favorite creation solves the eternal party dilemma: how to serve satisfying comfort food that stays neat in your hands.
Overview of the Recipe and Its Appeal
We designed these handheld wonders to deliver restaurant-quality taste with home-cooked ease. The magic happens when tender spheres meet a sweet-savory glaze, all hugged by golden rolls. No more chasing runaway fillings – our hollowed-bun technique keeps every component exactly where it belongs.
Fans rave about the mess-free experience:
“Finally, a saucy sandwich that doesn’t ruin my shirt!”
Baking them clustered together lets the cheese melt into neighboring buns, creating irresistible bridges of gooey goodness. You get the full meatball sub experience in tidy, shareable portions.
Why They Work for Every Event
These versatile bites shine whether you’re hosting six friends or sixty. Sunday family dinner? Let kids build their own. Big game on TV? Keep them warm in the oven all quarter. The make-ahead magic means you’re free to enjoy your guests.
We’ve seen them disappear at baby showers, potlucks, and even elegant cocktail hours. The secret? That perfect balance of familiar comfort and gourmet flair. Soft bread gives way to juicy centers, while caramelized edges add satisfying crunch – a textural symphony in every bite.
Best part? You likely have most ingredients already. Ground beef, pantry spices, Hawaiian rolls…transform basics into brilliance. One recipe, endless possibilities – swap mozzarella for pepper jack, or add pineapple for sweet heat. Your crowd will beg for the secret.
Essential Ingredients for Success
Great flavor starts with smart choices. Let’s break down what truly matters in your shopping list – we’re talking foundation elements that transform basic components into memorable bites.
Quality Meat and Seasonings
Start with 85% lean ground beef – enough fat for juiciness without greasiness. Fresh garlic (minced fine!) beats powdered versions every time. Need a shortcut? Jarred minced garlic works when you’re pressed.
Italian seasoned breadcrumbs add herbaceous depth, but plain ones let your custom spice blend shine. Don’t skip the freshly grated Parmesan – its salty tang binds everything together. Not a fan? Try pecorino romano for sharper notes.
Cheeses, Sauces, and Rolls
Hawaiian rolls aren’t just cute – their subtle sweetness balances savory fillings beautifully. For cheese, whole-milk mozzarella melts like velvet. Provolone adds smoky depth if you prefer bolder flavors.
Our sauce secret? Crushed tomatoes simmered with garlic and basil. Short on time? Rao’s marinara delivers restaurant-quality taste. Remember – great sauce clings to meatballs without drowning them.
Pro tip: Brush rolls with garlic butter before baking. That golden crust? Pure magic.
Prepping Your Ingredients and Kitchen Tools

Great meals start with smart prep work. Before diving into mixing and baking, let’s set you up for success. We’ll guide you through organizing your space and tools so everything flows smoothly.
Chopping, Mixing, and Measuring Essentials
First, grab your largest bowl – trust us, you’ll want the extra room. Combine your ground beef and seasonings gently with clean hands. This method keeps the mixture tender by avoiding overworking. Shape portions into uniform spheres using a light touch – aim for golf ball size for even cooking.
Preheat your oven to 350°F while prepping. Line your baking sheet with parchment paper – this simple step saves cleanup time later. For perfect roll halves, use a serrated knife and saw gently rather than pressing down. This prevents squashed edges.
Our three golden rules for stress-free prep:
- Group ingredients by step (mixing vs topping)
- Measure spices into small bowls beforehand
- Keep a damp cloth nearby for quick hand-wipes
You’ll love how these simple techniques save minutes during assembly. Need to pause? Cover your baking sheet with plastic wrap and refrigerate for up to two hours. Now you’re ready to create magic!
Step-by-Step Recipe Instructions

Let’s roll up our sleeves and transform pantry staples into crowd-pleasing bites. Follow these kitchen-tested methods to ensure juicy results every time – we’ve timed everything so your sauce and spheres finish in perfect harmony.
Mastering the Meat Mixture
Grab your largest mixing bowl – the one that makes you feel like a pro. Combine beef, Parmesan, and spices using a light folding motion. Overmixing creates toughness, so stop when you see no dry crumbs. For uniform cooking, scoop portions with an ice cream scoop before hand-rolling.
Bake at 375°F (not 350°!) for ideal browning. Set your timer for 12 minutes, then check internal temps. Our test kitchen found:
| Doneness Level | Internal Temp | Juiciness |
|---|---|---|
| Perfect | 160°F | Optimal |
| Overcooked | 170°F+ | Dry |
| Undercooked | Below 155°F | Unsafe |
Crafting the Signature Sauce
While spheres bake, start your flavor foundation. Sizzle pepperoni in olive oil until crispy – this adds smoky depth most recipes miss. Add garlic just until fragrant, then pour in tomatoes. Simmer uncovered to concentrate flavors without burning.
Stir in fresh basil during the last 2 minutes for vibrant color. Taste and adjust seasoning – the sauce should make your eyes widen slightly. If it doesn’t, add a pinch of sugar to balance acidity.
Assembly Secrets Revealed
Here’s where magic happens: hollow out roll tops slightly to create flavor pockets. Spread sauce first – it acts as a moisture barrier. Nestle warm spheres into their saucy beds, then crown with cheese. Bake just until melted, about 4 minutes. Your guests will never know how effortless it was!
Tips for Assembling Perfect Sliders

Perfect handheld bites begin with clever assembly tricks. Let’s explore a game-changing method that keeps fillings secure and flavors locked in – no more runaway toppings!
Revolutionary Roll Prep Method
Forget splitting rolls like everyone else. Our technique creates built-in flavor pockets. Gently press a circular cutter into the top of each roll, then lift to remove a plug of bread. This hollow space becomes your meatball’s cozy nest.
Why this works better:
| Traditional Method | Our Technique | Result |
|---|---|---|
| Split rolls | Hollowed tops | Secure filling |
| Sauce drips | Contained glaze | Clean eating |
| Uneven layers | Uniform depth | Perfect bites |
Use a long serrated knife to slice the entire package horizontally. Saw gently – pressing crushes the soft texture. One test kitchen member raved:
“I’ll never go back to messy slider assembly after this!”
Keep rolls chilled before cutting – firm dough handles better. Aim for 1-inch deep pockets to cradle meatballs without compromising structure. Your guests will marvel at how every component stays put from first bite to last.
Baking and Finishing Touches

The magic happens when heat works its wonders – transforming assembled ingredients into golden, bubbly perfection. We’ve found the sweet spot between melty cheese and tender rolls lies in precise temperature control. Let’s unlock that bakery-fresh finish together.
Oven Temperature, Timing, and Achieving the Ideal Melt
Preheat your oven to 350°F – this moderate heat gently melts cheese without crisping rolls too quickly. Bake uncovered for 15 minutes, then check progress. Look for these visual cues:
- Golden-brown bun tops with slight caramelization
- Bubbling cheese edges around meatball nests
- Steam rising from sauce peeking through rolls
If browning accelerates, tent with foil. Our test kitchen discovered:
| Without Foil | With Foil |
|---|---|
| Crispier crust | Softer texture |
| Faster browning | Even heating |
Brush melted butter across roll tops during the final 5 minutes. This creates that glossy, professional finish while helping herbs stick. Sprinkle Parmesan-parsley blend evenly – we use a shaker bottle for perfect distribution.
“That butter wash makes all the difference – like edible sunshine!”
Wait for cheese to fully melt before removing from heat. If needed, bake 2-3 extra minutes. Let rest 5 minutes before serving – this allows flavors to settle while preventing burnt tongues. Your guests will marvel at the crisp-tender contrast!
Meatball Sliders: Creative Variations for Every Taste
Your kitchen, your rules – that’s our motto. These handheld favorites thrive on personal touches. We’ve seen countless delicious twists from home cooks nationwide. Let’s explore how to make this recipe uniquely yours.
Ingredient Swaps That Shine
Short on time? Grab a jar of Rao’s marinara – their roasted garlic version adds instant depth. For dairy-free needs, Violife’s mozzarella-style shreds melt beautifully. Swap beef for ground turkey or plant-based crumbles if preferred.
Boost flavor layers with mix-ins:
· Sautéed mushrooms folded into the meat mixture
· Chopped sun-dried tomatoes in the sauce
· Chili flakes for heat lovers
Try ciabatta rolls instead of Hawaiian for savory contrast. Brush buns with garlic-herb butter before baking. Your crowd will beg to know your secret – we won’t tell if you don’t!
Indulge in the ultimate comfort food experience with our Mouthwatering Streusel Coffee Cake! This delightful treat is not just a dessert; it’s the perfect companion for your morning coffee or an afternoon pick-me-up. Imagine savoring each bite of buttery cake topped with a crunchy, sweet streusel—pure bliss awaits!
Don’t miss out on this delectable recipe that will elevate your baking game and impress your friends and family. Whether you’re a seasoned baker or just starting out, this coffee cake is easy to make and absolutely irresistible.
Dive into the deliciousness now! Click to read the full recipe on my blog and start baking your way to happiness today! Your taste buds will thank you!