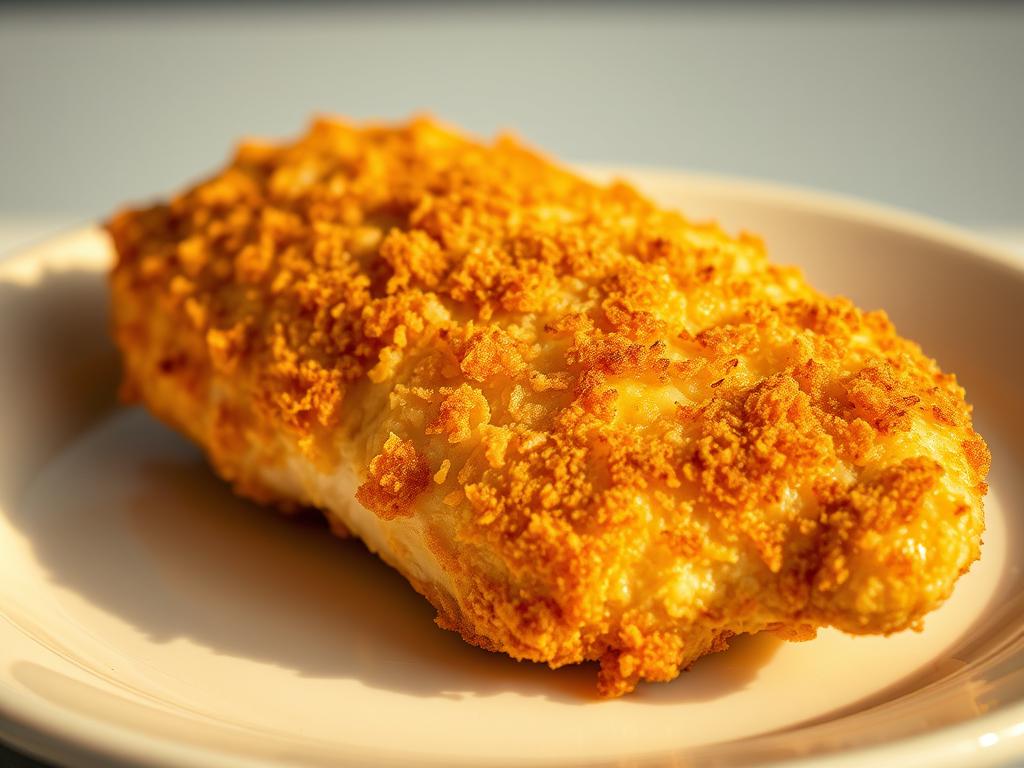
Ever had one of those nights where you crave something truly satisfying but don’t want to spend hours cooking? We’ve all been there. That’s why our Parmesan Crusted Chicken is the perfect go-to recipe — it transforms simple ingredients into a crispy, flavorful dish that tastes like a warm hug on a plate.
Imagine tender chicken coated in a golden, crunchy blend that crackles with every bite. The secret? A clever mix of freshly grated cheese and light, airy breadcrumbs creates that perfect texture. And don’t worry – we’re keeping it real with ingredients you likely already have in your pantry.
What makes this dish special isn’t just the flavor (though that’s a big part!). It’s how effortlessly it comes together. A quick dip in seasoned eggs, a roll in the savory coating, and a sizzle in the pan – that’s it. Whether you’re cooking for picky kids or impressing dinner guests, this recipe adapts to your needs without fuss.
Key Takeaways
- Crispy golden crust achieved through panko and cheese combination
- Uses simple, fresh ingredients for maximum flavor
- Ready in under 30 minutes for busy weeknights
- Proper salt balance enhances all other flavors
- Even heat distribution ensures perfect browning
Introduction to a Flavorful Chicken Dish
Let’s talk about a recipe that turns ordinary chicken into something magical. Picture juicy chicken breasts cloaked in a savory, golden armor – the kind that shatters delicately with each forkful. This isn’t just another dinner idea; it’s a flavor explosion waiting to happen in your skillet.
What Makes This Dish Special
The magic lies in three simple elements: texture, balance, and speed. A mix of garlic-infused crumbs clings to the meat, creating that crave-worthy crunch. Fresh herbs and a hint of lemon zest cut through the richness, while a hot pan ensures every bite stays tender inside. Best part? You’re about 20 minutes away from plating up.
User Intent: Quick, Tasty Recipes for Dinner
We get it – weeknights are chaotic. That’s why this recipe skips complicated steps without sacrificing taste. With basic ingredients like pantry staples and fresh garlic, you’ll create meals that feel gourmet. It’s the perfect way to satisfy hungry families or last-minute guests, no culinary degree required.
Home cooks nationwide love how adaptable this method is. Swap breadcrumbs for crushed nuts, or add a pinch of chili flakes for heat. The core technique stays the same: coat, cook, and enjoy. That’s the beauty of mastering this way of cooking – once you nail it, the possibilities are endless.
Essential Ingredients and Nutritional Information

Ready to gather your kitchen essentials? We’ll walk through exactly what you need – and why each component matters. Precision here makes the difference between good and restaurant-quality results at home.
Key Ingredients and Measurements
Start with 1 lb boneless, skinless breasts – their uniform thickness ensures even cooking. You’ll need:
- ½ cup panko crumbs (for that airy crunch)
- ⅓ cup freshly grated hard cheese (trust us, pre-shredded won’t stick as well)
- ¼ cup all-purpose flour
- 2 large eggs, beaten with 1 tsp garlic powder
Prep takes just 10 minutes if you line up ingredients assembly-line style. Pro tip: Use one hand for dry ingredients and the other for wet to avoid clumpy fingers!
Nutritional Breakdown per Serving
One golden-cutlet serving delivers:
| Nutrient | Amount |
|---|---|
| Calories | 473 |
| Protein | 38g |
| Total Fat | 22g |
| Sodium | 620mg |
The cheese-flour balance keeps carbs reasonable while maximizing flavor. For lighter versions, try almond flour or bake instead of pan-fry – we’ve tested both!
Step-by-Step Preparation Process

Time to roll up those sleeves and transform simple ingredients into something extraordinary. We’ll walk through each stage together, from prepping your workspace to achieving that signature golden crunch. Let’s make this foolproof.
Preparing Chicken Cutlets and the Coating
Start by heating your oven to 400°F – this ensures even cooking later. Place breasts between parchment paper and pound gently with a rolling pin until ½-inch thick. Uniform thickness means no burnt edges or raw centers!
In a shallow bowl, combine:
| Ingredient | Measurement |
|---|---|
| Panko crumbs | ¾ cup |
| Finely grated cheese | ⅓ cup |
| Dried oregano | 1 tsp |
| Black pepper | ½ tsp |
Instructions from Multiple Trusted Sources
Dip each cutlet in flour, then beaten eggs, and press firmly into the crumb mixture. Chef-approved tip: Let coated chicken rest 5 minutes so the coating adheres better during cooking.
Heat 2 tbsp oil in an oven-safe skillet over medium. Cook 3-4 minutes per side until golden, then transfer skillet to oven for 8 minutes. This dual-cooking method locks in juices while crisping the exterior perfectly.
Food science experts agree: Proper seasoning at every layer builds flavor depth. Sprinkle a pinch of salt between the flour and egg steps for best results. You’ve got this!
Mastering Parmesan Crusted Chicken Recipe

Let’s unlock the secrets to creating that restaurant-quality crunch at home. The difference between good and unforgettable lies in two key areas: how you coat the meat and what you coat it with.
Science of the Sizzle
Timing is everything. Cook your cutlets 3-4 minutes per side in preheated oil – this creates an instant sear that locks in moisture. Test kitchens confirm: Going beyond 4 minutes risks burning the crust before the center cooks through.
| Oil Type | Smoke Point | Best For |
|---|---|---|
| Avocado | 520°F | High-heat frying |
| Olive | 410°F | Medium-heat browning |
| Vegetable | 400°F | Budget-friendly option |
Fresh Ingredients Make the Crunch
Pre-packaged grated cheese contains anti-caking agents that prevent proper adhesion. A microplane grater creates fluffy shreds that melt into the breading. Combine with panko (not regular crumbs) for maximum texture.
Pro tips from our test kitchen:
- Chill coated cutlets 10 minutes before cooking – helps the coating stick
- Use tongs to gently flip – protects that golden crust
- Blot excess oil immediately after cooking – preserves crispiness
Whether you prefer stovetop or oven-finishing, these techniques ensure every bite delivers that satisfying crunch. Now go make those taste buds dance!
Tips for Achieving the Perfect Crispy Texture

Let’s solve the crispy coating conundrum once and for all. That golden crunch you crave comes down to smart technique – not luck. We’ve gathered pro tricks to help you nail it every time, even on hectic weeknights.
Preventing Burn and Ensuring Even Cooking
Oil temperature is your best friend here. Aim for 350-375°F using a thermometer – too hot, and the crust burns before the meat cooks through. Test by dropping a breadcrumb in the oil; it should sizzle gently without smoking.
Uniform thickness matters most. Pound skinless chicken breasts to ½-inch consistency using a rolling pin or meat mallet. Uneven cutlets lead to hotspots where the coating overcooks.
Secrets to a Consistent, Crispy Crust
Season in layers! A pinch of pepper in both the flour and breading mixture builds depth without overwhelming. For the crispiest results:
- Use freshly grated parmesan – it melts into the coating better than pre-shredded
- Press crumbs firmly onto the meat using your palm
- Let cooked cutlets rest 2 minutes on a wire rack – this stops steam from softening the crust
Pro tip from test kitchens: If edges start browning too fast, reduce heat slightly and rotate the pan. Your patience will reward you with that satisfying crunch from edge to center!
Variations and Substitutions for Different Cooking Methods
Your kitchen tools shouldn’t limit your culinary creativity. We’ve tested this beloved recipe across multiple appliances and cuts – here’s how to adapt it to your setup while keeping that signature crunch.
Appliance Flexibility Made Simple
Not all stovetops are created equal. Try these tweaks based on your equipment:
- Air fryer: Cook at 375°F for 12 minutes (flip halfway). Uses ⅓ less oil but maintains crispiness
- Oven: Bake at 425°F for 18-20 minutes on a wire rack – promotes even browning
- Slow cooker: Brown cutlets first, then cook on low 2 hours. Crust stays intact if layered properly
Broiler pro tip: Finish oven-baked pieces under high heat 90 seconds for extra texture. Just watch closely!
Thighs vs Breasts: What Works Best
While breasts cook faster, thighs bring richer flavor. Adjustments needed:
| Cut | Cook Time | Coating Tip |
|---|---|---|
| Breasts | 16-18 mins | Pound to ½” thickness |
| Thighs | 22-25 mins | Trim excess fat first |
Seasoning swaps keep things fresh. Try smoked paprika instead of garlic powder, or mix crushed cornflakes into bread crumbs for extra crunch. One food blogger shared: “Using gluten-free panko made zero difference in texture – my celiac guests loved it!”
Remember – the best dinner is the one that fits your life. Whether you’re air-frying for speed or slow-cooking for convenience, that golden, savory crust adapts beautifully.
Complementary Side Dishes and Dinner Pairings
Now that your main dish is golden and ready, let’s build a plate that sings harmony. The right sides turn this crispy favorite into a balanced meal. We’ve tested dozens of combinations to find pairings that highlight – never overpower – your star protein.
Ideal Sides: Mashed Potatoes, Salads, and Veggies
Start with creamy mashed potatoes – their buttery texture contrasts beautifully with the crunchy coating. Roasted asparagus or zucchini ribbons cooked in the oven add earthy notes. For freshness, toss a simple salad with lemon vinaigrette.
| Side Dish | Prep Method | Seasoning Ideas |
|---|---|---|
| Garlic mashed potatoes | Simmer in broth | Chives + black pepper |
| Kale salad | Massage with oil | Toasted almonds + lemon |
| Roasted carrots | Pan-sear first | Honey + thyme |
Enhancing the Meal with Flavorful Sauces
A drizzle of sauce can elevate your skinless chicken breast from great to unforgettable. Keep it light – heavy creams might weigh down the crisp texture. Try these crowd-pleasers:
| Sauce Type | Key Ingredients | Perfect Pairing |
|---|---|---|
| Lemon-dill yogurt | Greek yogurt + zest | Grilled veggies |
| Garlic aioli | Roasted garlic + mayo | Simple green salad |
| Quick marinara | San Marzano tomatoes | Oven-roasted potatoes |
Pro tip: Use the same pan you cooked the chicken in to make pan sauces. Those browned bits at the bottom? Pure flavor gold!
Conclusion
Creating memorable meals doesn’t require hours of work – and this recipe proves it! We’ve shared how smart prep time management lets you achieve golden, crunchy perfection in half the time of fancier dishes. Whether it’s your first try or hundredth, handling each piece of meat with care makes all the difference.
Remember these keys: season in layers, press that coating firmly, and watch your heat. Those simple steps turn basic ingredients into something extraordinary. Got leftover crumbs? Freeze half the batch for next time – future you will thank present you!
We’d love to hear how you made it your own. Did you swap herbs? Try different cheese blends? Share your twists with fellow cooks! Every kitchen adventure starts with that first sizzle in the pan.
Proper prep time ensures each piece cooks evenly, giving you juicy meat every time. So grab those cutlets, trust the process, and let dinner become your newest victory. Your table’s about to get a whole lot tastier.
🍓 Indulge in a Sweet Escape with Our Delicious Strawberry Tiramisu Recipe! 🍰
Are you ready to treat your taste buds to an unforgettable dessert experience? Our mouthwatering Strawberry Tiramisu combines the classic flavors you love with a fruity twist that will leave everyone begging for seconds. Perfect for gatherings, special occasions, or simply satisfying your sweet tooth, this recipe is a must-try for any dessert lover!
Don’t miss out on the chance to impress your friends and family with this delectable creation. Dive into the full recipe now and discover how easy it is to whip up this elegant treat in your own kitchen.
👉 Read the full article on my blog today and start creating your own delicious masterpiece!