There’s something magical about the scent of butter and sugar caramelizing in the oven, isn’t there? We still remember that first bite of a buttery, crumbly cookie—where rich flavor meets melt-in-your-mouth texture. Today, we’re bringing that same cozy feeling to your kitchen with pecan shortbread cookies—a treat that tastes like a warm hug in every bite.
Our team spent months perfecting this recipe, balancing tradition with modern simplicity. Unlike fussy desserts that require special tools or hard-to-find ingredients, these treats come together in one bowl. The secret? A clever twist using brown sugar and toasted nuts that adds depth without complicating the process.
You’ll love how the dough transforms in the oven. Centers stay tender while edges develop that signature crunch shortbread lovers crave. No rolling pins, no cookie cutters – just slice, bake, and watch them become golden perfection. Whether you’re baking for a holiday party or a quiet afternoon treat, these delights adapt to any occasion.
Key Takeaways
- Combines classic buttery texture with modern baking simplicity
- Features a smart slice-and-bake method for consistent results
- Uses pantry staples with a flavor boost from brown sugar and spices
- Perfect for gifting or enjoying fresh from the oven
- Egg-free formula ensures rich, dense crumb structure
What makes these truly special isn’t just the taste – it’s how they bring people together. Last Christmas, a reader told us her family now requests them instead of store-bought sweets. That’s the power of baking with love, and we can’t wait for you to experience it.
Introduction and Recipe Overview
Picture this: dough logs wrapped in parchment, waiting patiently in your fridge like edible promises. This isn’t just baking – it’s having fresh treats on standby for life’s sweetest moments. Our journey to perfecting this method began in a cozy test kitchen, where we reimagined classic techniques for modern home cooks.
Where Tradition Meets Innovation
We drew inspiration from Scottish butter biscuits but gave them a Stateside makeover. Think rich brown sugar’s caramel notes dancing with warm spices. The genius? Swapping fussy rolling pins for a slice-and-forget-about-it approach that even busy parents love.
Why This Method Wins Hearts
That magical moment when chilled dough meets hot oven? Pure alchemy. Uniform slices bake evenly every time – no more burnt edges or underdone centers. Prep dough during naptime, then slice-and-bake when guests arrive. Your secret? Perfectly crisp edges hugging tender centers, thanks to that genius sugar-and-nut crust.
We’ve seen how this technique builds confidence. One reader told us she finally feels like a “real baker” after nailing these. That’s what happens when simple meets spectacular – you create more than cookies. You create kitchen victories.
Essential Ingredients for Flavorful Shortbread
Great baking starts with understanding your building blocks. Let’s break down what makes these treats sing – each component plays a starring role in creating that melt-in-your-mouth magic.
Butter, Sugars, and Vanilla: The Flavor Base
We swear by unsalted butter at peak softness – think cool kitchen counter, not microwave-warmed. This golden foundation whips into creamy perfection, giving your dough its luxurious texture. Our two-sugar combo? Brown sugar brings caramel warmth while granulated keeps things light and crisp.
Pure vanilla extract is non-negotiable here. That little bottle packs big flavor, weaving through every crumb. Skip the imitation stuff – your taste buds deserve real depth.
Selecting Pecans and All-Purpose Flour
Nuts need finesse. We chop pecans small enough to blend seamlessly but large enough for satisfying crunch. Toast them lightly if you’re feeling fancy – it unlocks their earthy sweetness.
With all-purpose flour, measuring matters. Spoon it gently into your cup and level with a knife. Too packed? Your dough turns tough. Too loose? Cookies spread like pancake batter.
Don’t overlook our tiny power players. Cinnamon whispers spice without overpowering, while salt makes every flavor pop. And that glittery coarse sugar crust? It’s the edible confetti your cookies deserve.
Preparation Techniques and Chilling Tips

The secret to perfect texture lies in mastering two phases: mixing magic and strategic patience. We’ve found that proper technique here makes the difference between good treats and “can I have another?” moments.
Mixing and Forming the Dough
Start with room temperature butter – it should dent easily when pressed. In your bowl, beat butter with sugars using a mixer on medium-high for exactly 2 minutes. Watch the mixture turn pale and fluffy like winter clouds. This aeration creates that dreamy melt-in-your-mouth feel.
Add vanilla at high speed until the scent makes you smile. Then, gently mix dry ingredients on low – overworking develops gluten, which we don’t want. The dough will look crumbly at first but comes together as you knead lightly.
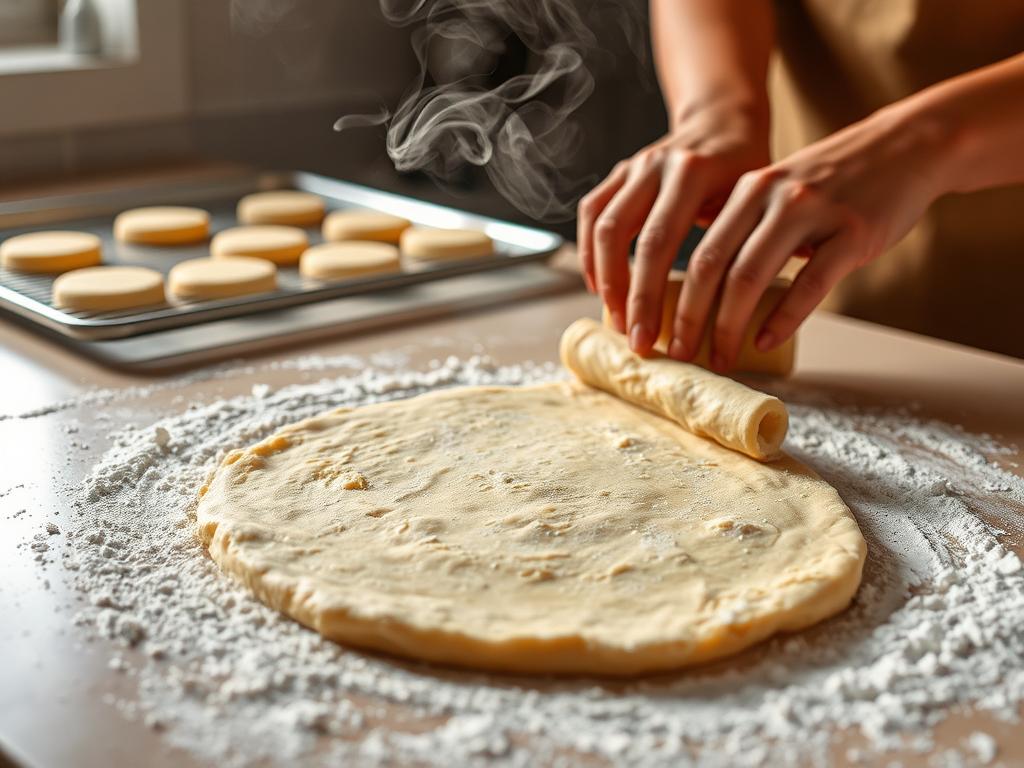
Divide the mixture in half before shaping. Dust your hands and surface with flour to prevent sticking. Roll each portion into 8-inch logs – imperfect circles add homemade charm. Trust us, smaller portions chill faster and slice cleaner.
Importance of Chilling the Dough
Here’s why refrigeration matters: cold fat melts slower in the oven, giving cookies time to set their structure. We recommend at least 3 hours, but overnight chilling works wonders. The time investment pays off in thickness and that signature crumbly bite.
Properly chilled dough slices like firm cheese – clean edges, no cracks. Warm dough? It spreads into sad puddles. Wrap logs tightly in parchment; they’ll keep for 5 days in the fridge or 3 months frozen. Bake straight from cold for best results.
| Chilling Time | Cookie Thickness | Slicing Ease |
|---|---|---|
| 2 hours | Medium | Slight Crumbling |
| 4 hours | Thick | Clean Cuts |
| Overnight | Premium Thick | Perfect Slices |
Achieving the Perfect Texture for pecan shortbread cookies

Biting into the ideal slice reveals a textural ballet – firm enough to hold its shape, yet dissolving into buttery whispers with gentle pressure. This balance defines true shortbread excellence. Let’s explore the science behind that irresistible crumble.
The Science of Delicate Structure
Our recipe skips eggs and leavening agents intentionally. Without air pockets from baking powder, the fat in butter creates dense layers that fracture tenderly. Granulated sugar acts as scaffolding, while brown sugar adds moisture for that soft interior.
You’ll notice these treats walk a delicious tightrope. Centers stay velvety-soft thanks to precise chilling times, while edges caramelize into crispy perfection. The magic? Cold dough hitting a hot oven creates instant structure formation.
Chopped nuts play a supporting role here. Their subtle crunch complements rather than competes – think of them as texture enhancers, not intruders. We size them like confetti to maintain the classic mouthfeel.
Two ingredients work overtime: salt heightens sweetness without being detectable, while vanilla rounds out flavors. Together, they transform simple components into something extraordinary. That first crumbly bite? Pure alchemy.
Baking Process: Slicing, Rolling, and Oven Essentials

The moment chilled dough meets oven heat is where science becomes magic. We’ll guide you through each step to create those crisp-edged, tender-centered treats that make kitchens smell like happiness.
How to Roll the Dough with Coarse Sugar and Pecans
Our favorite trick? The sparkling sugar crust. Mix coarse sugar and finely chopped nuts on a dinner plate. Roll chilled logs firmly across the mixture – press gently so every angle gets coated. This creates edible glitter that crackles with each bite.
Baking Time, Temperature, and the Perfect Crisp Edge
Preheat your oven to 350°F (177°C) – no guessing here. This precise temperature lets edges caramelize while centers stay soft. Slice logs into 12 even rounds using a sharp knife. Saw gently rather than pressing down to avoid cracks.
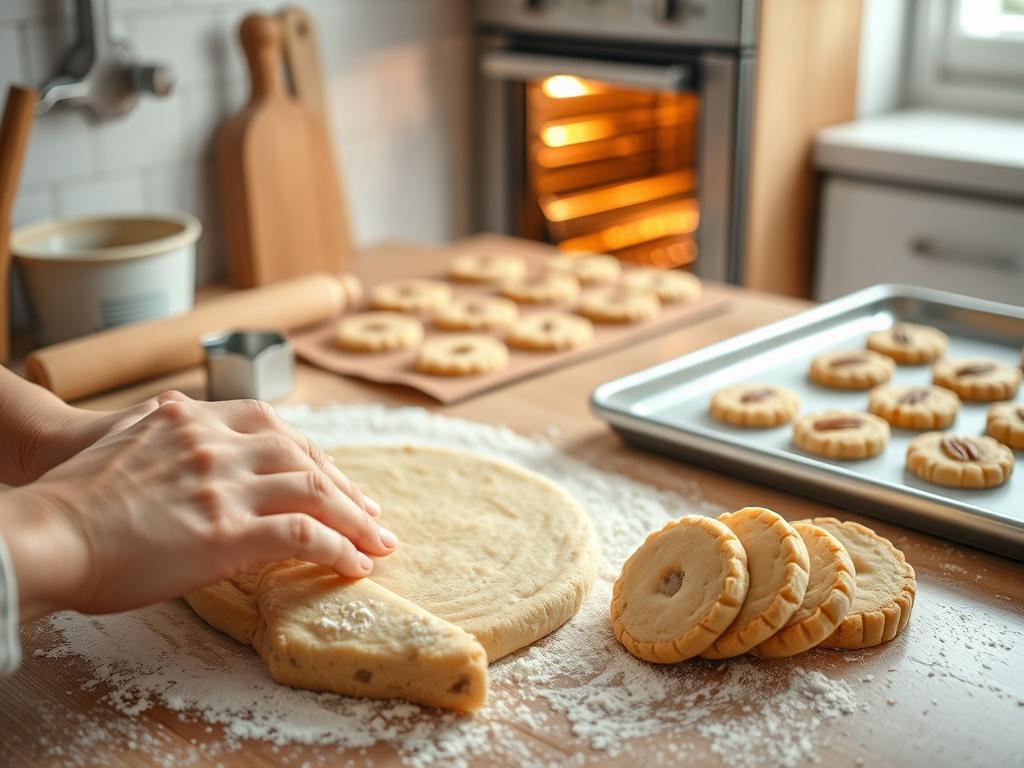
Arrange slices 2 inches apart on parchment-lined sheets. Bake 12-14 minutes until edges turn honey-gold. Let rest 5 minutes on the sheet – they firm up beautifully as they cool. Transfer to racks once they can handle the move without crumbling.
| Baking Time | Edge Texture | Center Doneness |
|---|---|---|
| 12 minutes | Light crisp | Very tender |
| 13 minutes | Golden crisp | Balanced |
| 14 minutes | Deep caramel | Slightly firm |
Watch closely during the final 2 minutes – ovens vary. That first whiff of toasted sugar means they’re nearly ready. You’ll master the timing faster than you think!
Serving Suggestions and Storage Guidelines

The final flourish of your baking masterpiece lies in how you share and preserve it. We’ve discovered that thoughtful presentation and smart storage turn good treats into cherished traditions.
Presentation and Pairing Ideas for Holidays and Gifts
Transform simple slices into edible art. Nestle them in rustic tins lined with parchment paper, or stack in clear bags tied with velvet ribbons. A light dusting of powdered sugar adds snowy charm for winter gatherings.
These delights shine alongside beverages – try dunking them in spiced cider or pairing with espresso. For gift boxes, layer with wax paper to prevent scratches. One reader told us her “cookie swap crown” came from adding dried orange slices as garnish.
| Storage Method | Duration | Pro Tip |
|---|---|---|
| Airtight Container | 7 Days | Let cool completely first |
| Freezer (Baked) | 3 Months | Separate layers with parchment |
| Freezer (Dough) | 3 Months | Slice while frozen |
Our favorite make-ahead hack? Keep dough logs wrapped in your fridge for impromptu baking. They’ll slice neatly even after five days. For gifts, include reheating instructions – 8 minutes at 300°F revives that fresh-from-the-oven magic.
Remember: salted butter’s richness deepens over time. That’s why day-two batches often taste even better. Just avoid humid areas – moisture softens their signature crunch.
Conclusion
Baking becomes more than a recipe when you hold that first golden slice – it’s edible proof of patience and care. Our tested method delivers what every home cook craves: treats that balance nostalgic flavors with modern convenience.
The slice-and-bake technique ensures uniform thickness and texture every time. Crisp edges frame tender centers like edible lace, while toasted nuts add subtle crunch. We love how the brown sugar’s caramel notes deepen after cooling, creating layers of flavor in each bite.
Store leftovers (if there are any!) in an airtight container for up to a week. For longer storage, freeze dough logs or baked slices – they’ll taste fresh-baked when thawed. Want to elevate them? Dip half in melted chocolate and sprinkle with flaky salt for sweet-salty contrast.
We’ve shared this recipe with countless friends, watching their eyes light up at first taste. Now it’s your turn to create those moments. Gather your ingredients, trust the process, and let your kitchen fill with the scent of homemade joy.
🌟 Warm Up Your Winter with a Bowl of Comfort! 🌟
Discover the perfect blend of hearty and flavorful in our White Bean Chicken Soup—your new go-to recipe for cozy nights! Packed with protein, fiber, and deliciousness, this soup is not just a meal; it’s a hug in a bowl that will satisfy your cravings and nourish your soul.
Don’t miss out on this culinary delight that will transform your dinner routine! Click to read the full article on my blog now and unlock the secrets to making this wholesome dish that everyone will love.
👉 Dive into the recipe today and warm up your kitchen with flavor! 🍲

