There’s something magical about gathering around the table with loved ones, isn’t there? The laughter, the stories, and that one dish everyone secretly hopes will have leftovers. For years, our holiday meals leaned on classic twice baked mashed potatoes—creamy, reliable, and always comforting. But last Thanksgiving, we stumbled onto something extraordinary that redefined our traditions.
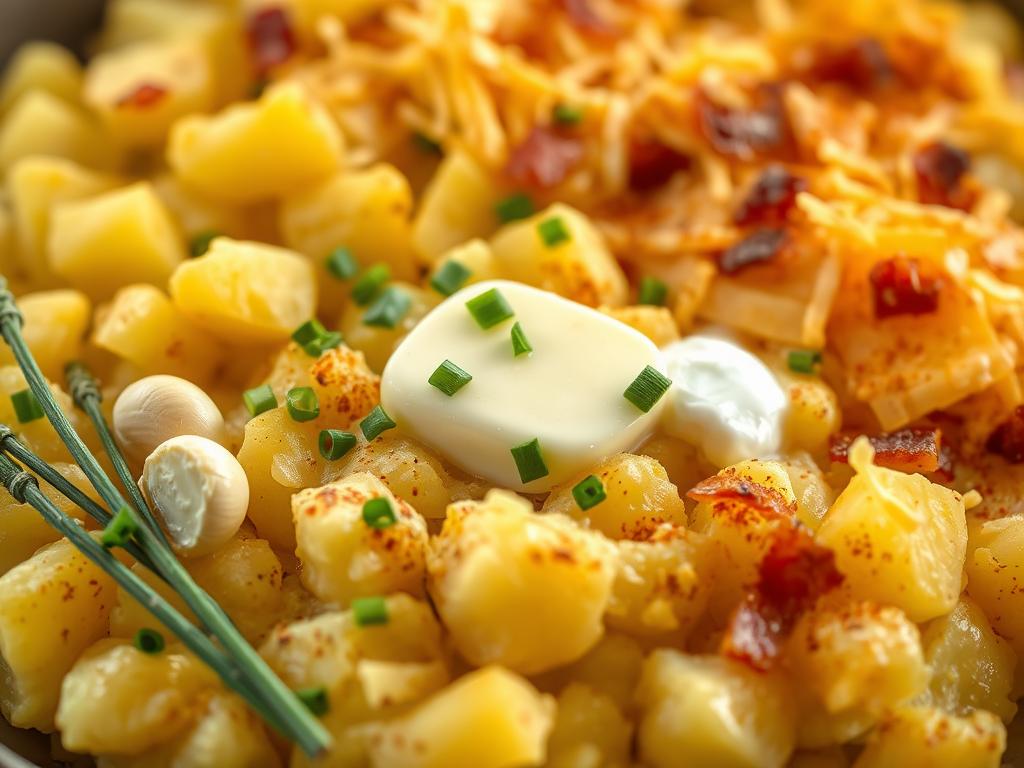
Imagine your favorite fluffy mashed potatoes, but elevated with crispy edges, melty cheese, and savory bacon. This recipe skips the fuss of stuffing potato skins while delivering every bit of that rich, loaded flavor. We’ve tested it at family dinners, potlucks, and even casual weeknight meals—it never fails to disappear fast.
What makes this version special? It’s all about simplicity. No endless scooping or delicate shells to manage. Just mix, bake, and watch your crowd light up. Whether you’re hosting a festive feast or craving cozy comfort, this dish bridges the gap between everyday ease and holiday wow-factor.
Key Takeaways
- Combines creamy mashed potatoes with bold twice-baked flavors in one easy dish
- Eliminates tedious steps like hollowing potato skins
- Perfect for holidays or weeknights—always crowd-pleasing
- Uses simple ingredients to create restaurant-quality results
- Balances comfort food nostalgia with modern convenience
Introduction to a Flavorful Twist on Classic Mashed Potatoes
Ever found yourself torn between creamy comfort and crispy indulgence? We’ve all been there. Traditional twice-baked spuds demand hours of prep—roasting, scooping, stuffing—while classic mashed versions often lack that craveable texture. Our solution? A hybrid that delivers both silky richness and golden perfection in one dish.
Let’s be real: stuffing individual potato skins feels like crafting edible origami during holiday chaos. As one home cook put it: “I love the flavor, but my schedule doesn’t.” That’s why we reimagined the process. By blending whipped potatoes with cheese, cream, and crispy toppings, then baking them en masse, you get all the nostalgia without the fuss.
This isn’t just about saving time—it’s about preserving what matters. Twice-baked creations carry generations of memories, from Sunday dinners to festive gatherings. Our version keeps that soul-warming essence while letting you actually enjoy your own party. No more babysitting oven racks or wrestling with slippery shells.
Here’s the magic:
- Velvety texture meets caramelized edges
- Family-style serving encourages connection
- Prep time slashed by 40 minutes
Whether you’re feeding a crowd or craving leftovers (trust us, you’ll want them), this dish answers the age-old question: Why choose when you can have both?
Mastering Twice Baked Mashed Potatoes
What if you could unlock restaurant-quality results without chef-level skills? We’ve discovered the sweet spot between classic comfort and modern efficiency. Our method skips tedious steps while delivering that golden crust and velvety interior everyone craves.
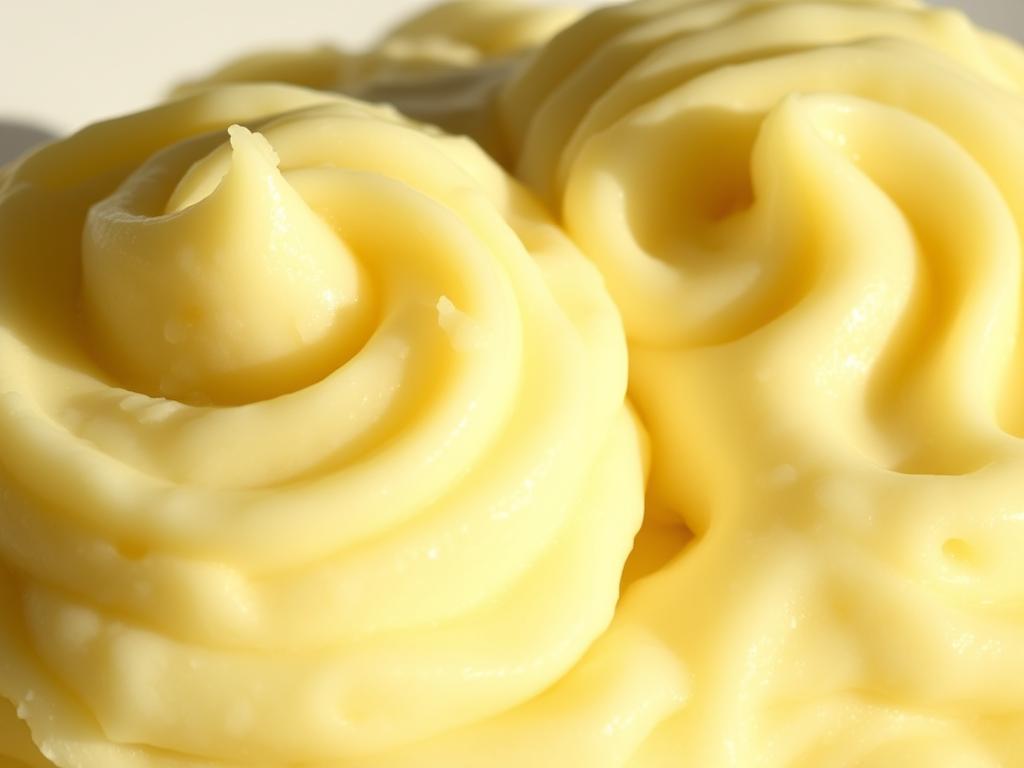
Start with the right texture. Overworking your spuds creates gluey disappointment. Instead, use a ricer or hand mixer for airy peaks that hold mix-ins like cheese and bacon. As one diner remarked: “It’s like clouds wearing crispy armor!”
Timing is everything. Bake your base until just set—about 20 minutes—then broil for 3 minutes to achieve crackling edges. This two-step process mimics traditional methods in half the time. Check out our comparison:
| Technique | Time Required | Texture | Flexibility |
|---|---|---|---|
| Classic Twice-Baked | 90 minutes | Uneven | Low |
| Our Method | 45 minutes | Consistent | High |
Flavor balancing separates good dishes from legendary ones. Fold sharp cheddar into warm potatoes for meltability, then sprinkle crispy bacon on top before baking. For vegetarian versions, smoked paprika adds depth without meat.
Make-ahead tips? Absolutely. Prep the mixture up to two days early—the flavors meld beautifully. Just add toppings before baking. You’ll love spending less time stirring and more time savoring.
Key Ingredients and Their Benefits

Ever wonder what makes this dish sing? It’s all about choosing ingredients that work smarter, not harder. Let’s explore why these pantry heroes deliver both flavor and function.
Russet Potatoes, Cream Cheese, and Butter
Russet potatoes are the MVP here. Their high starch content absorbs dairy like a champ, creating that airy texture we crave. Pair them with cream cheese – the secret weapon against grainy leftovers. As one chef told us: “Butter adds richness, but cream cheese keeps it creamy through reheating.”
Cheddar Cheese, Bacon, and Fresh Chives
Sharp cheddar cheese packs a flavor punch that mild varieties can’t match. Combine it with crispy bacon bits for salty crunch, then finish with chives – their oniony zing cuts through the richness perfectly.
| Ingredient | Role | Key Benefit | Pro Tip |
|---|---|---|---|
| Russet Potatoes | Base | Fluffy texture | Peel while warm |
| Cream Cheese | Stabilizer | Prevents separation | Use full-fat version |
| Bacon | Topping | Adds crunch | Bake instead of fry |
Need swaps? Try smoked gouda instead of cheddar, or coconut milk for dairy-free creaminess. The right ingredients adapt to your needs while keeping that soul-warming taste.
Essential Kitchen Tools and Equipment

Let’s talk about your kitchen toolkit—the unsung heroes that make this dish shine. A large pot or Dutch oven is your first essential. It gives spuds enough space to cook evenly—no crowded tumbling here! We’ve found 6-quart models work best for most families.
Your baking dish choice matters more than you think. An 8×8 glass pan creates golden edges while keeping portions generous. Need to feed a crowd? Upgrade to a 9×13 dish—just add 5 extra minutes in the oven. Glass distributes heat better than metal, preventing burnt spots.
Here’s where magic happens: the potato masher. Unlike blenders that turn spuds gummy, this tool preserves fluffy texture. One home cook shared: “My grandma’s masher finally has a permanent spot on my counter!” No masher? A sturdy fork works in a pinch.
Set up your workspace like a pro:
- Keep a bowl nearby for mixing toppings
- Use measuring cups for consistent dairy ratios
- Line baking sheets with foil for easy cleanup
Got fancy gadgets? A stand mixer whips potatoes faster, while a ricer creates cloud-like texture. But remember—great tools help, but your hands create the love. Now let’s make some memories (and maybe a little mess)!
Step-by-Step Preparation Process for Perfection

Ready to transform humble spuds into something extraordinary? Let’s break down each stage with precision—no guesswork needed. We’ve streamlined every step so you can nail this dish on your first try.
Boiling and Mashing the Potatoes
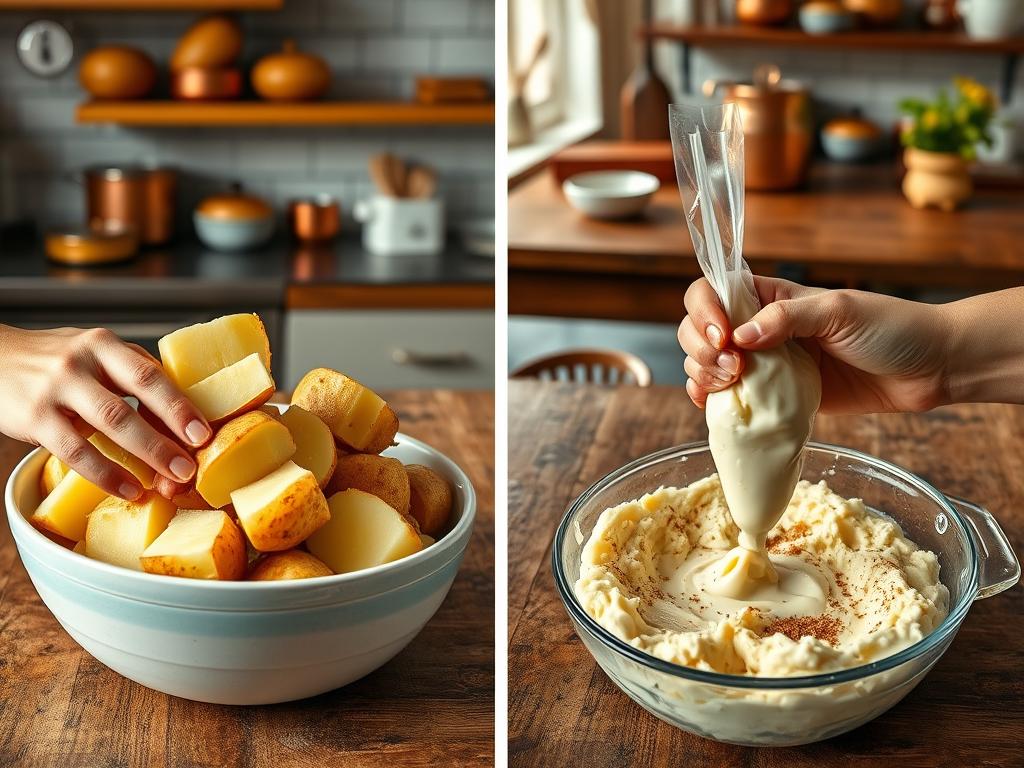
Start by filling your largest pot with cold water—enough to cover your peeled spuds by two inches. Bring it to a rolling boil before adding your chunks. Why start cold? It prevents uneven cooking that leaves some pieces mushy while others stay firm.
Once boiling, reduce heat to medium. Set your timer for 25 minutes. Test doneness by spearing a chunk—it should slide off the fork smoothly, not crumble. Drain immediately to stop residual heat from overcooking.
Mash while hot using quick, upward strokes. A reader once shared: “I pretend I’m fluffing pillows, not pulverizing food!” This gentle approach keeps the texture airy, ready to absorb creamy additions.
Baking to a Golden, Crispy Finish
Transfer your mixture to a greased dish—glass works best for even browning. Preheat your oven to 375°F while you prep toppings. Bake uncovered for 20 minutes, then switch to broil for 3-5 minutes.
Watch for three signs of doneness:
- Bubbles forming around the edges
- Cheese developing amber spots
- A crisp crust forming on top
Pro tip: If making multiple sides, start baking when your main protein has 30 minutes left. Everything finishes together, hot and ready to wow.
Tips for Achieving Creamy and Fluffy Texture

What separates good spuds from unforgettable ones? It’s all about mastering two elements: texture and seasoning balance. We’ve cracked the code using three simple dairy staples that work in harmony.
Maintaining the Right Consistency
Temperature matters more than you think. Always mix cream cheese and sour cream into warm (not hot) potatoes. This prevents curdling while letting the dairy melt evenly. A home cook recently shared: “I used to get lumpy results until I waited 5 minutes after mashing!”
| Ingredient | Role | Mixing Tip |
|---|---|---|
| Cream Cheese | Stabilizer | Room temperature |
| Sour Cream | Moisture | Fold gently |
| Butter | Richness | Melt first |
Overmixing is the enemy. Stir just until combined—we count to 30 seconds. If your mixture feels thick, add warm milk one tablespoon at a time.
Balancing Flavors With Salt, Pepper, and Dairy
Season in layers. Add half your salt while mashing, then taste after adding dairy. This prevents over-salting and lets the natural potato flavor shine. Freshly cracked pepper goes in last for maximum aroma.
Pro tip: For every cup of potatoes, use ¼ teaspoon salt as a starting point. Dairy products vary in saltiness—always adjust after incorporating cheeses or creams.
Remember: Your final bake intensifies flavors. If it tastes perfect raw, it’ll be too bold after cooking. We aim for “almost there” seasoning before it hits the oven!
Customizations and Recipe Variations
Your kitchen, your rules—that’s our motto when it comes to reinventing this crowd-pleaser. Whether accommodating dietary needs or amplifying flavors, these tweaks let you make the recipe truly yours without losing its soul-satisfying essence.
Plant-Powered Swaps That Still Satisfy
For vegetarian versions, smoked paprika mimics bacon’s depth beautifully. Try sautéing onions in olive oil instead of bacon grease—they’ll still caramelize into golden sweetness. Dairy-free? Coconut oil replaces butter seamlessly, while cashew cream adds lush texture.
| Ingredient | Vegetarian Swap | Dairy-Free Option |
|---|---|---|
| Bacon | Smoked tempeh bits | Plant-based bacon |
| Cheddar | Nutritional yeast | Vegan cheese shreds |
| Half & Half | Cashew cream | Oat milk |
Bacon & Cheese Amplifiers
Craving extra indulgence? Mix crumbled bacon and green onions right into the potato base before baking. For cheese lovers, blend sharp cheddar into the mixture and top with crispy parmesan breadcrumbs. One reader raved: “I used pepper jack for a spicy kick—game changer!”
Remember: Quality ingredients elevate every bite. Try applewood-smoked bacon or aged white cheddar for special occasions. Your recipes should adapt to life’s flavors—not the other way around.
Time-Saving Techniques and Make-Ahead Strategies
Imagine serving a crowd-pleasing dish that’s half-ready before your guests arrive. We’ve perfected make-ahead strategies that let you savor moments, not stress. Whether you’re juggling multiple dishes or craving weeknight simplicity, these tweaks keep flavors vibrant while cutting kitchen time.
Prep Like a Pro
Mix your base up to 48 hours ahead—the texture actually improves as starches relax. Store it covered in the fridge, then let it sit at room temperature for 30 minutes before baking. For crispy toppings, keep bacon bits or fried onions in separate containers until oven time.
Freeze leftovers in portion-sized containers. Reheat at 350°F with a splash of milk—they’ll taste freshly made. One parent shared: “My kids beg for these on school nights. I just thaw and bake!”
Short on time? Use pre-cooked bacon or bagged shredded cheese. Your secret’s safe with us. After all, great meals aren’t about perfection—they’re about gathering around what (and who) you love.
Savor the Crunch: Discover the Irresistible Flavor of Parmesan Crusted Chicken!
Are you ready to elevate your dinner game? Dive into our latest blog post where we unveil the secrets to creating a mouthwatering Parmesan Crusted Chicken that’s not only delicious but also perfectly crispy! This dish will become a family favorite in no time, and you won’t want to miss out on these simple yet flavorful tips.
Don’t wait—your taste buds deserve this treat! Read the full article now and transform your mealtime into a culinary masterpiece!

