Ever had one of those nights when the kids are starving, the clock is ticking, and the kitchen feels like a whirlwind? We’ve all been there. That’s why Walking Taco Casserole is our go-to fix—a hearty, flavor-packed dish that turns mealtime chaos into smiles around the table.
Picture this: all the zesty spices, crunchy textures, and gooey cheese you love about handheld tacos – but baked into a simple, shareable dish. No more assembling individual servings or scrubbing pans afterward. Just layer, bake, and watch your family dive in like it’s their favorite takeout night.
What makes this recipe special? Those slightly stale tortilla chips hiding in your pantry become the hero here. They soak up the savory seasoned beef and melty cheese without turning soggy. Plus, it’s naturally gluten-free, so everyone can enjoy seconds (or thirds!).
We’ve tested this at potlucks, game-day parties, and busy Tuesday nights. Every time? Empty pans and recipe requests. Ready to become the hero of your next gathering?
Key Takeaways
- Transforms messy individual tacos into an easy, unified bake
- Perfect for using up leftover chips while maintaining crunch
- Naturally gluten-free and endlessly customizable with toppings
- Feeds 8-10 people with minimal prep time
- Ideal for weeknights, parties, or freezer meals
Introduction to Walking Taco Casserole
Remember those snack-packed events where handheld meals ruled? That’s where the magic began. Imagine corn chips layered with seasoned beef, melted cheese, and fresh toppings – all served straight from a crinkly bag. We love this street food hack, but let’s face it: passing out individual portions gets old fast.
Our solution? Bake the essence of those portable favorites into a single dish. No more balancing foil-wrapped packets or chasing runaway sour cream cups. You’ll still get that satisfying crunch from the chips, but now it’s perfectly mingled with savory meat and oozy cheese.
Why does this work so well? The corn chips absorb just enough moisture to stay crisp while supporting the hearty layers. Customization stays front-and-center too – add spicy jalapeños or cool avocado slices without juggling ten topping bowls.
Perfect for game nights or hectic weeknights, this genius twist lets everyone dig into familiar flavors without the fuss. Whether you’re feeding scouts around a campfire or cousins at a reunion, one pan does the job deliciously.
Ingredients Overview & Preparation
A great meal starts with the right ingredients – let’s break down what makes this dish sing. We’ve streamlined the components to balance flavor, texture, and simplicity. Whether you’re shopping fresh or raiding the pantry, you’ll find flexibility at every step.
Key Ingredients: Ground Beef, Beans, Corn Chips, & Cheese
Lean ground beef (80-90% lean) forms the savory backbone of this recipe. It browns beautifully without excess grease, though ground turkey or chicken work equally well for lighter options. Pair it with black beans – their firm texture holds up better than other varieties during baking.
The corn chips are non-negotiable for that signature crunch. Fritos’ sturdy structure prevents sogginess, but any thick tortilla chip will do. For the cheese, a Mexican blend melts into perfect gooeyness, though sharp cheddar adds bold flavor if preferred.
Optional Toppings and Substitutions
Customization is half the fun here. Fresh toppings like diced avocado or pickled jalapeños add bright contrasts. Got pinto beans instead of black? Toss them in! The recipe adapts to pantry staples while delivering crowd-pleasing results every time.
We love setting up a topping bar with sour cream, shredded lettuce, and lime wedges. Let everyone build their perfect bite – it turns dinner into an interactive experience without extra work for you!
Understanding Taco Seasoning & Flavor Boosters

What transforms ordinary ingredients into an extraordinary meal? The secret lies in your seasoning blend. Let’s explore how to elevate flavors while keeping things simple and nutritious.
Store-Bought vs. Homemade Taco Seasoning
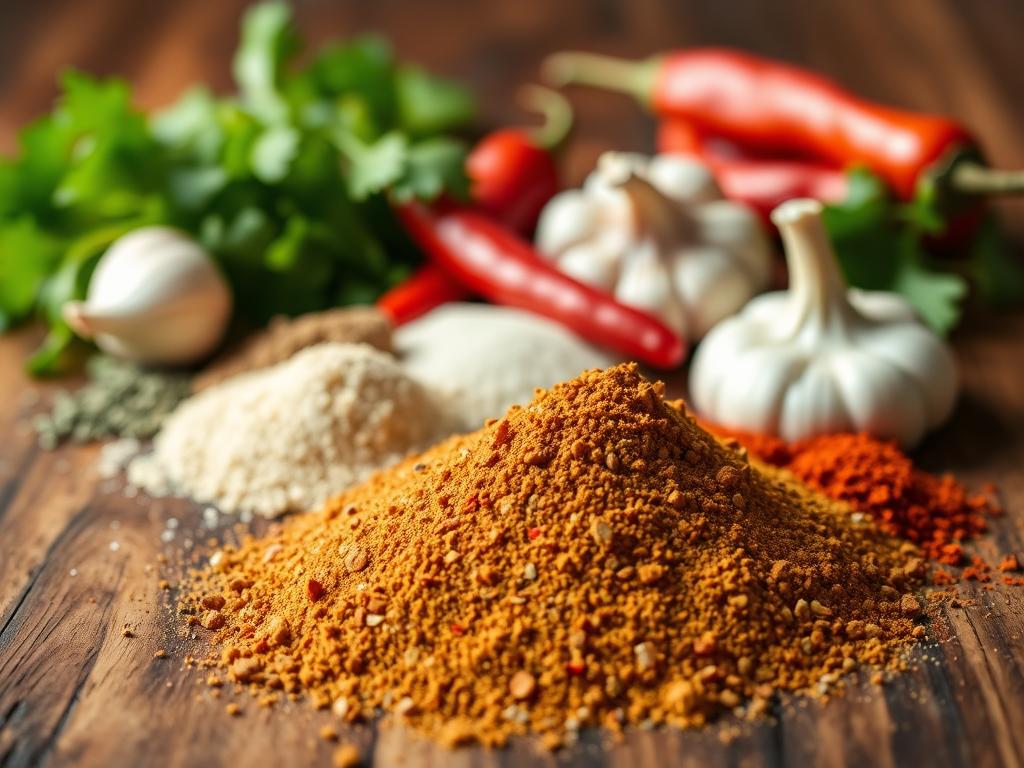
Pre-mixed packets work in a pinch, but homemade blends let you skip the anti-caking agents and MSG. Our favorite mix combines 2 teaspoons each of garlic powder, onion powder, cumin, paprika, and chili powder with 4 teaspoons salt. Want richer flavor? Swap half the salt for ½ cup nutritional yeast!
| Store-Bought | Homemade | |
|---|---|---|
| Ingredients | Fillers, preservatives | Pure spices + yeast |
| Flavor Depth | One-note salty | Nutty, layered taste |
| Customization | Limited | Adjust heat & herbs |
The Role of Nutritional Yeast and Spices
Nutritional yeast isn’t just for vegans! This magic dust grown on molasses adds complete protein and B vitamins. Its cheesy flavor makes ground meats sing without dairy. Combined with cumin’s earthiness and chili’s kick, it creates balanced warmth that enhances rather than overpowers.
Need more heat? Add cayenne. Prefer smokiness? Try chipotle powder. The beauty? You control every pinch and dash – no mystery ingredients.
Prepping Your Casserole: From Preheating to Sautéing

Great meals begin with smart prep work – let’s transform your kitchen into a flavor factory. These initial steps create the foundation for that irresistible cheesy crunch everyone loves.
Preheating the Oven & Preparing the Baking Dish
We always start by firing up the oven to 350°F. This sweet spot gives your dish enough heat to melt cheese beautifully without burning the edges. While it warms, grab your baking dish – a 13×9-inch pan for big gatherings or an 8×8 for cozy nights. A quick spritz of cooking spray saves you from scrubbing later!
Sautéing Onions and Browning the Ground Beef
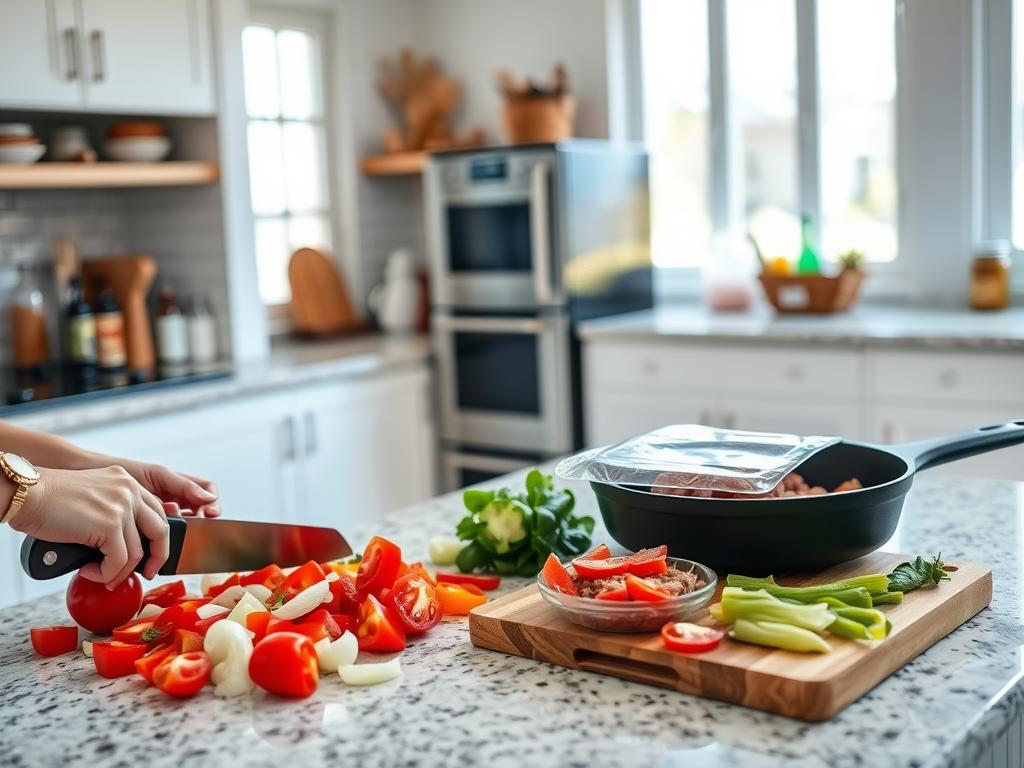
Heat a tablespoon of oil in your skillet over medium heat. Toss in diced onion and let it dance for 5 minutes until golden-soft. That sizzle? Pure flavor magic. Add minced garlic for 60 seconds – just enough to perfume the oil without bitterness.
Now comes the star: ground beef. Spread it in an even layer, resisting the urge to overcrowd. We want crispy browned bits, not steamed meat! Break it apart as it cooks, then drain excess grease for a cleaner finish. Your future self will thank you when every bite tastes balanced.
Layering the Casserole: Building Taste and Texture

The magic happens when you stack ingredients like edible LEGO bricks. We’ve found the secret lies in strategic layering that locks in crunch while blending flavors. Let’s transform your baking dish into a flavor skyscraper!
Creating a Crunchy Base with Corn Chips
Start by spreading half your corn chips across the dish’s greased surface. These golden nuggets form a crispy foundation that resists sogginess. Think of them as edible insulation between your pan and the saucy mixture.
Some recipes bury chips under meat, but we prefer them front-and-center. This placement keeps their snap intact while letting them absorb just enough moisture. Trust us – your first bite will prove why this matters!
Alternating Meat Mixture and Cheese Layers
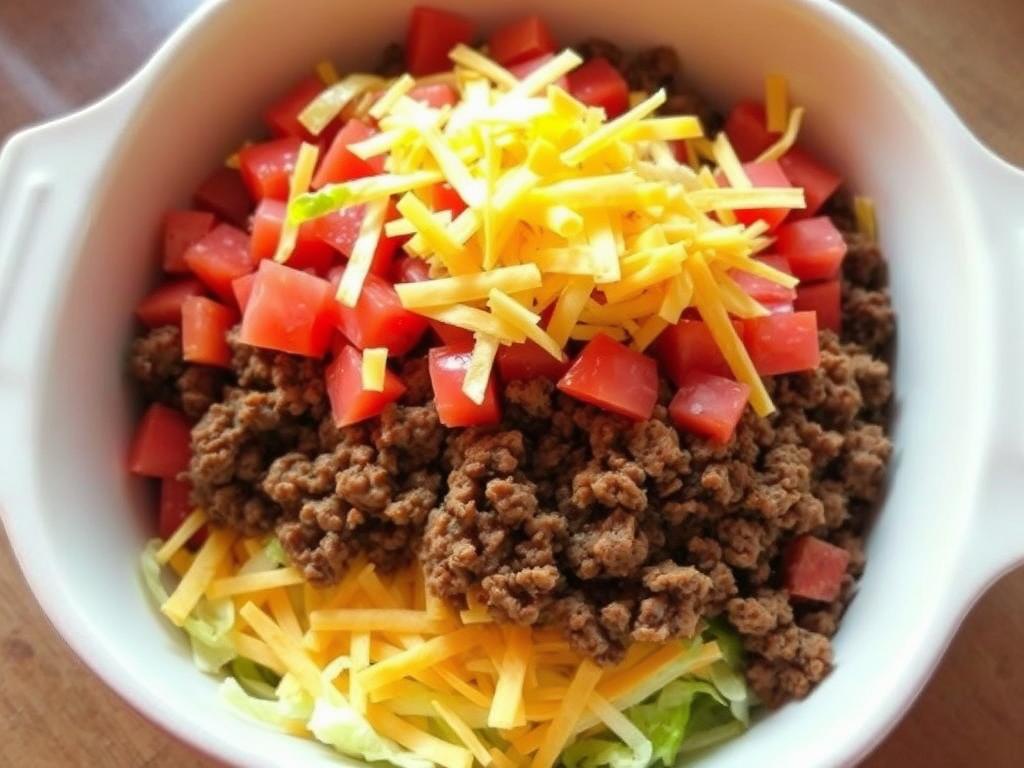
Next comes half your seasoned mixture, smoothed like frosting over the chips. Spread it evenly – no ingredient left behind! Then shower with half the shredded cheese. This molten blanket binds everything together while adding richness.
Repeat the pattern: remaining chips, mixture, and cheese. The double-decker approach guarantees perfect flavor distribution. Each layer plays its part – crunch, savoriness, creaminess – creating harmony in every forkful.
Why does this work better than single-layer versions? The alternating strata let heat circulate evenly. Your top cheese forms a golden crust while the bottom chips stay crisp. It’s kitchen science made delicious!
Tips for Achieving the Ideal Cheesy Melt

What’s the secret to that golden crown of melted cheese that makes everyone’s eyes light up? It’s all about mastering the timing dance between your oven and ingredients. We’ve burned a few pans (literally) to perfect this balance for you!
Three Rules for Perfect Melt Mastery
First: Bake uncovered too soon, and your cheese will brown before melting. Start with foil over the dish for 15 minutes – this creates a steamy environment for even melting. Then remove the cover for the final 5 minutes to develop that irresistible golden crust.
Watch for these visual cues:
- Bubbles forming around the edges like tiny lava pools
- Cheese glistening without oil separation
- Chips softening slightly but still offering resistance
Second: Set a timer! Even 2 extra minutes can turn crisp chips into mush. Your oven’s hot spots matter too – rotate the dish halfway through if needed.
Third: Let it rest 5 minutes after baking. This pause lets the cheese set slightly, ensuring clean slices without the dreaded “cheese slide.” Trust us – patience rewards you with that perfect pull-apart texture!
Diverse Ways to Customize Your Walking Taco Casserole
Your kitchen, your rules—that’s the beauty of this adaptable dish. We’ve built a flavor foundation that welcomes creative twists. Whether accommodating diets or sparking new taste adventures, these tweaks keep meals exciting.
Protein Swaps That Keep Things Interesting
Ground turkey and chicken work beautifully for lighter options. Vegetarians? Try seasoned lentils or plant-based crumbles. We’ve even used shredded rotisserie chicken for smoky depth. For beans, swap black beans with pinto or chickpeas—their textures hold up beautifully under cheese.
Dialing Heat Up or Down
Control the spice wheel with precision. Mild palates? Reduce chili powder and add sweet paprika. Heat seekers? Stir in chipotle paste or diced green chiles. We love setting out hot sauces and cooling toppings so everyone builds their ideal bite.
Trust us—this recipe thrives on experimentation. Serve it over lettuce for crunch lovers, or mix in roasted veggies for extra nutrition. Game-day spreads and picky eaters alike benefit from this flexible approach. Now go make it your signature dish!
🌟 Discover the Ultimate Comfort Food! 🌟
Are you craving a deliciously satisfying meal that’s not only hearty but also vegetarian? Our Eggplant Casserole Recipe is your ticket to culinary bliss! This delightful dish combines rich flavors and wholesome ingredients, making it perfect for cozy family dinners or impressing guests at your next gathering.
Don’t miss out on this comforting recipe that will warm your heart and tantalize your taste buds. Click the link below to uncover the secrets to creating this mouthwatering Eggplant Casserole today!

